A Divergent Italian: Day 8 to 11 – NT, and back to Adelaide

Summer vs Winter season riding… What do you prefer? Here are my brief points, as outlined below.

Winter:
– Cold, but this can be alleviated by wearing proper thermal gear, or simply wearing more clothes
– Weather seems more predictable, allowing for sufficient preparation
– …but there’s more of that wet weather going on
– Fellow riders seem more conscientious and competent on the road…
– …because cagers tend to miss us from their mirrors even more than usual
– Days are shorter, nights are longer..
– …but less police presence at glory locations

Summer:
– Hot as hell, and there’s nothing you can do about it
– Bike is also running hotter. Great way to keep yourself nice and toasty… under the sweltering heat of the sun
– Roads are cleaner, tyres are stickier
– Extreme police presence at prime riding locations
– You’re riding under the clearest of skies for most of the time.. later, you’re gnarling your teeth at the sight of thunderstorms and torrential rain. Such is the predictability of the weather at times.
– Wet weather gear & warm and humid conditions are the worst. Absolute worst, arriving at work all soaked from sweat.
– Balmy 8pm evening runs, with the sunset on your back.

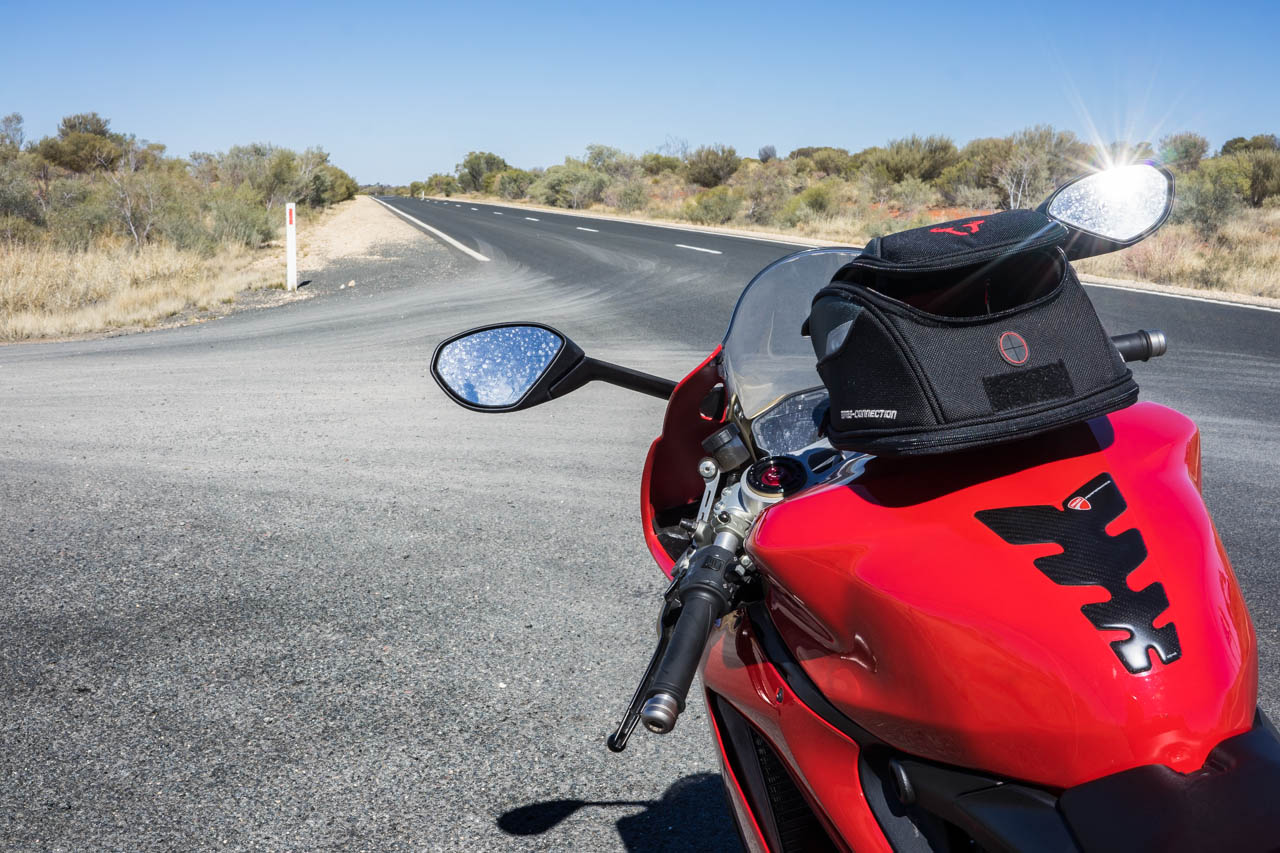
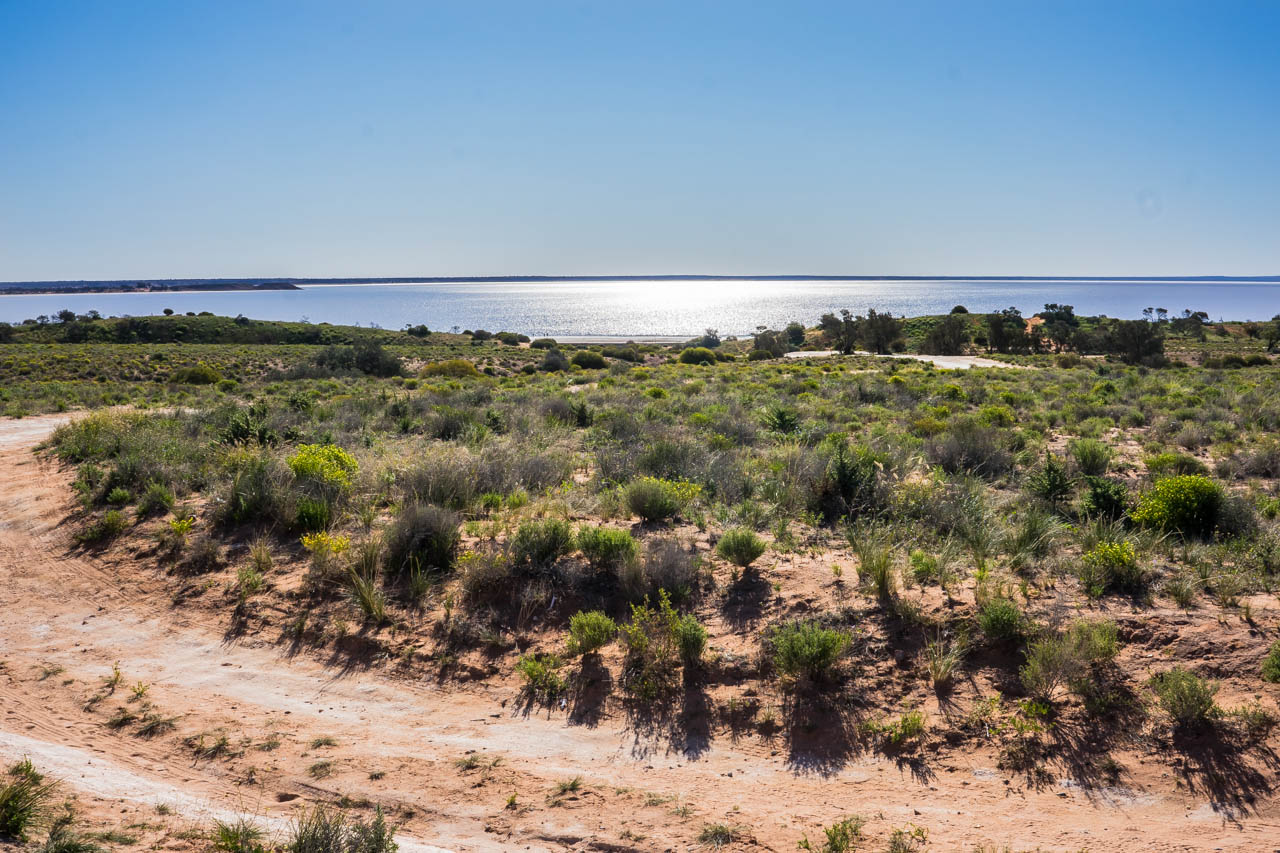
For the most part, the weather in the outback of SA and NT were very pleasant, in that it was very predictable, and nothing unusual was presented to me, apart from the extremely cold mornings which reached sub-zero temperatures. On that factor alone, I would rate the roads out there as being up there among the best for a good road trip, to the likes of the Great Ocean Road and Great Alpine Road, even though you are only travelling on non-stop straight highways.

What are your preferences?

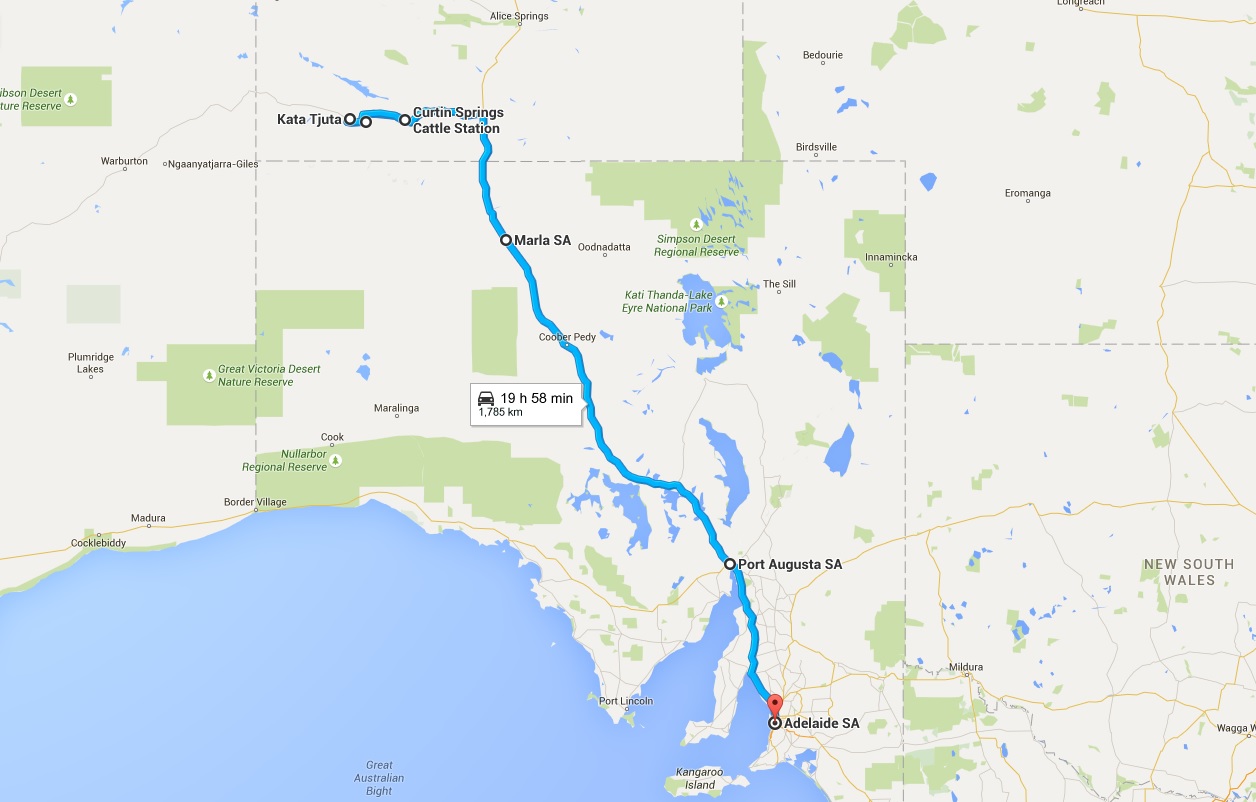
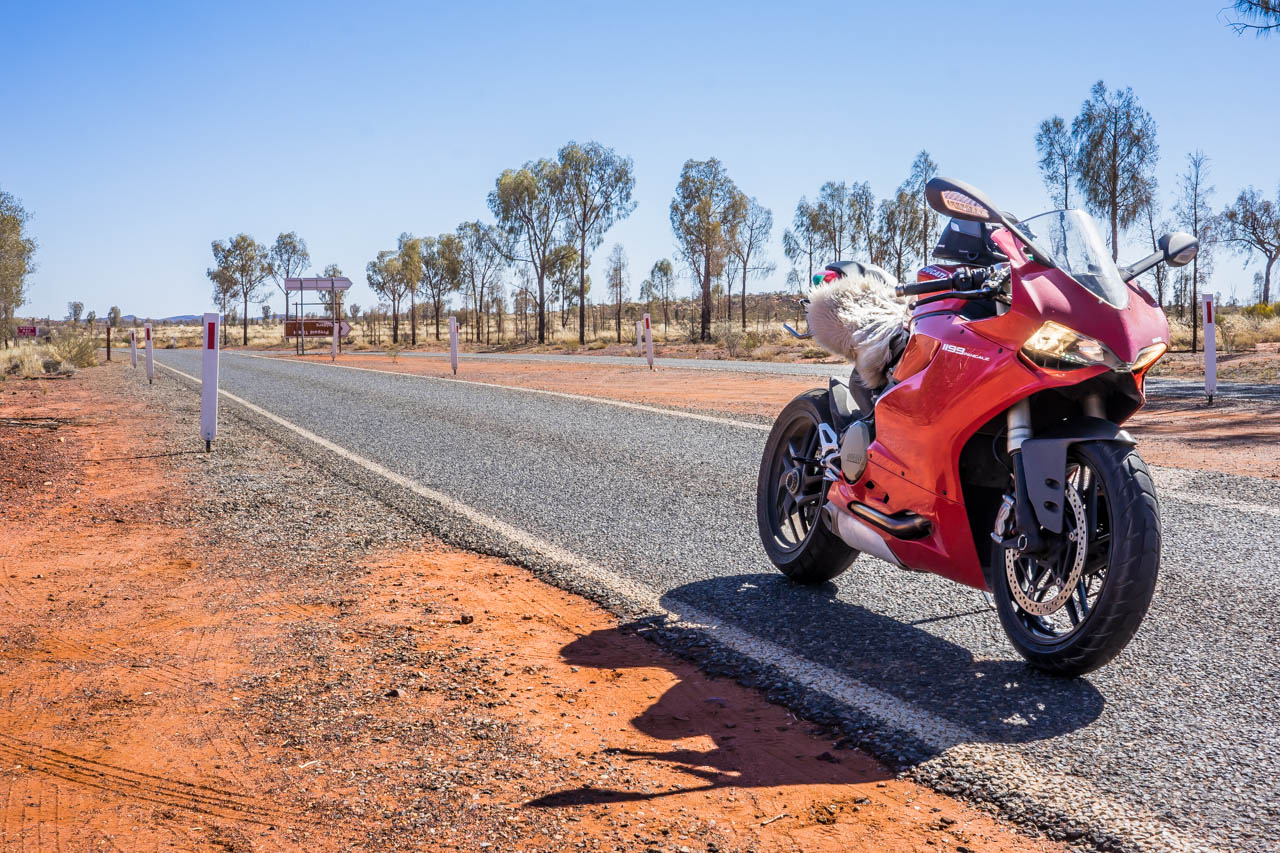
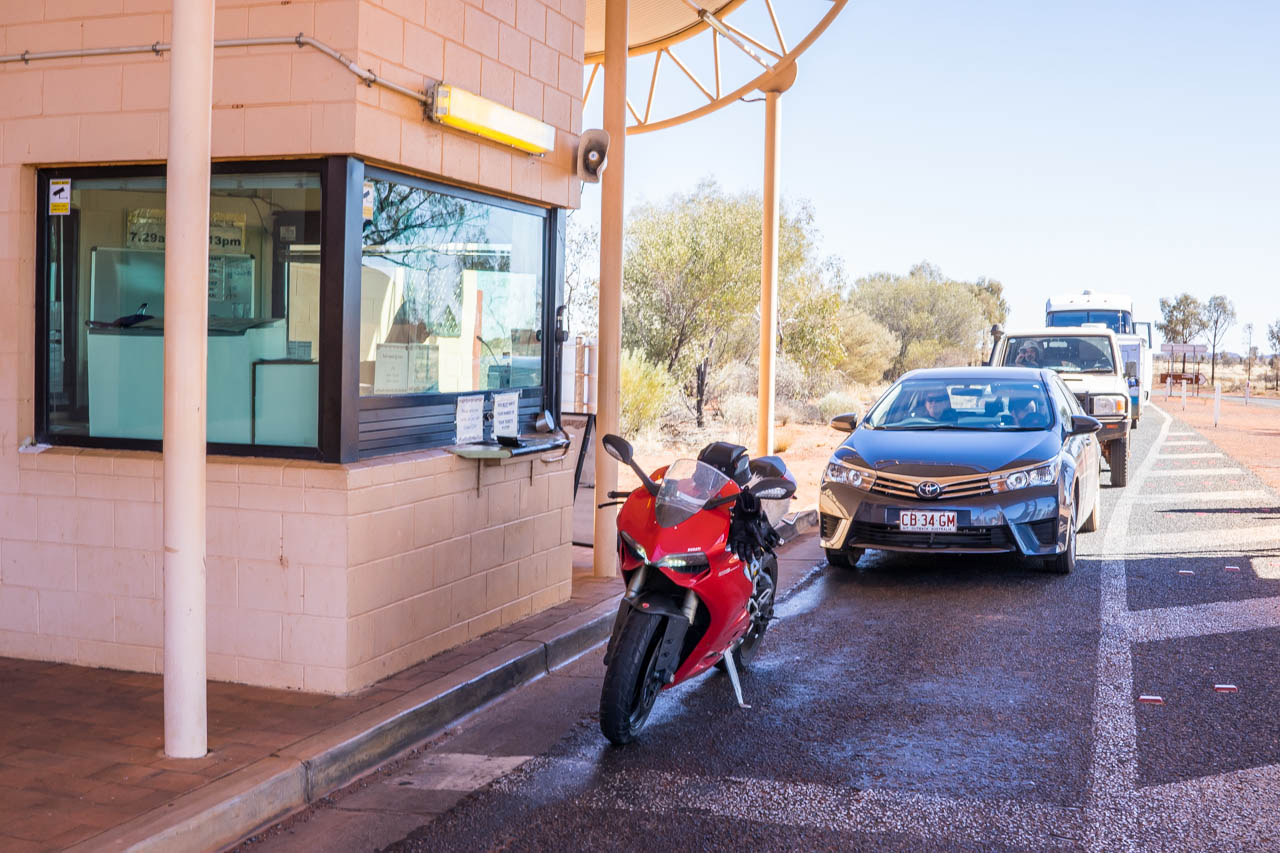
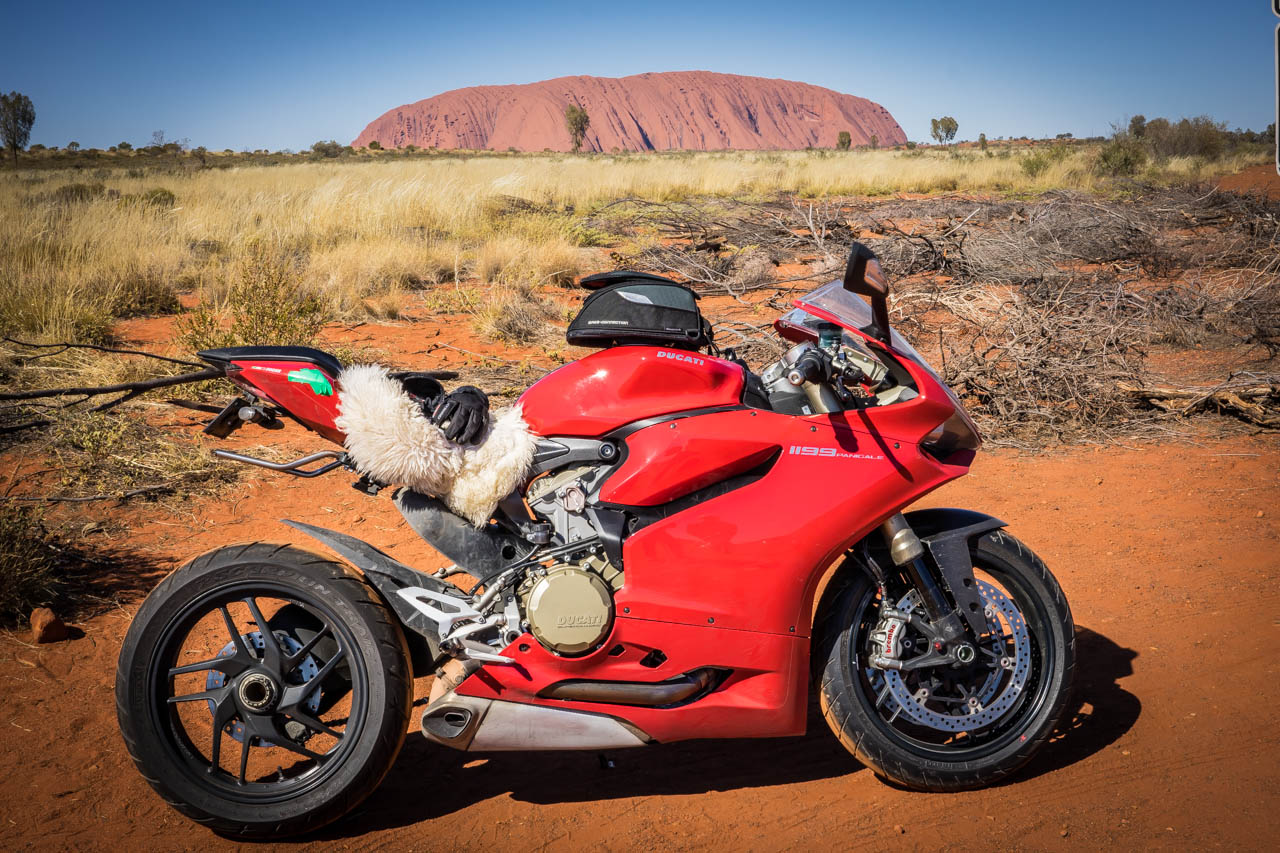
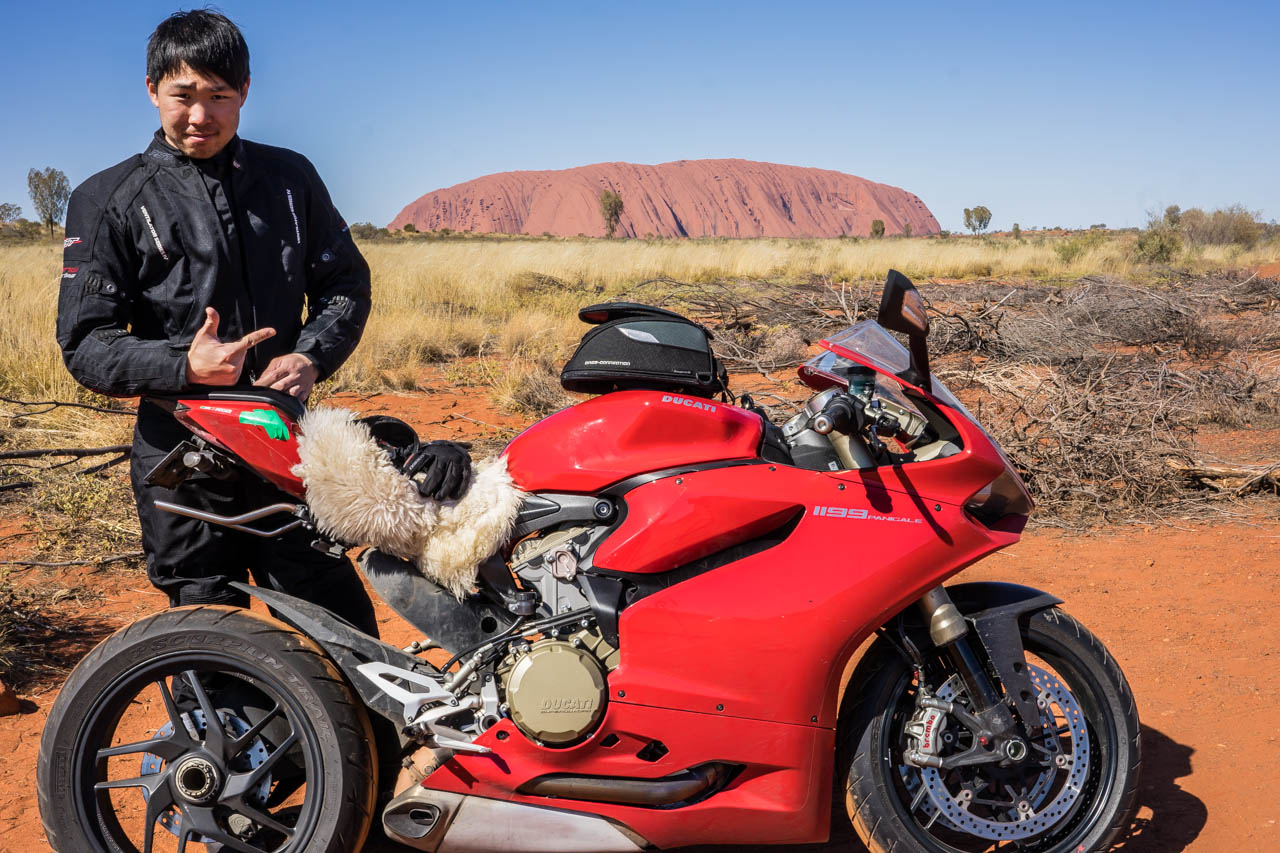
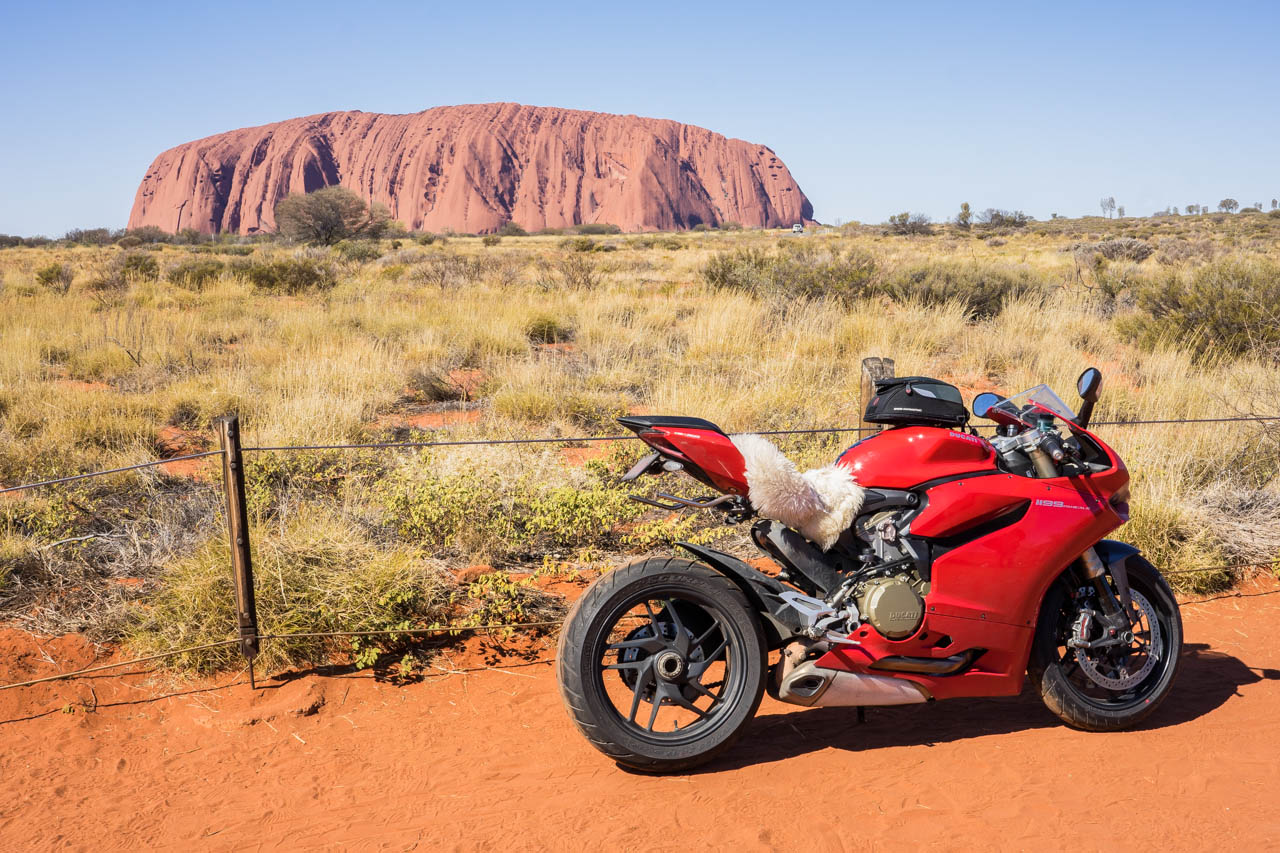
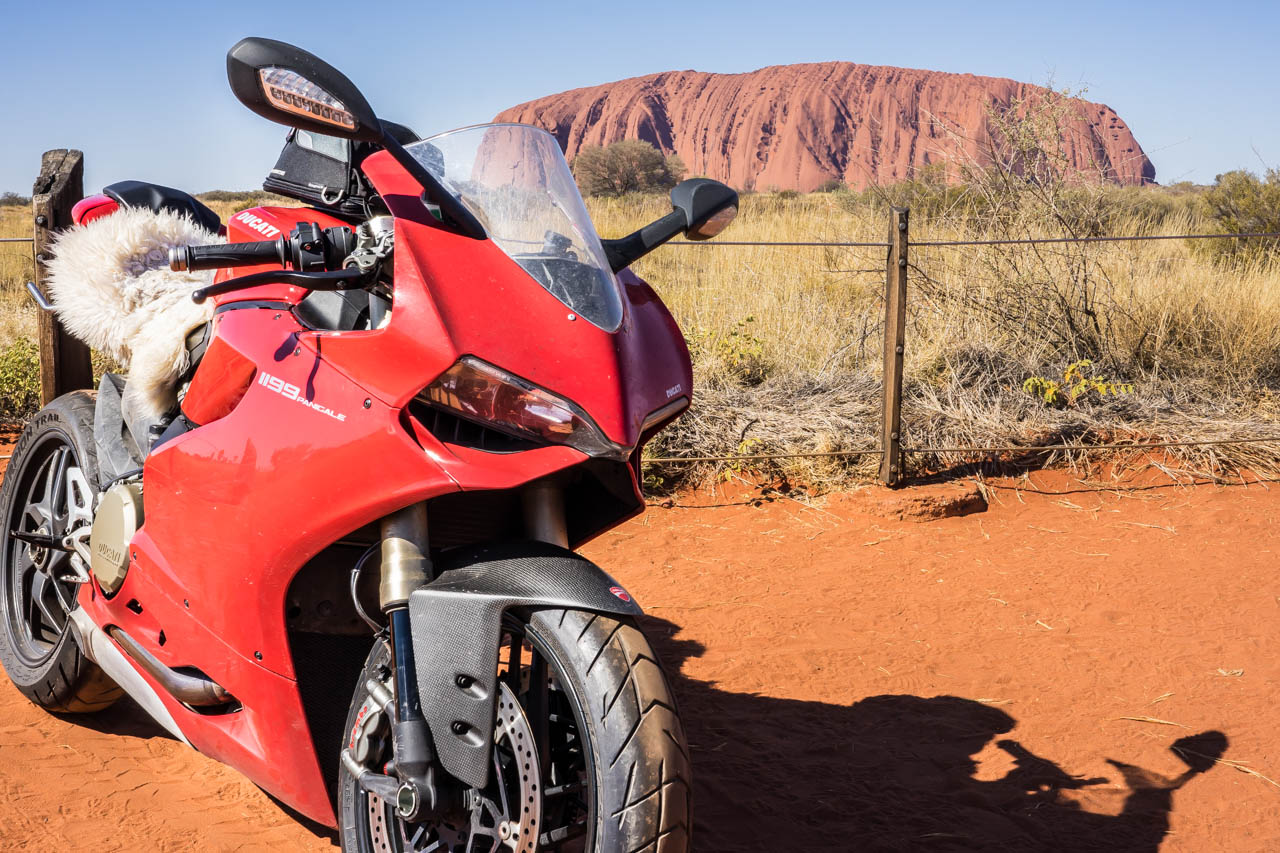
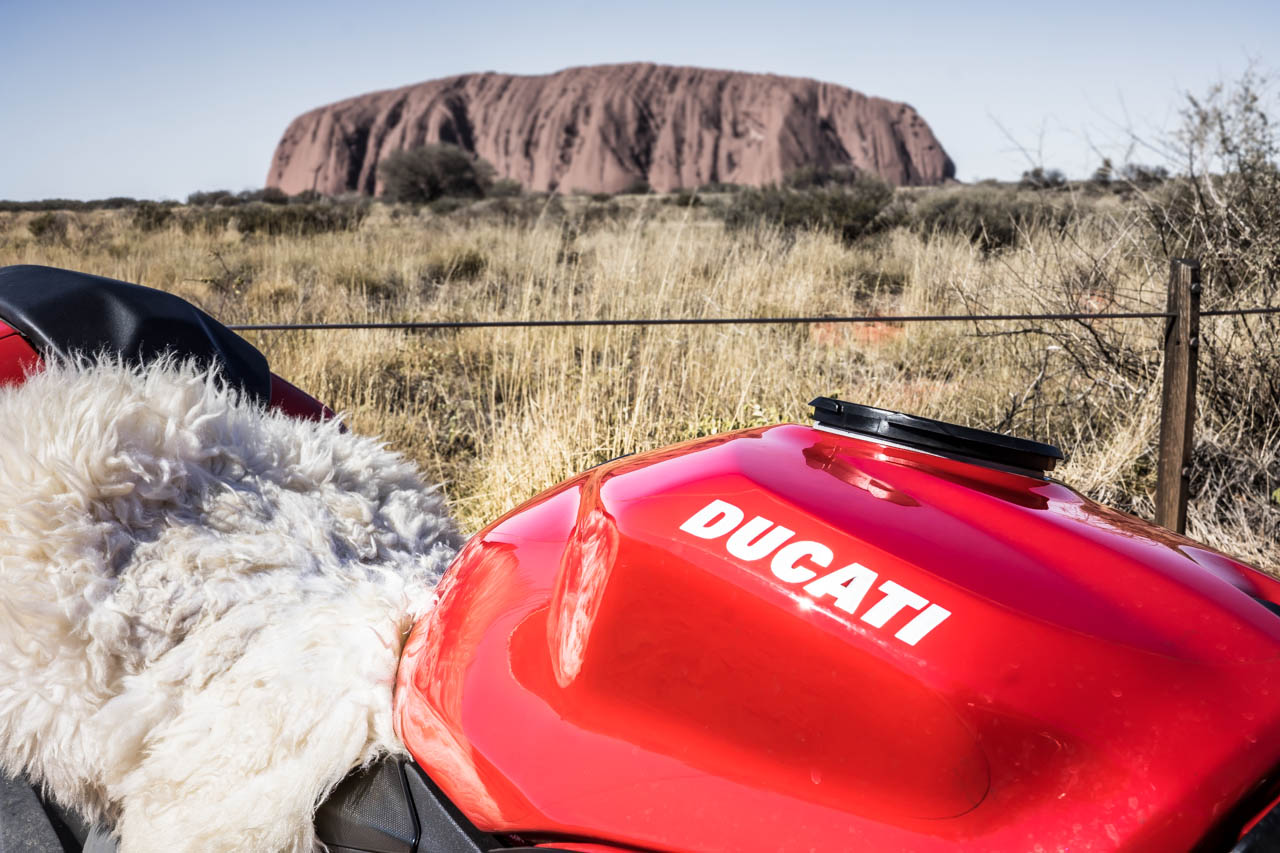
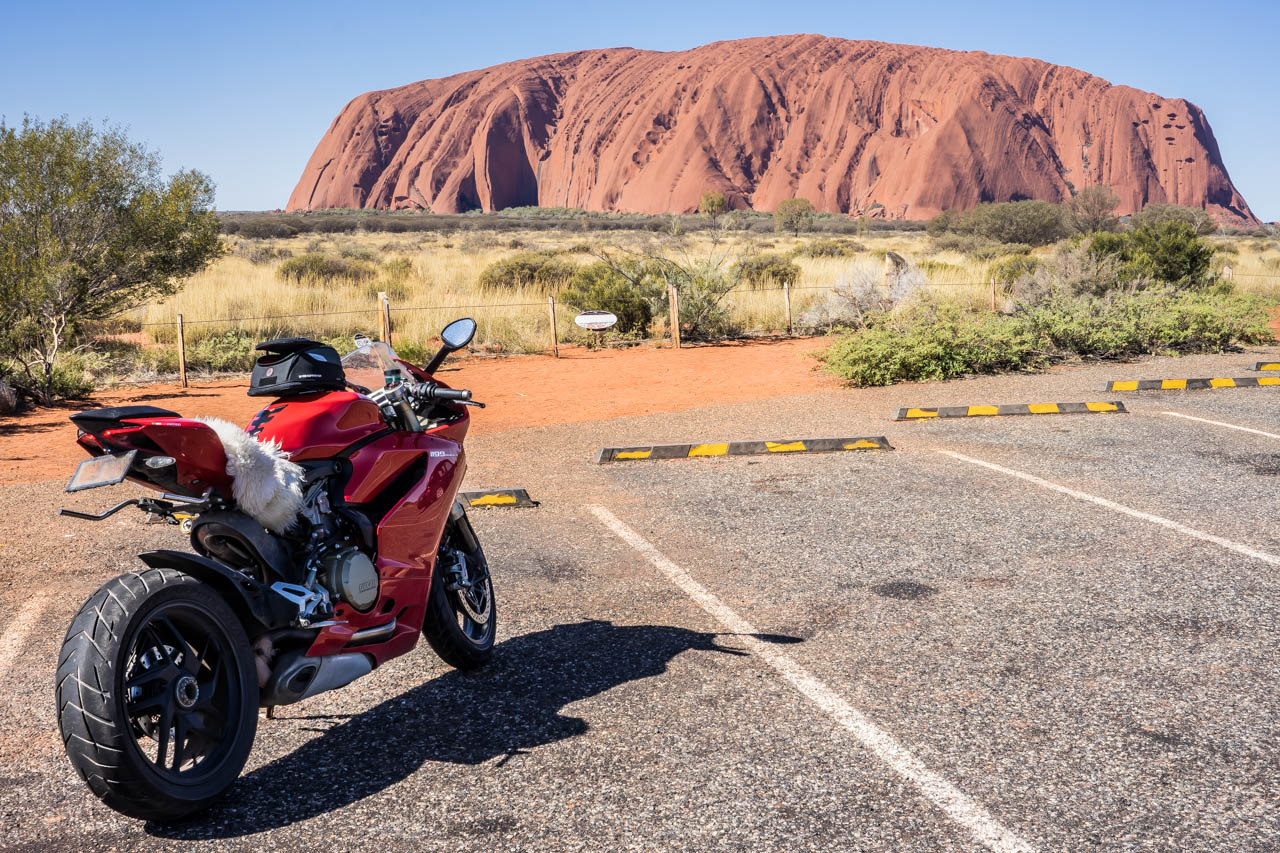
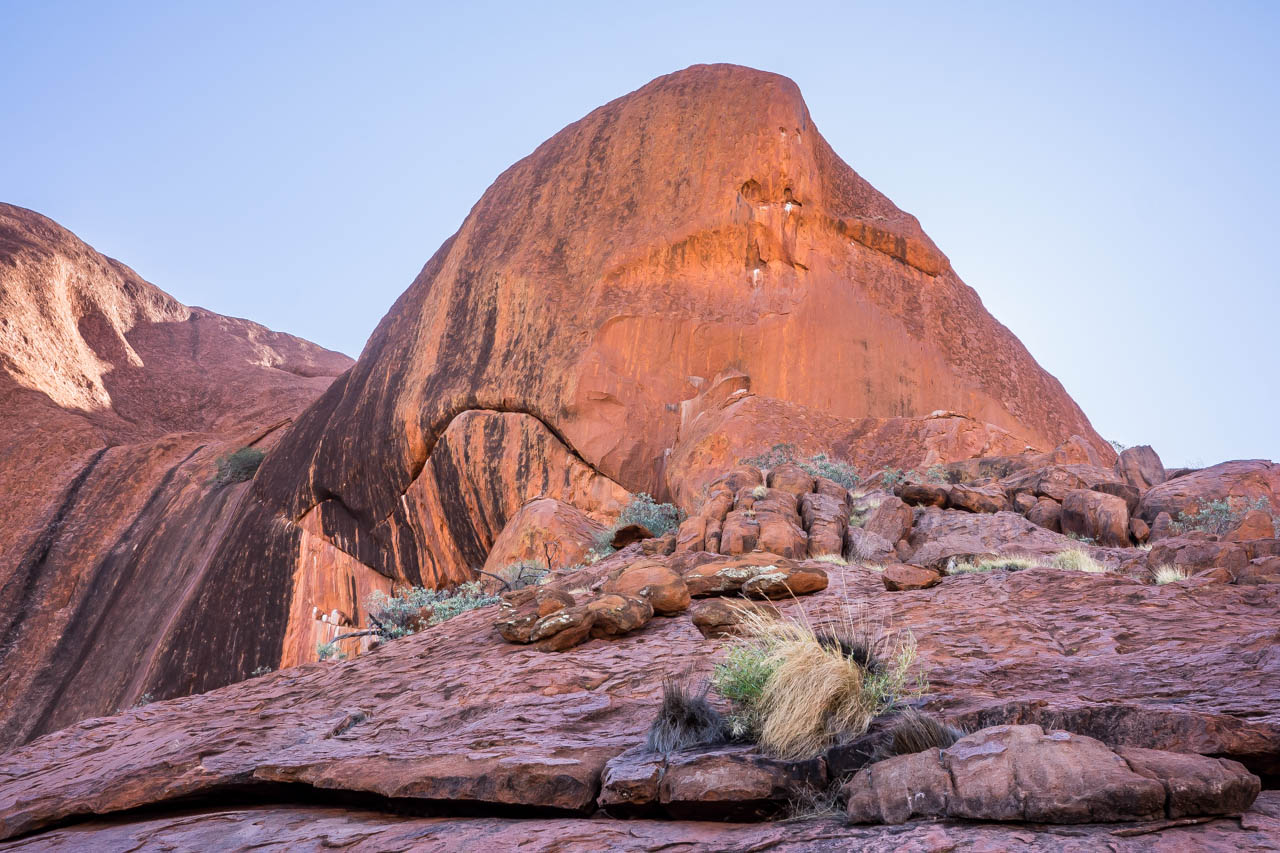
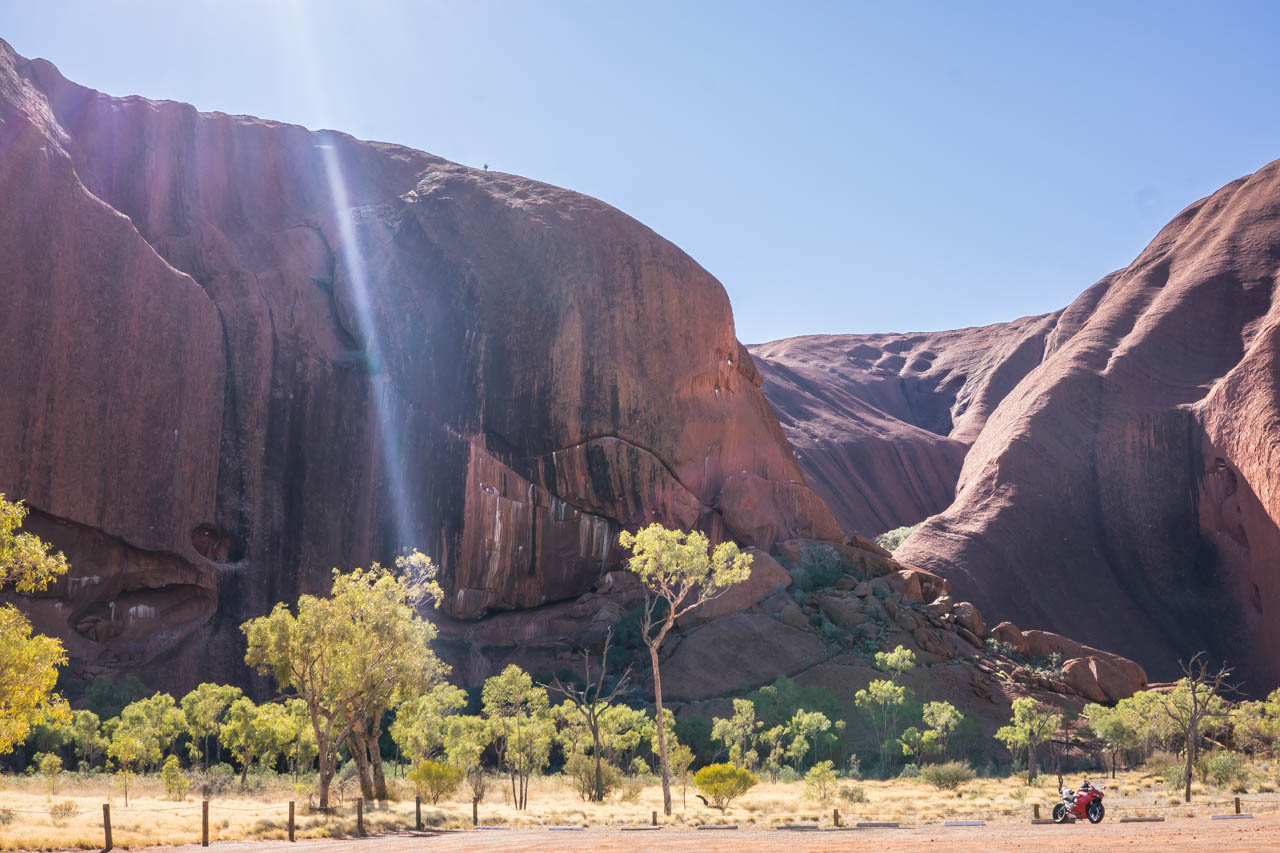
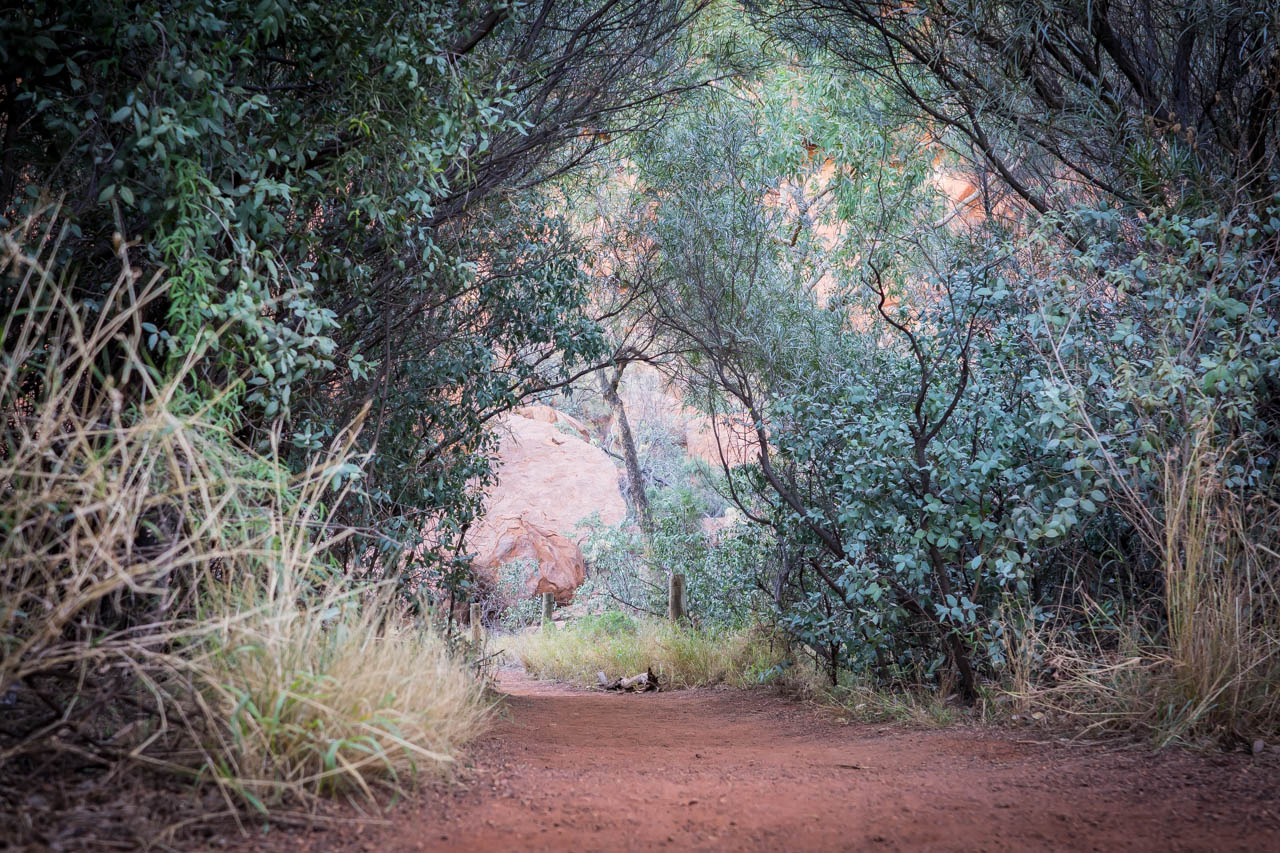
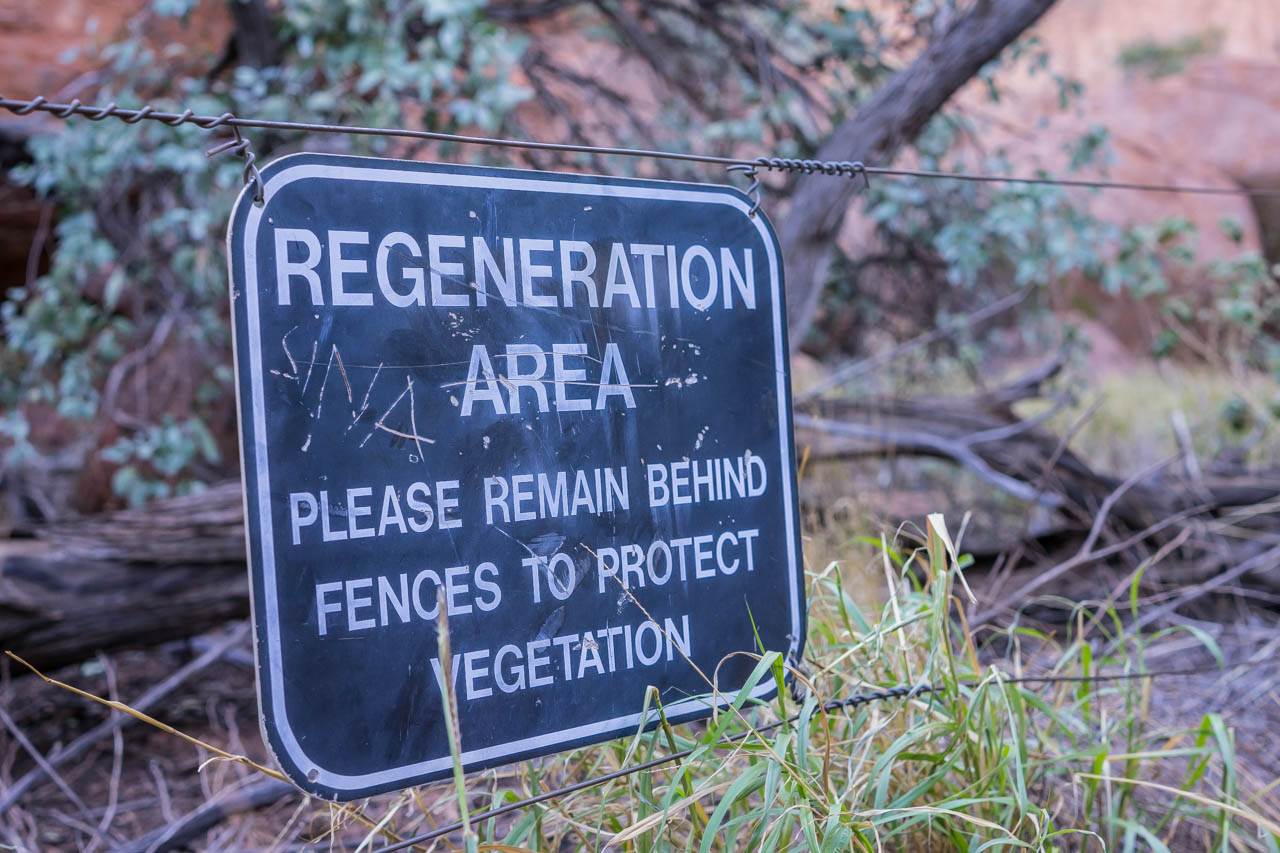
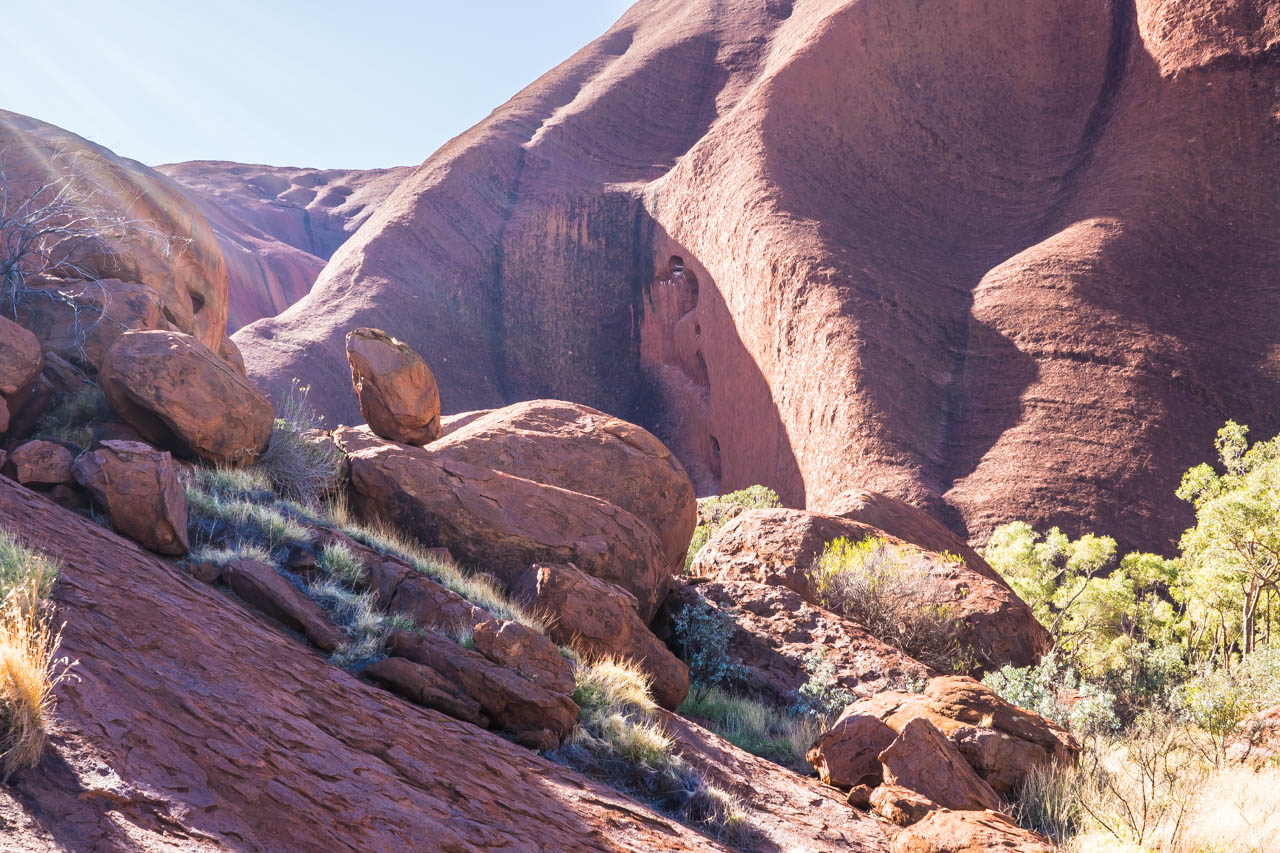
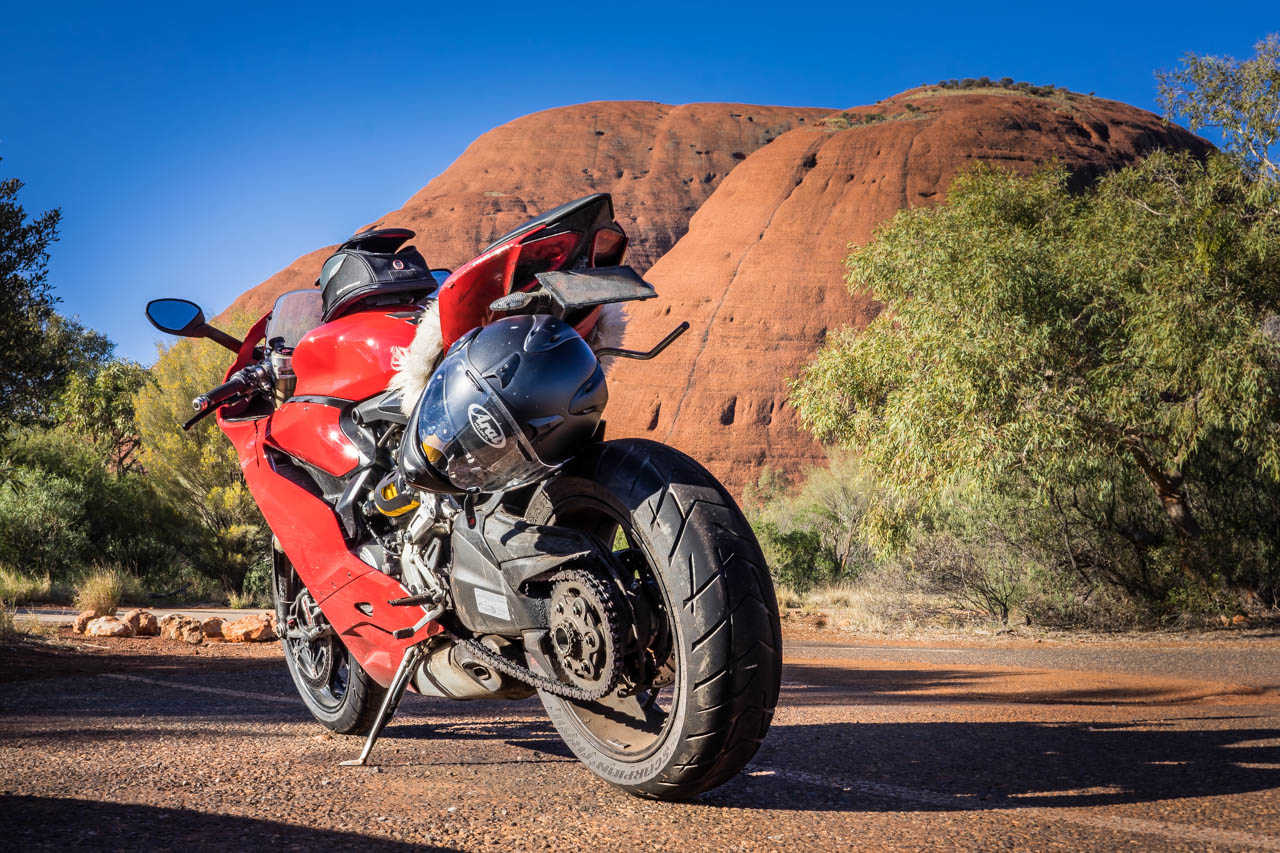
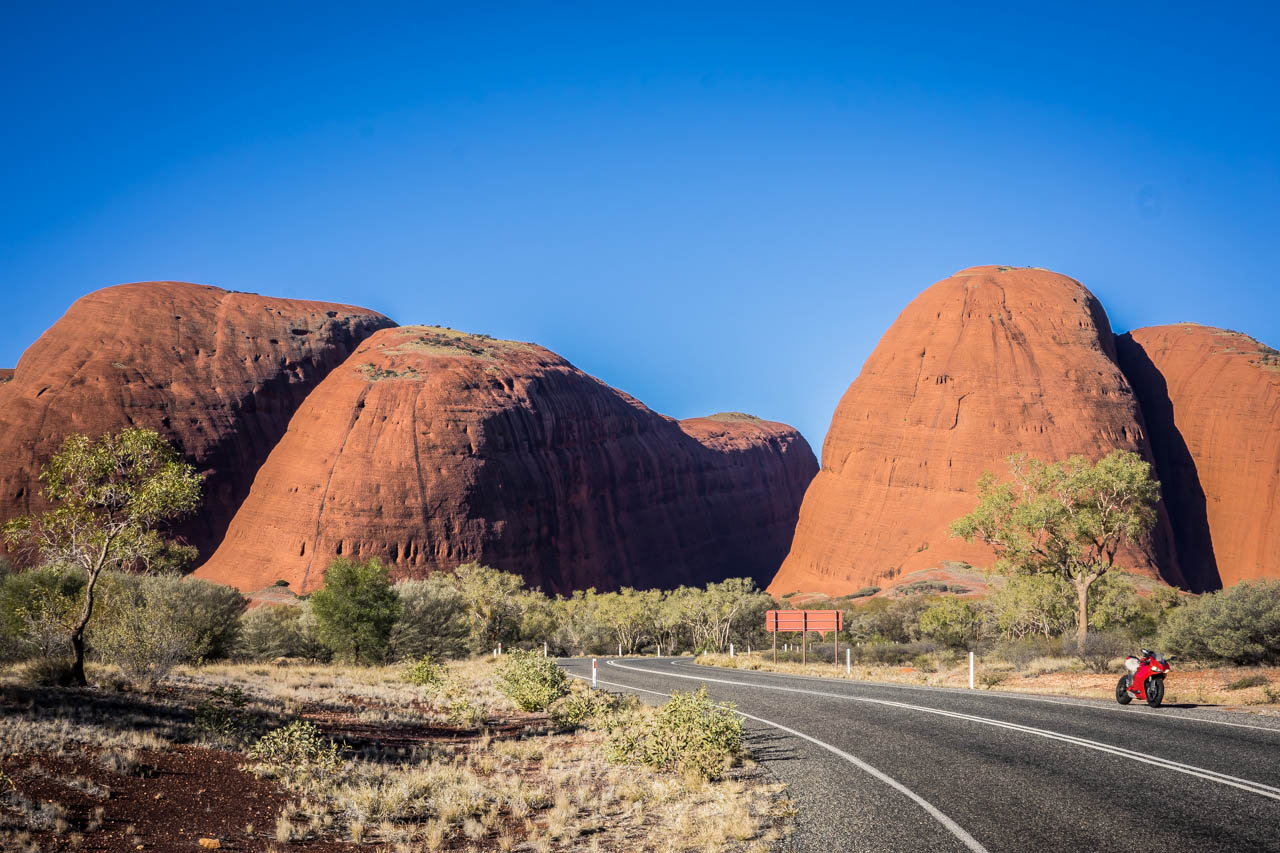
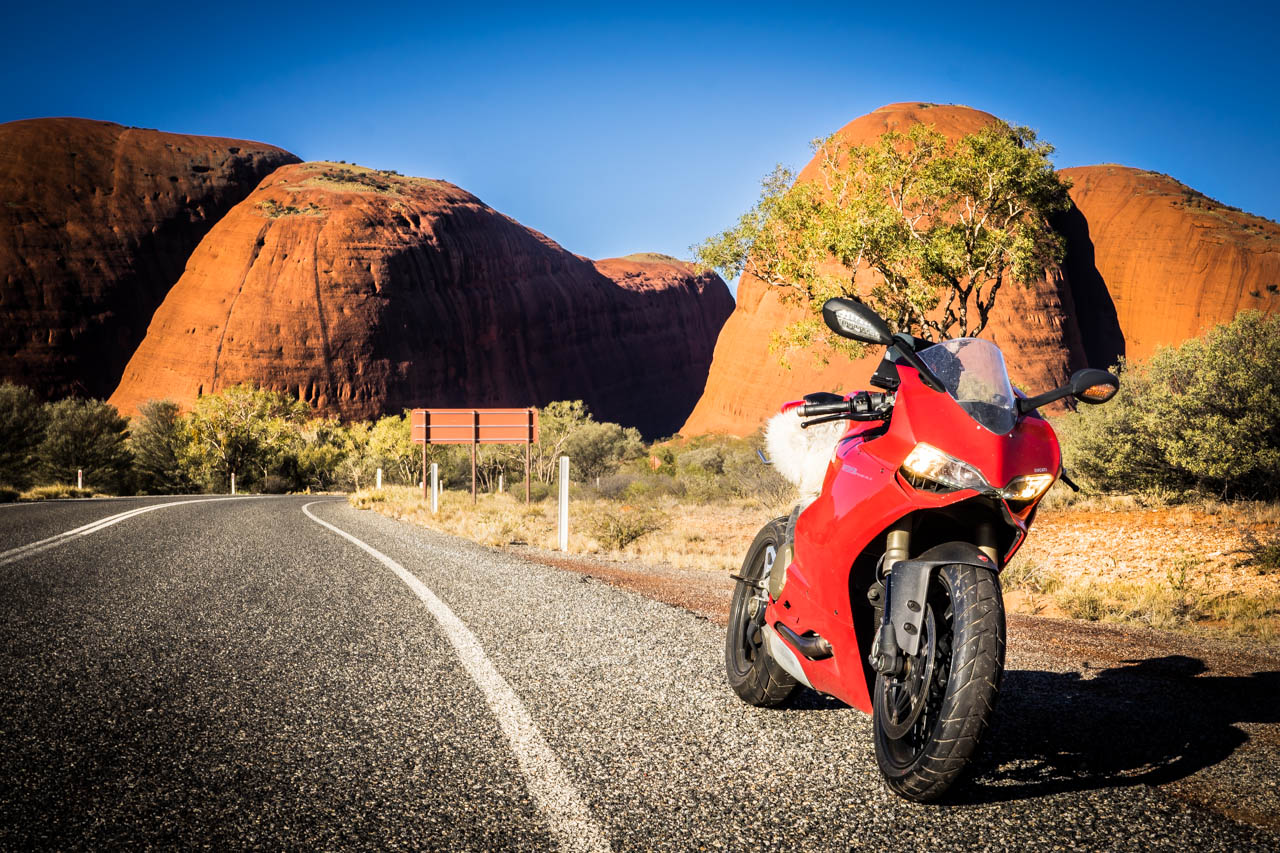
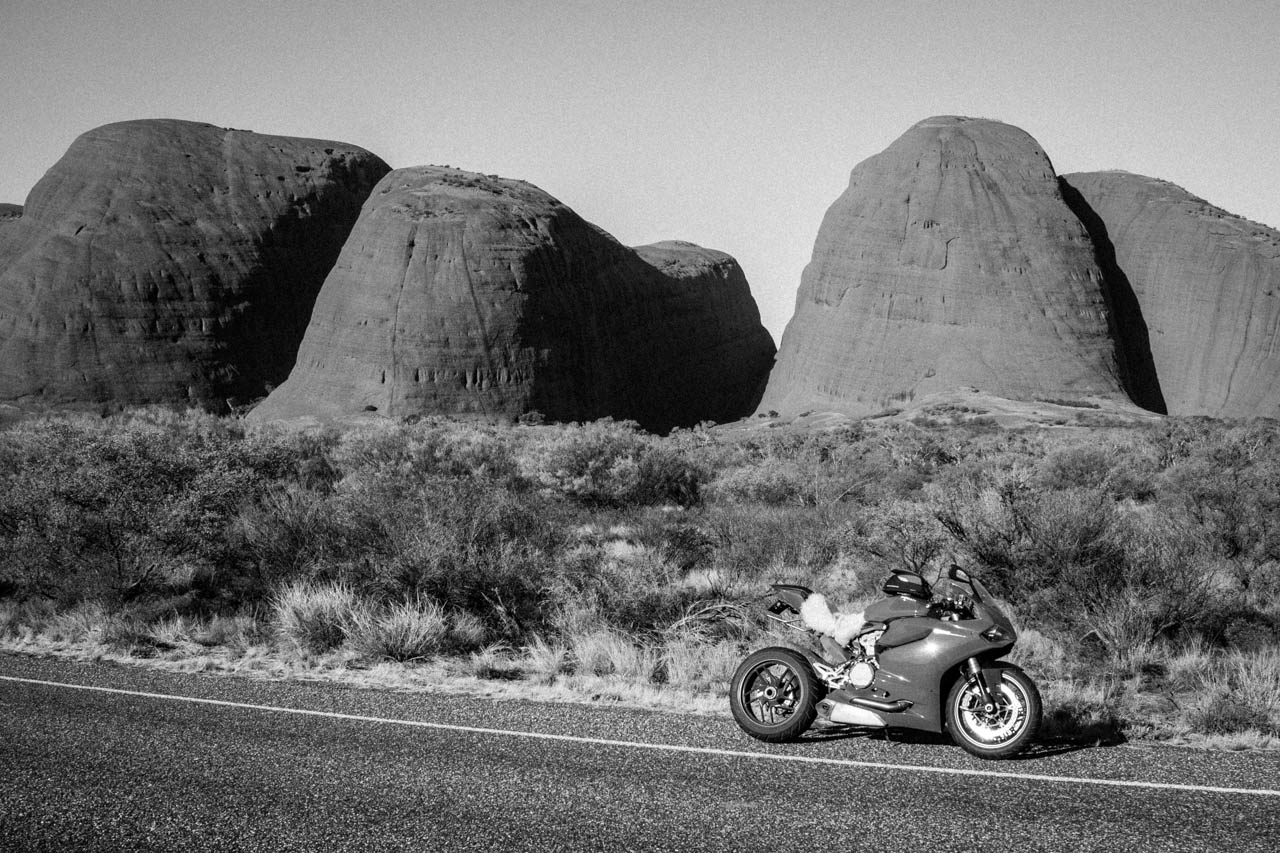
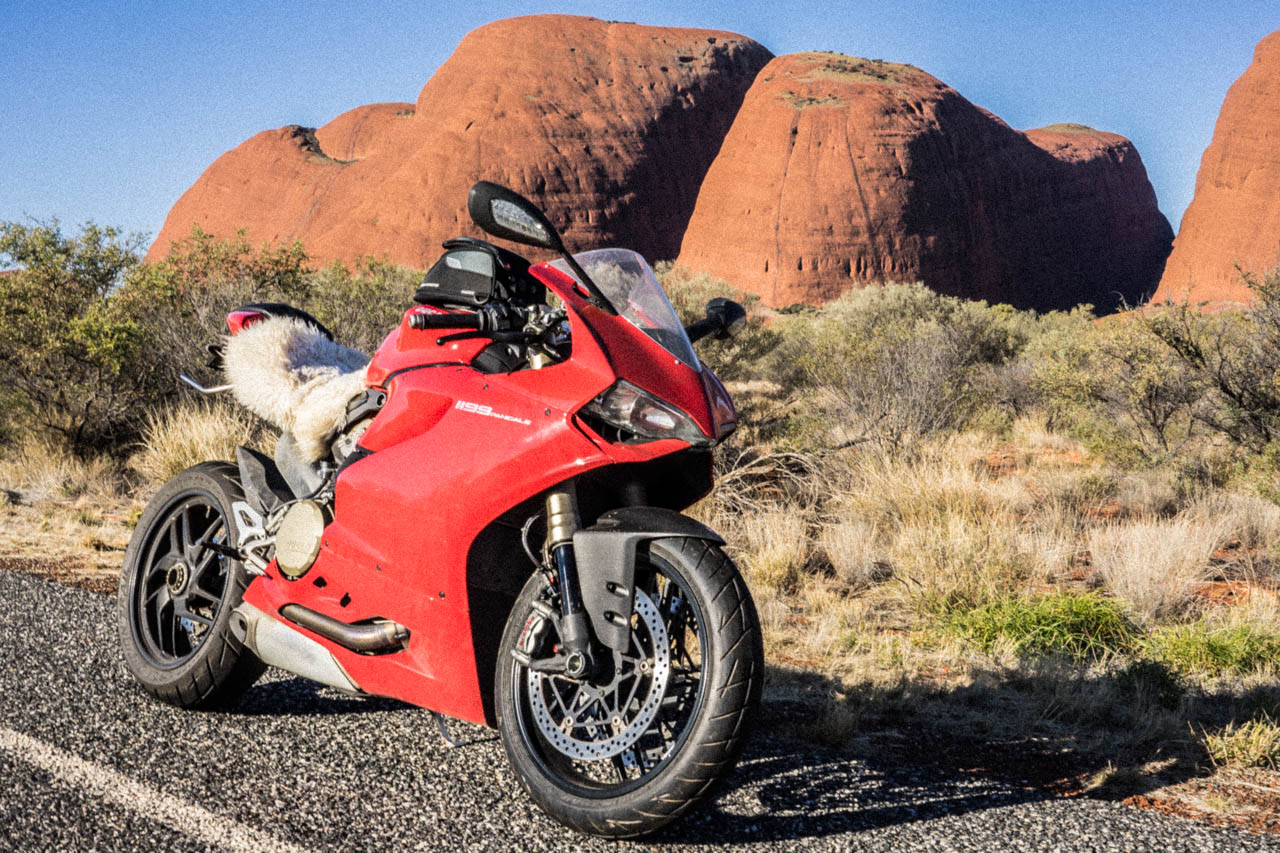
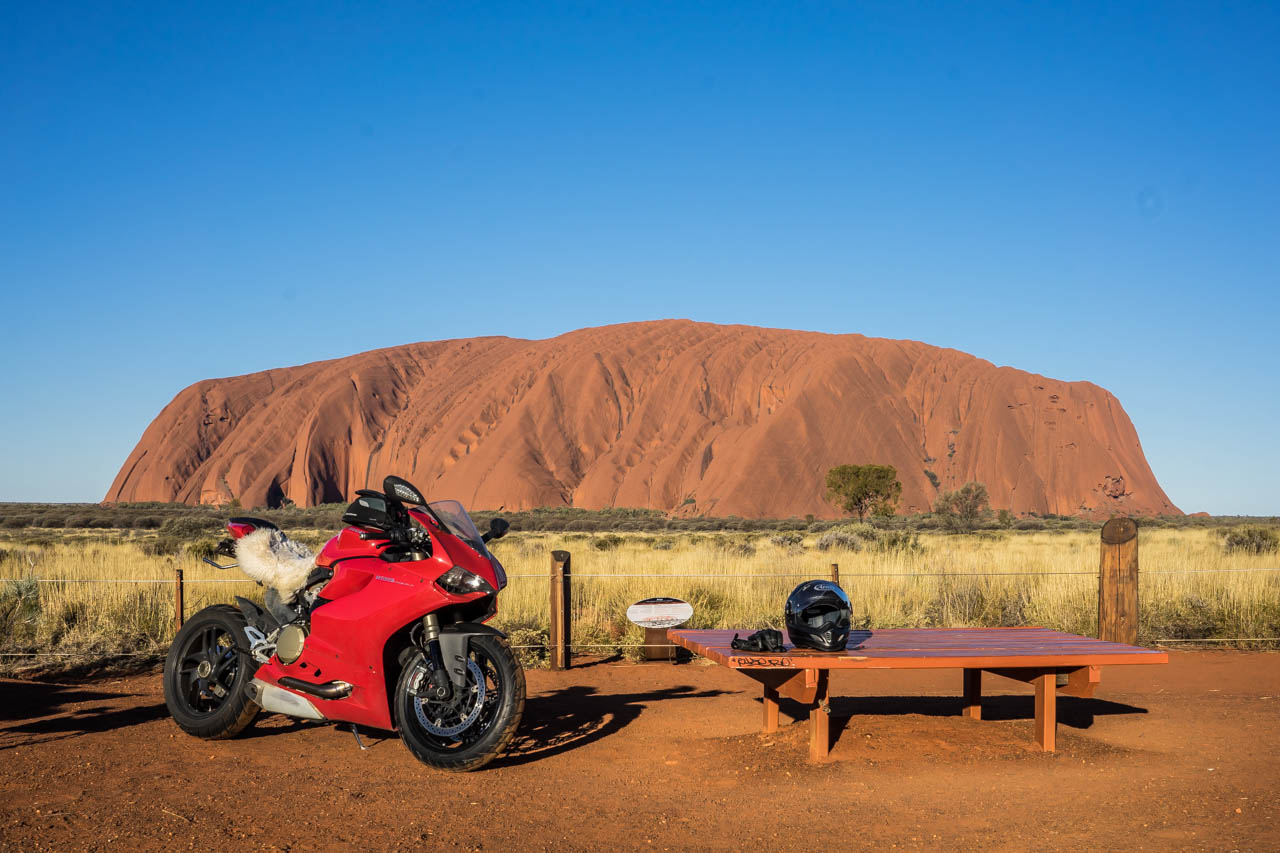
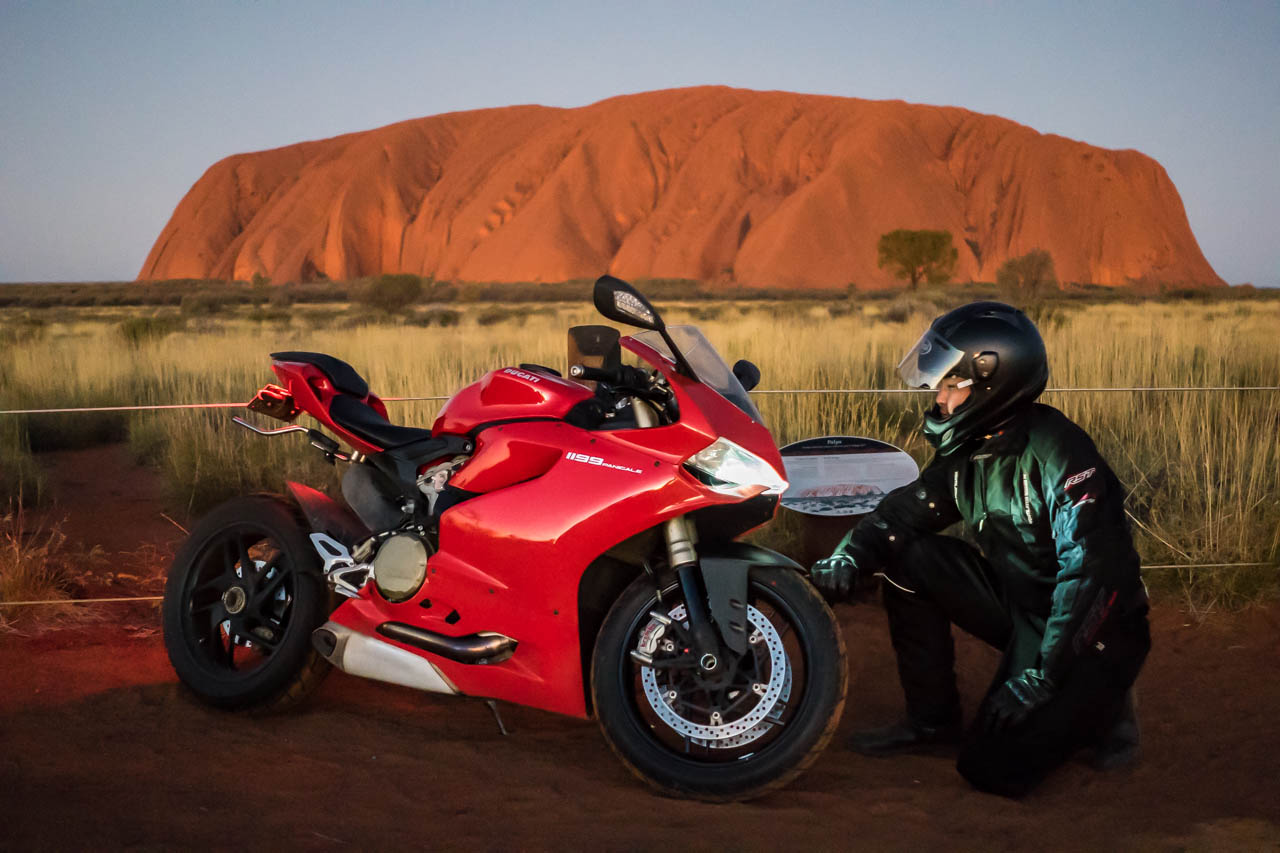
Day 8 – Curtin Springs to Uluru-Kata Tjuta National Park

Ambient Temperature: 8°C to 20°C

3 NT and back to Adelaide - Full-1
A late morning. First time sleeping in past 9am in this trip, without feeling too guilty about it.

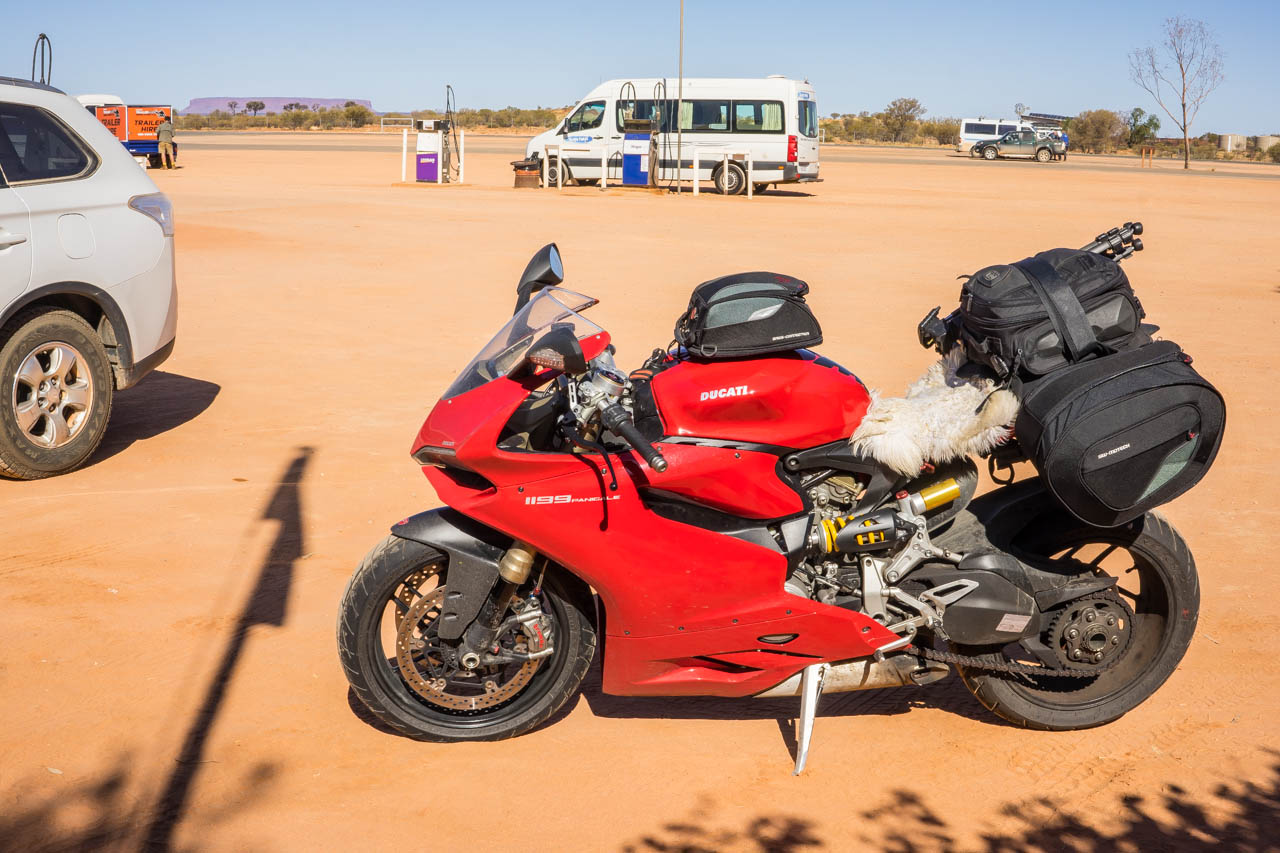
A late departure from Curtin Springs created some good vibes for me, indicating a very easy-going day; a huge change from the constant pressure of covering a large distance over the days.

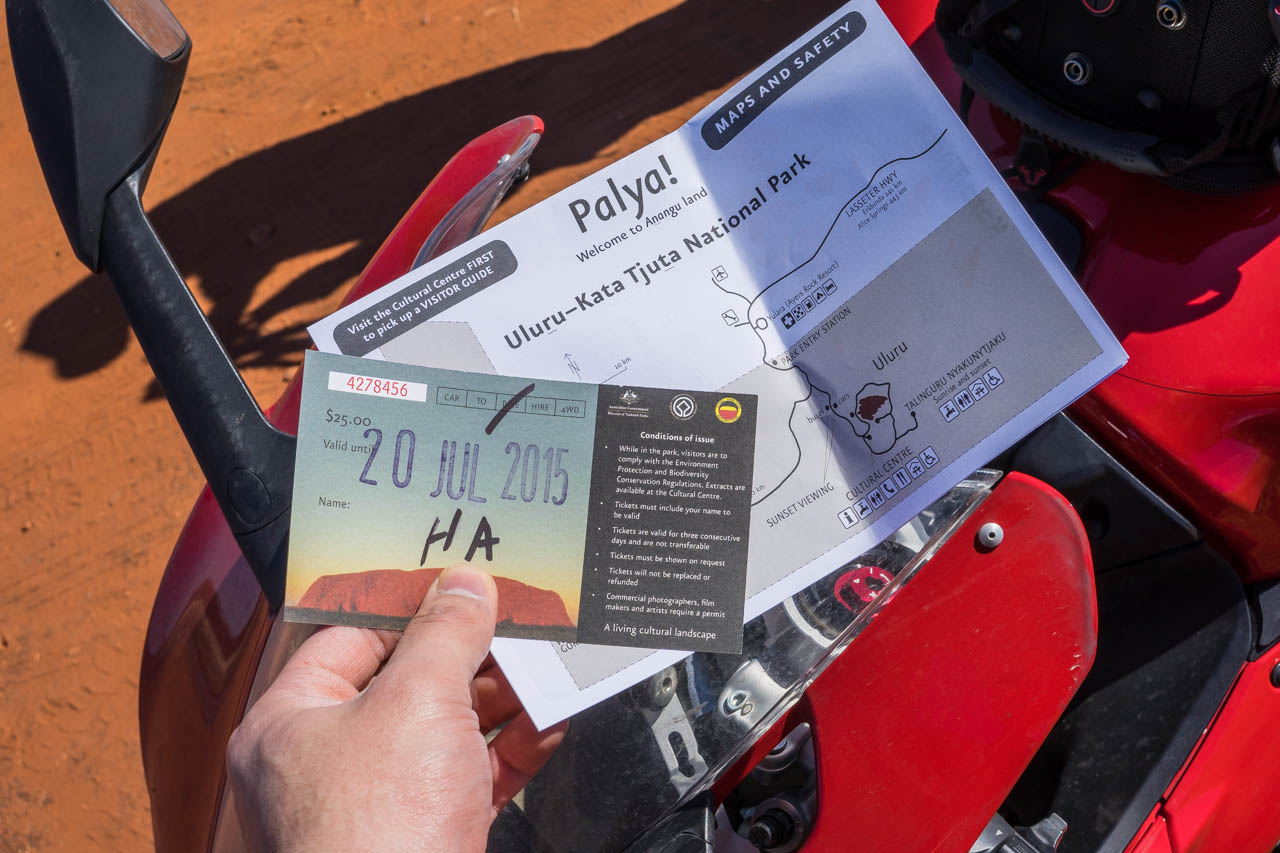
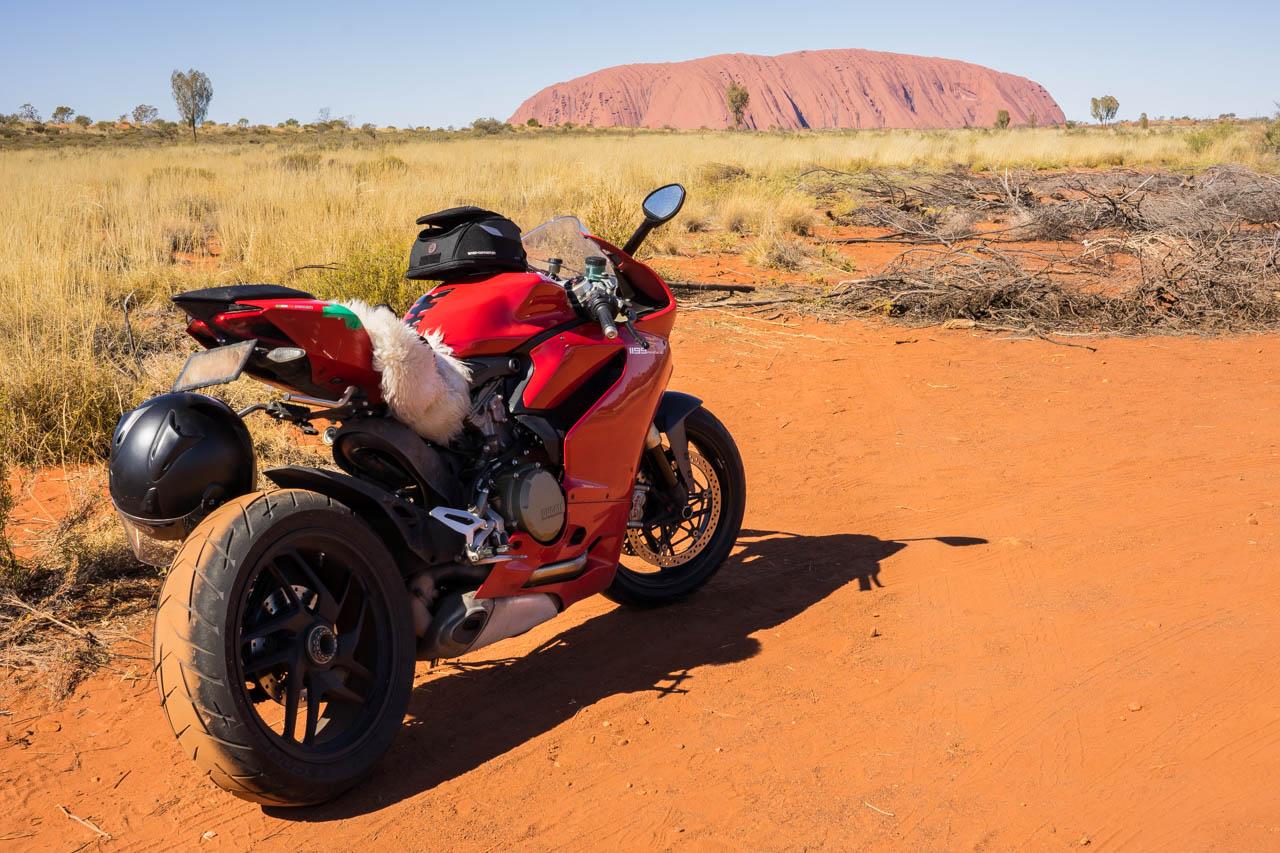
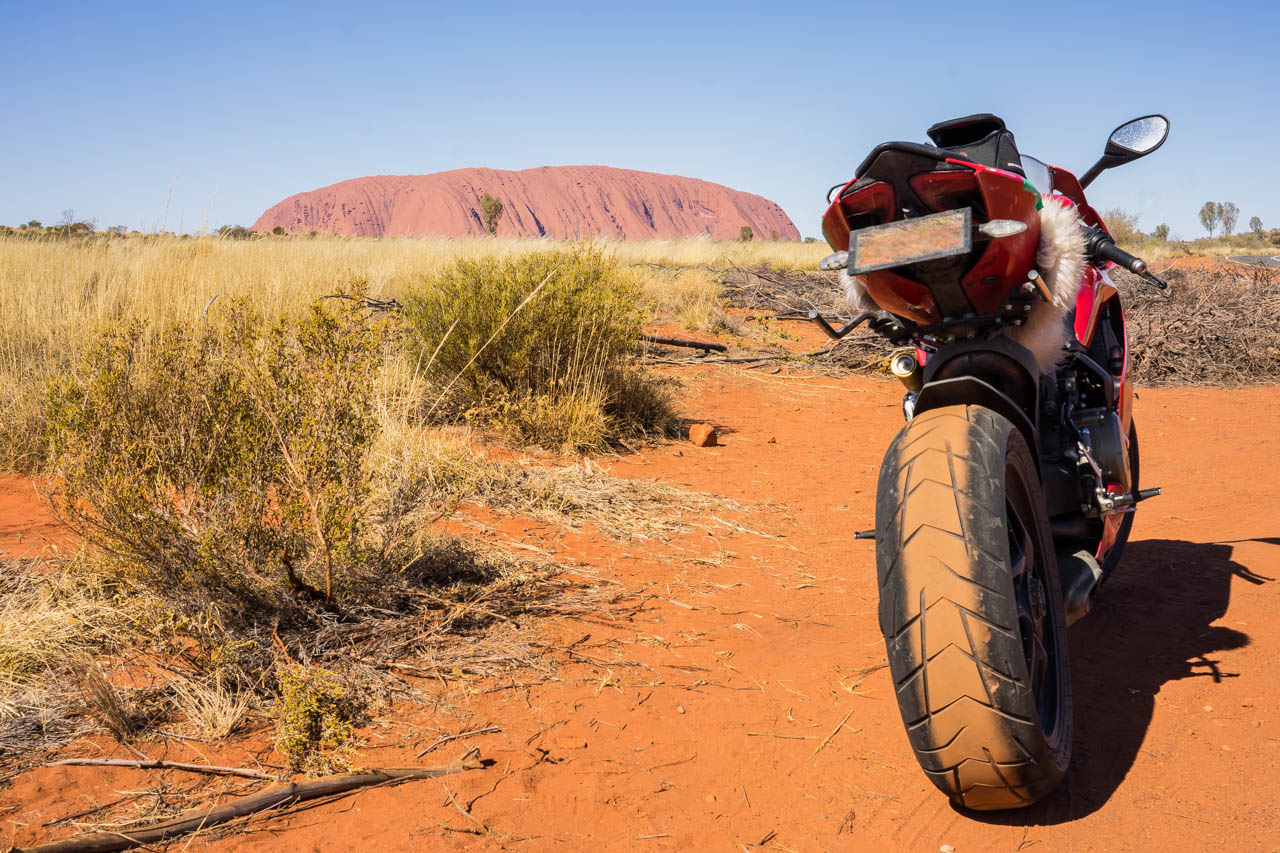
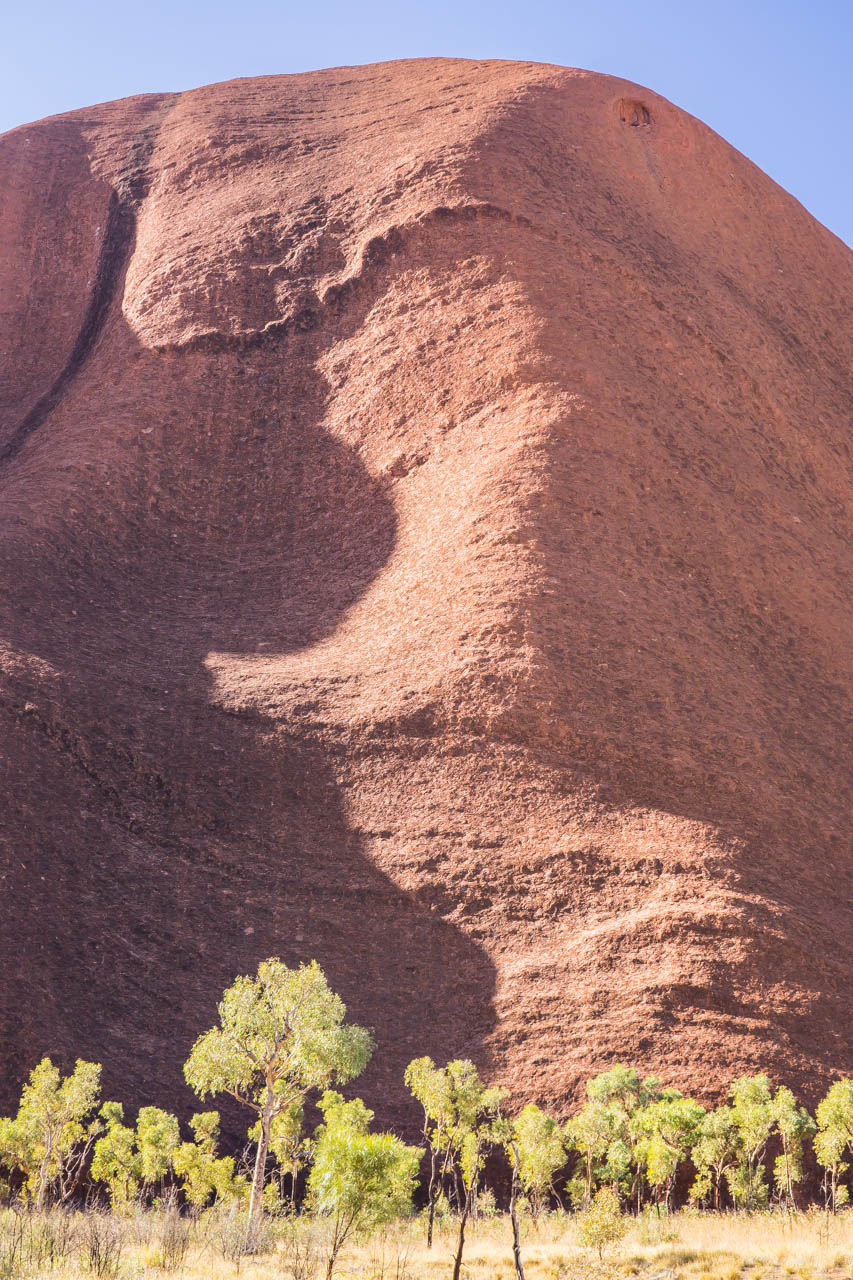
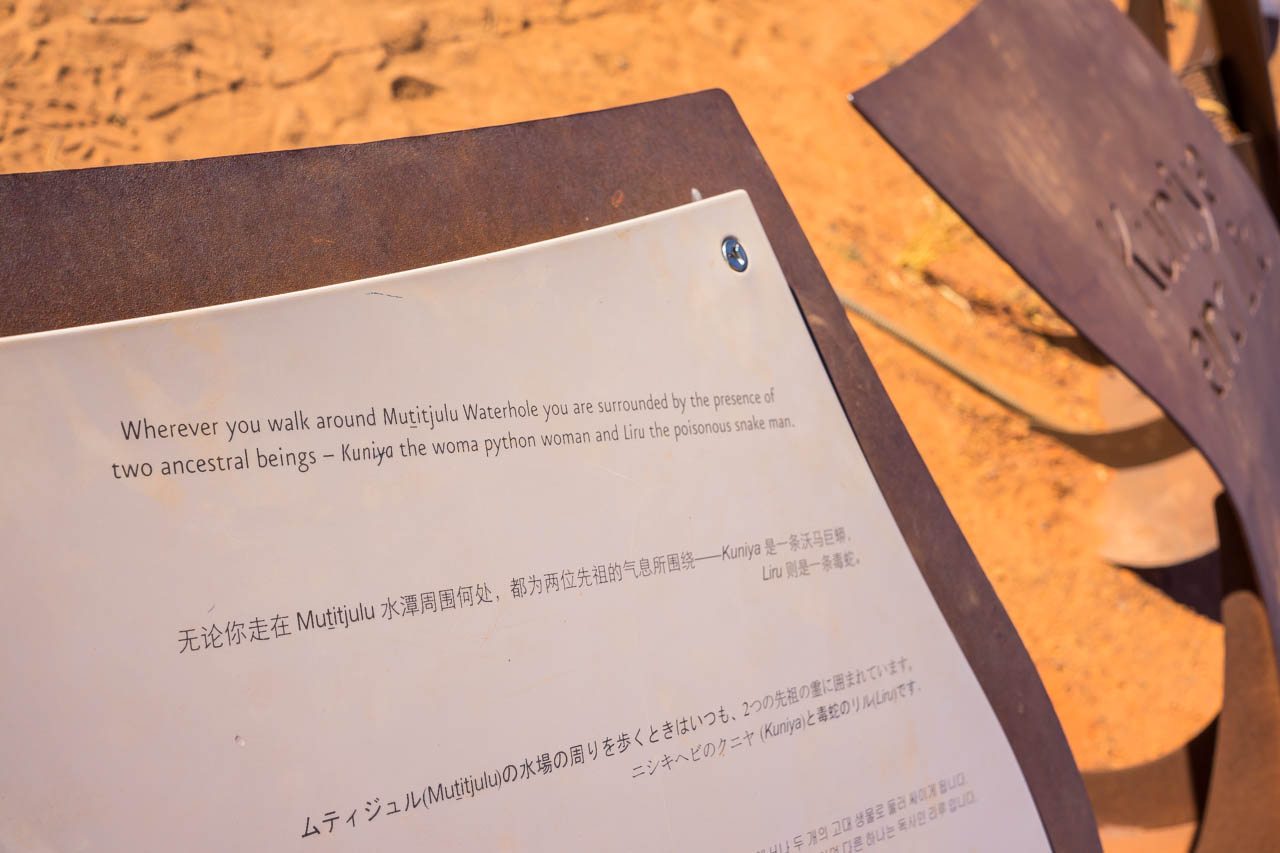
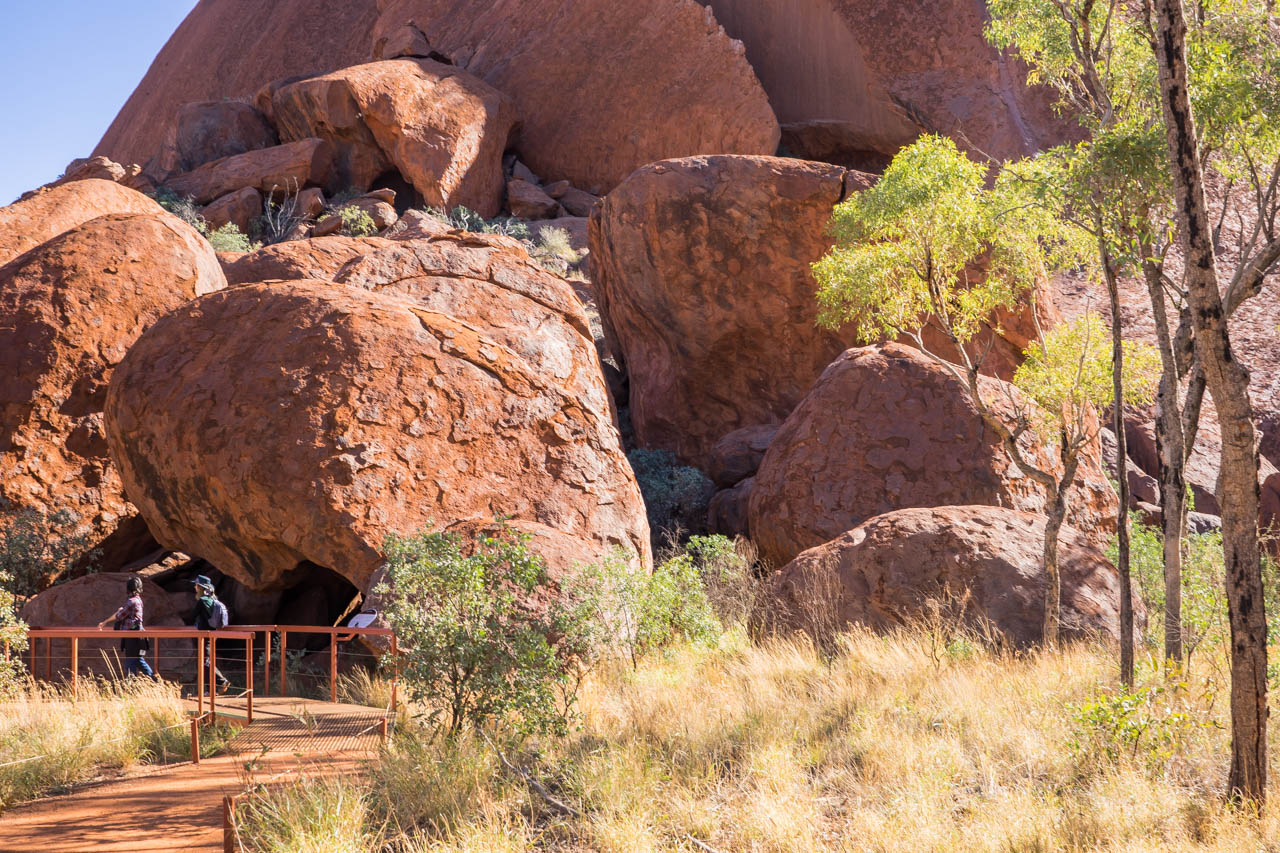
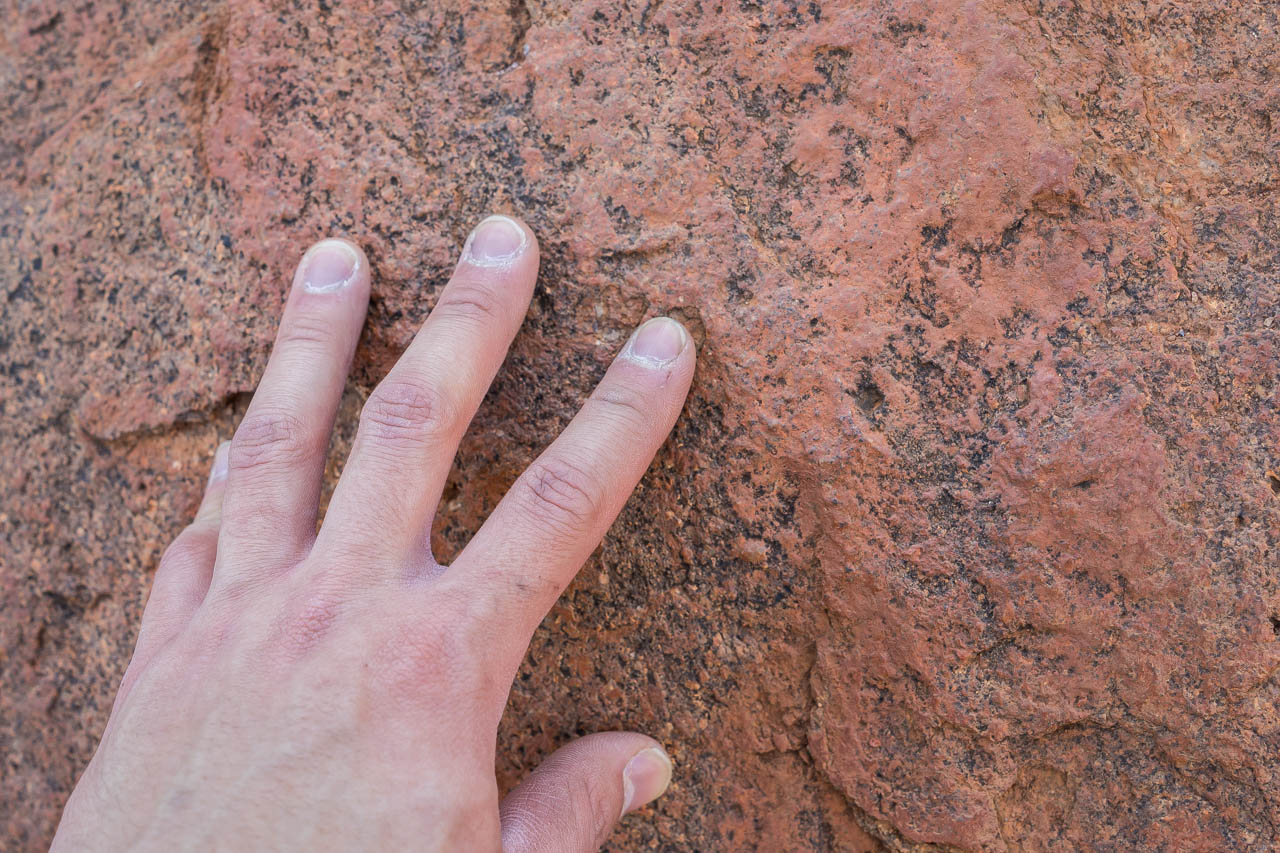
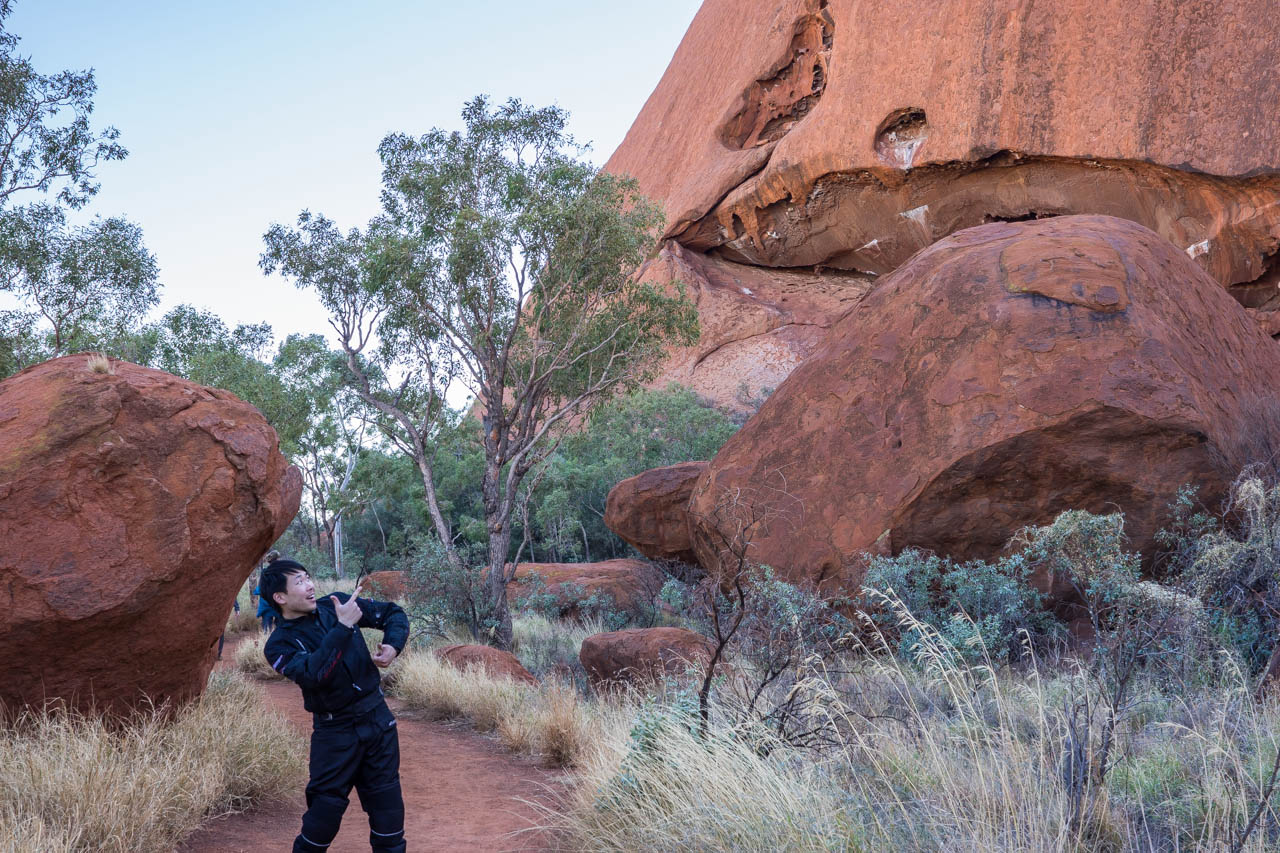
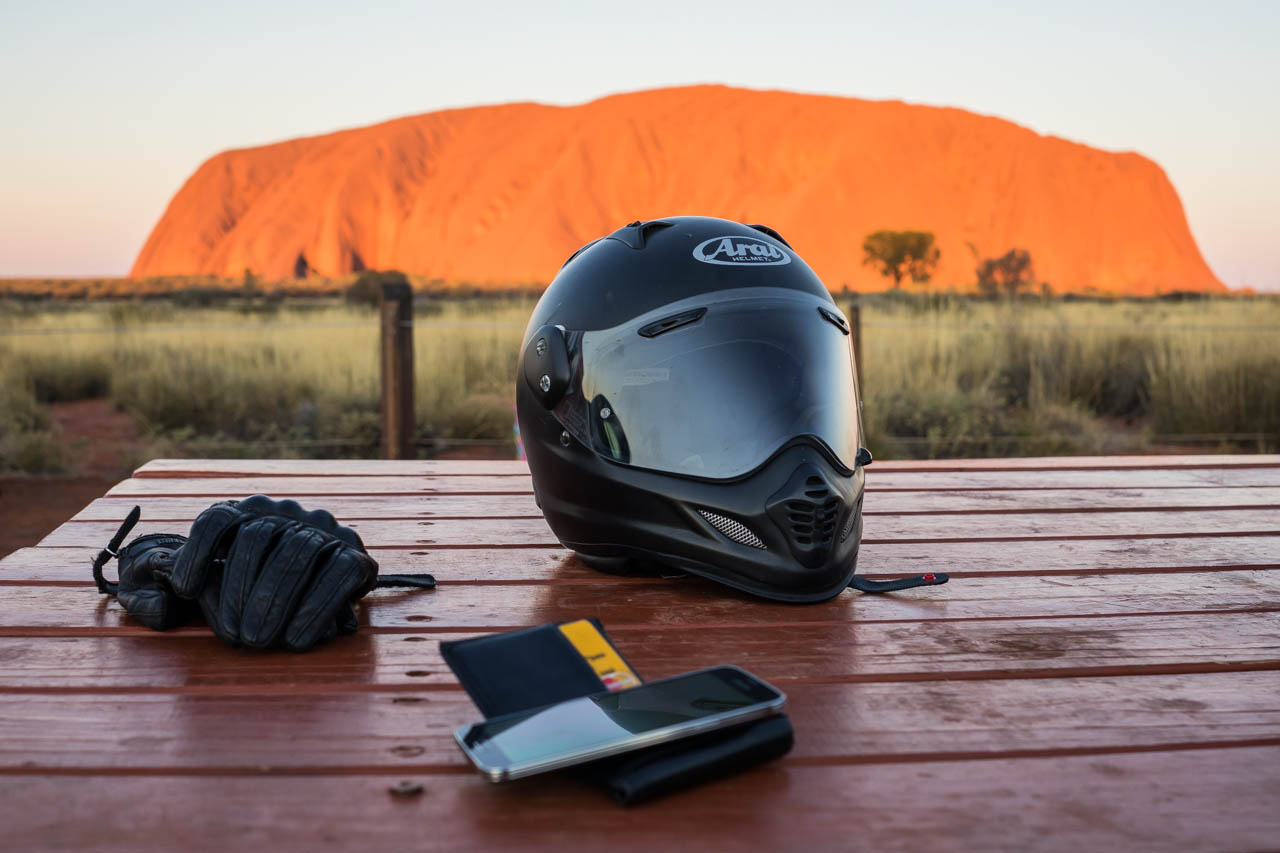
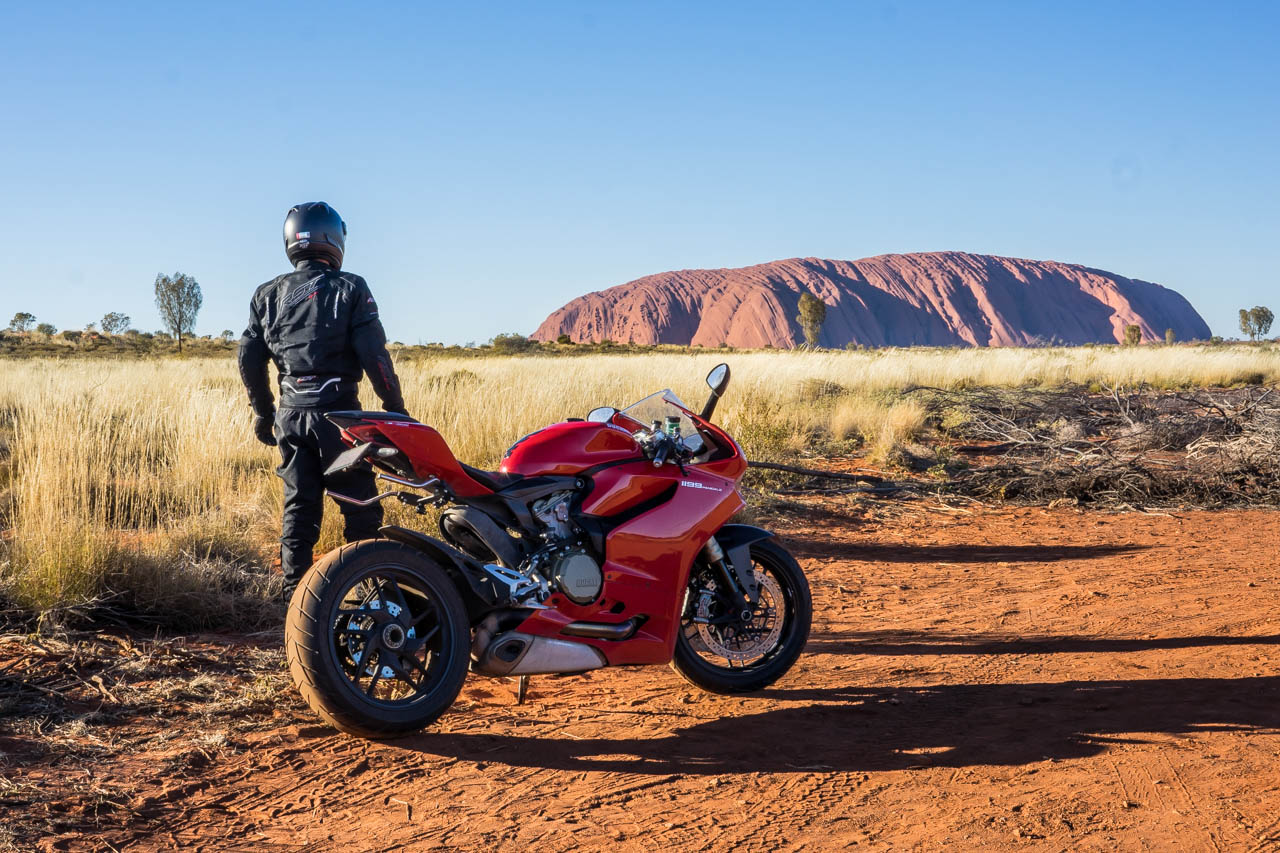
I will make my conclusion of the Uluru-Kata Tjuta visit very short: It’s a must-go. We’ve all seen images of the famous rock in postcards, photographs, magazines, books. This is one place where you have to visit to fully appreciate the scenery. It is an amazing place, and you will love it. Mark my words.

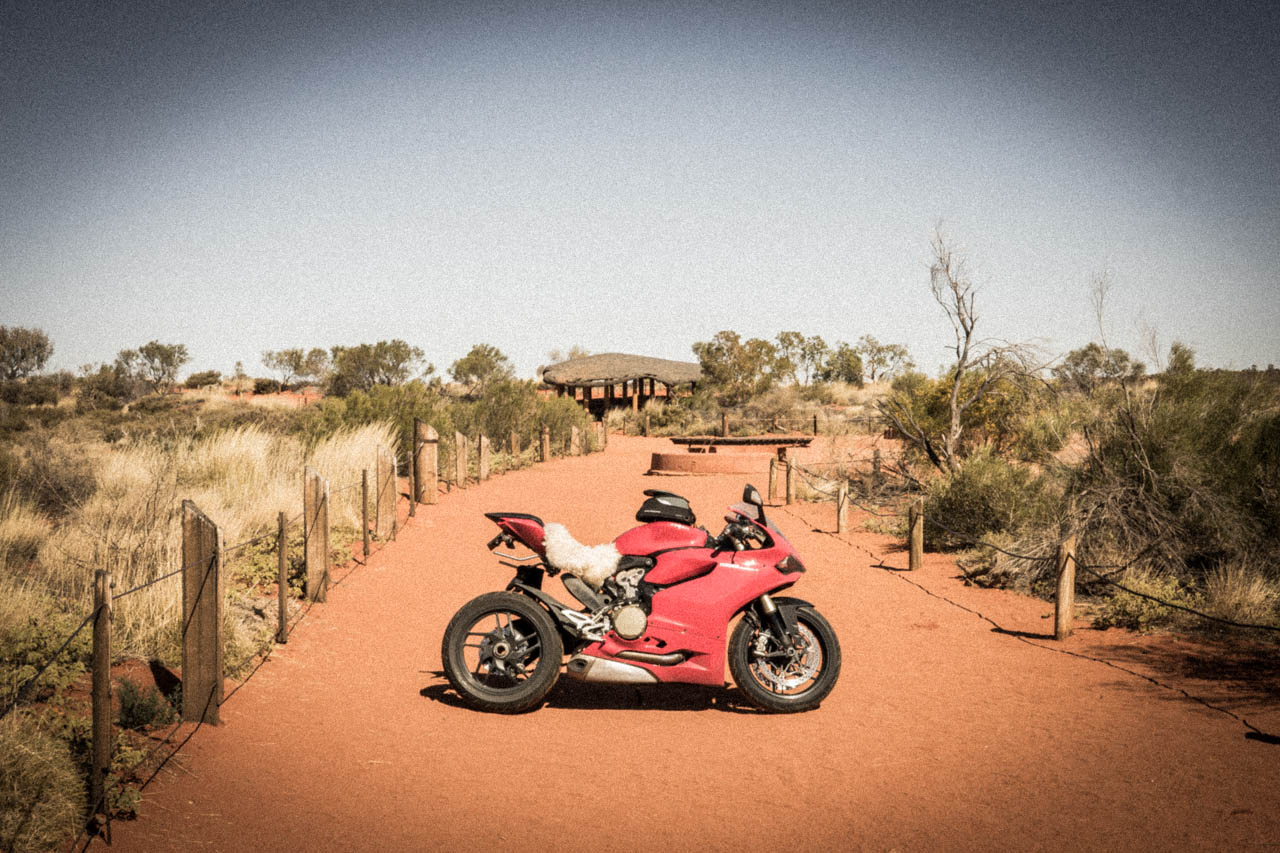
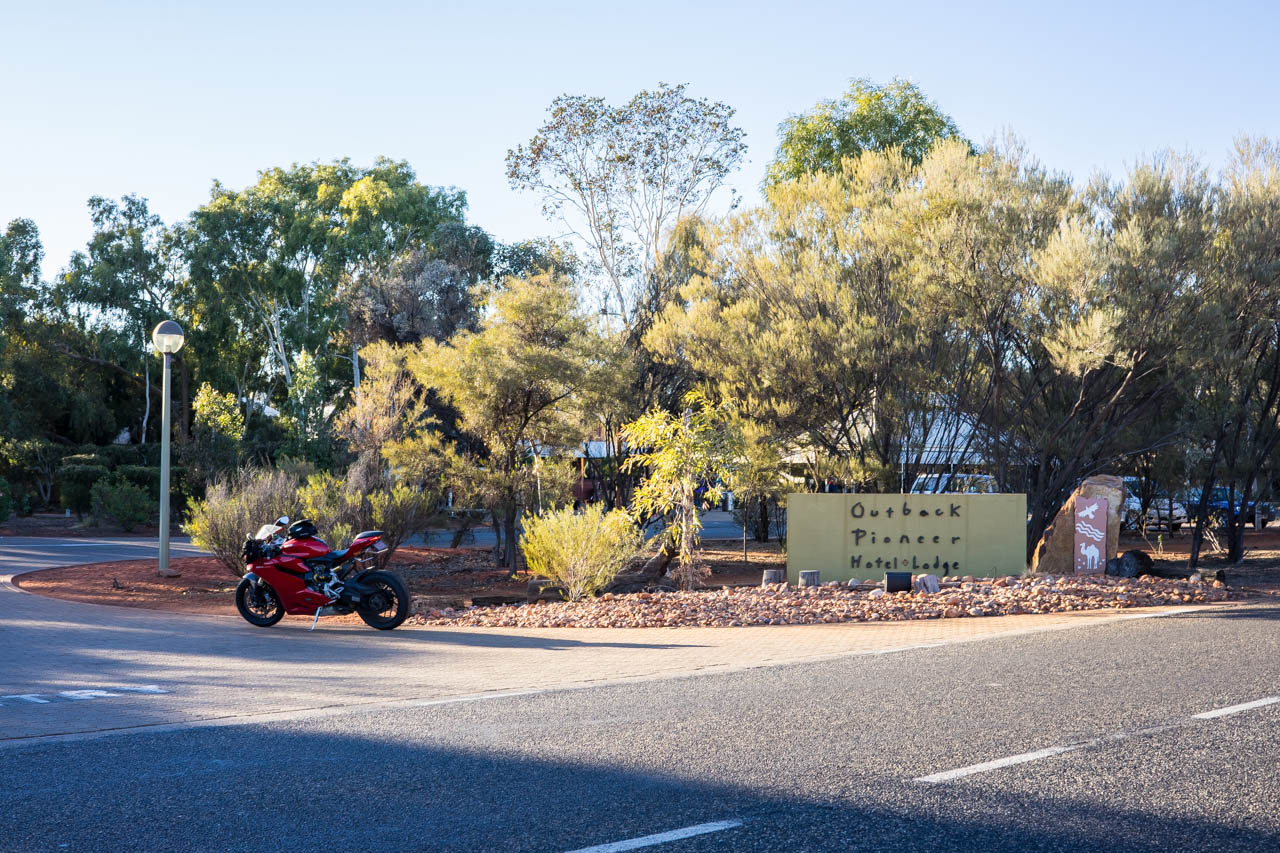
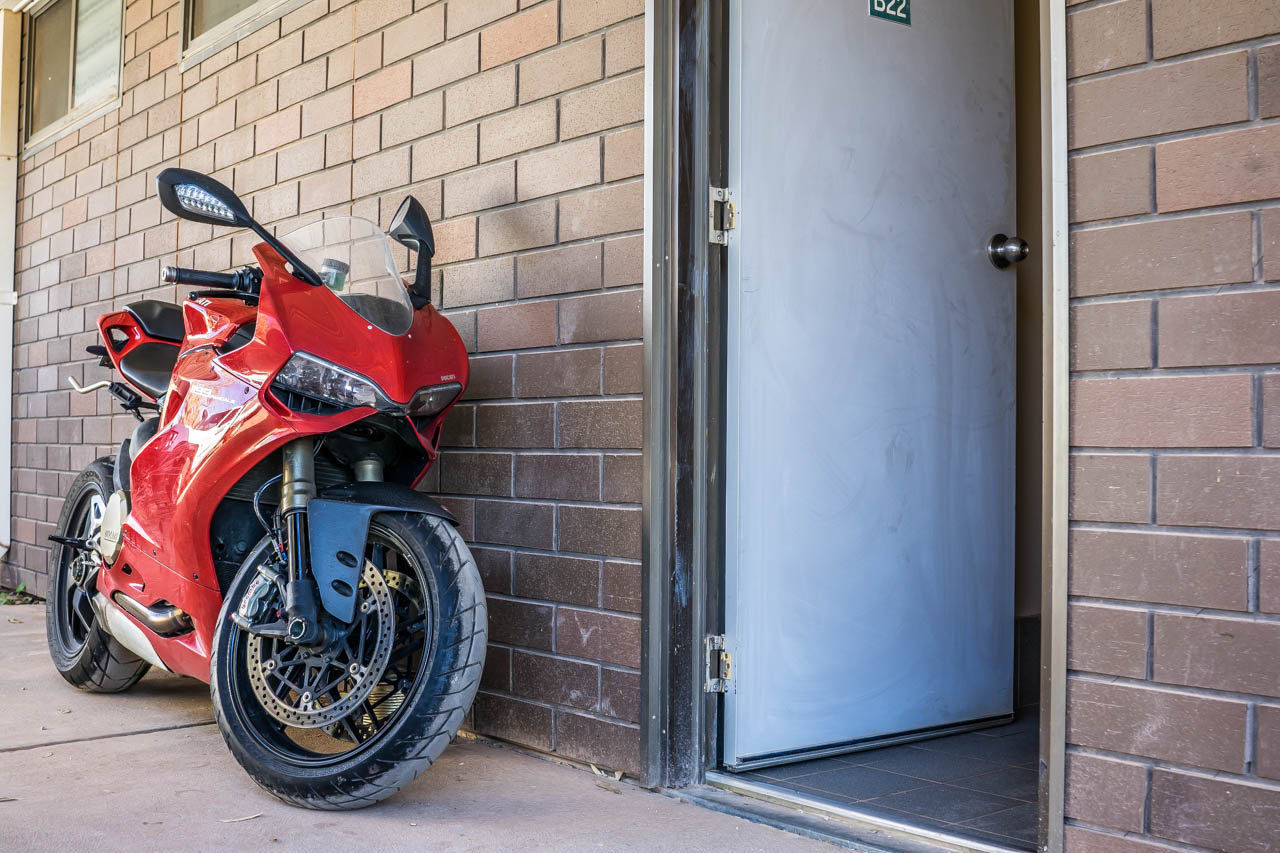
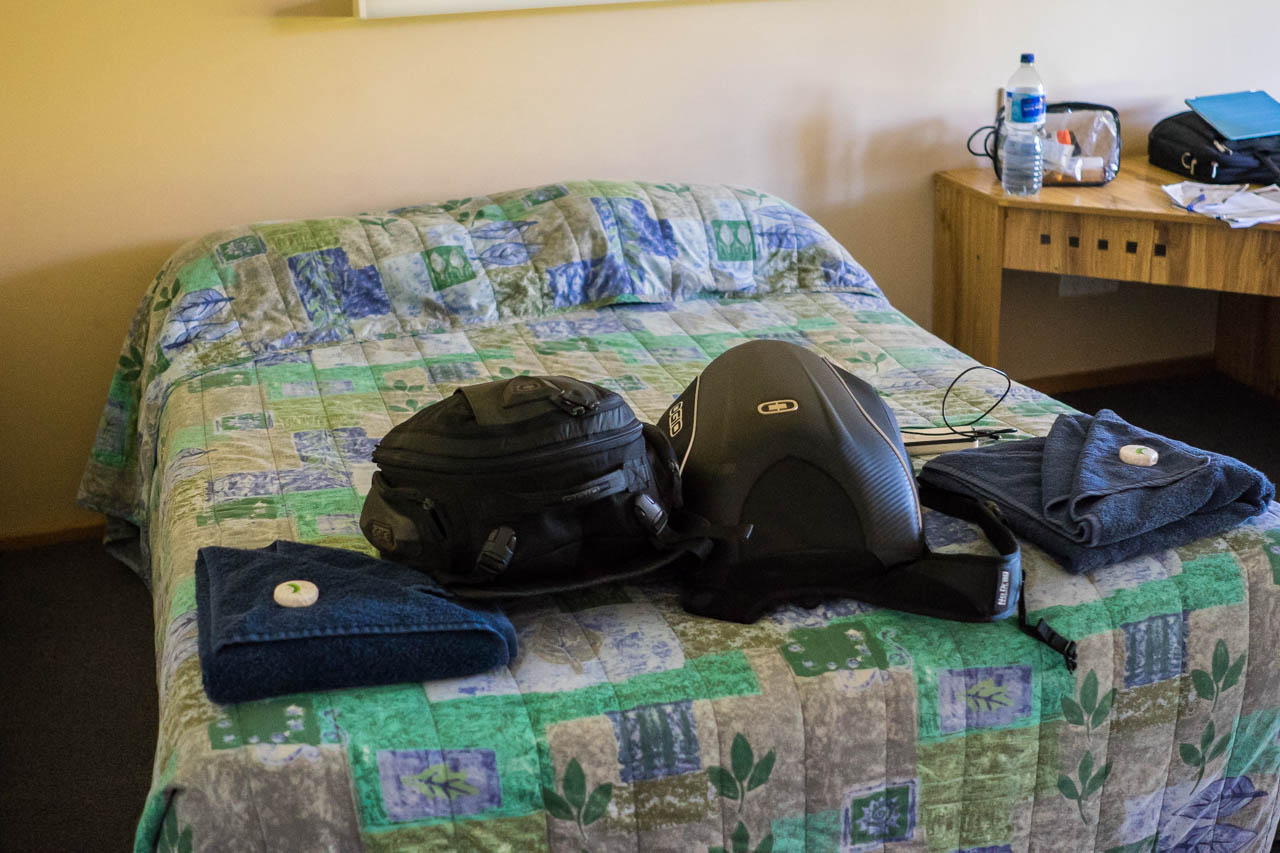
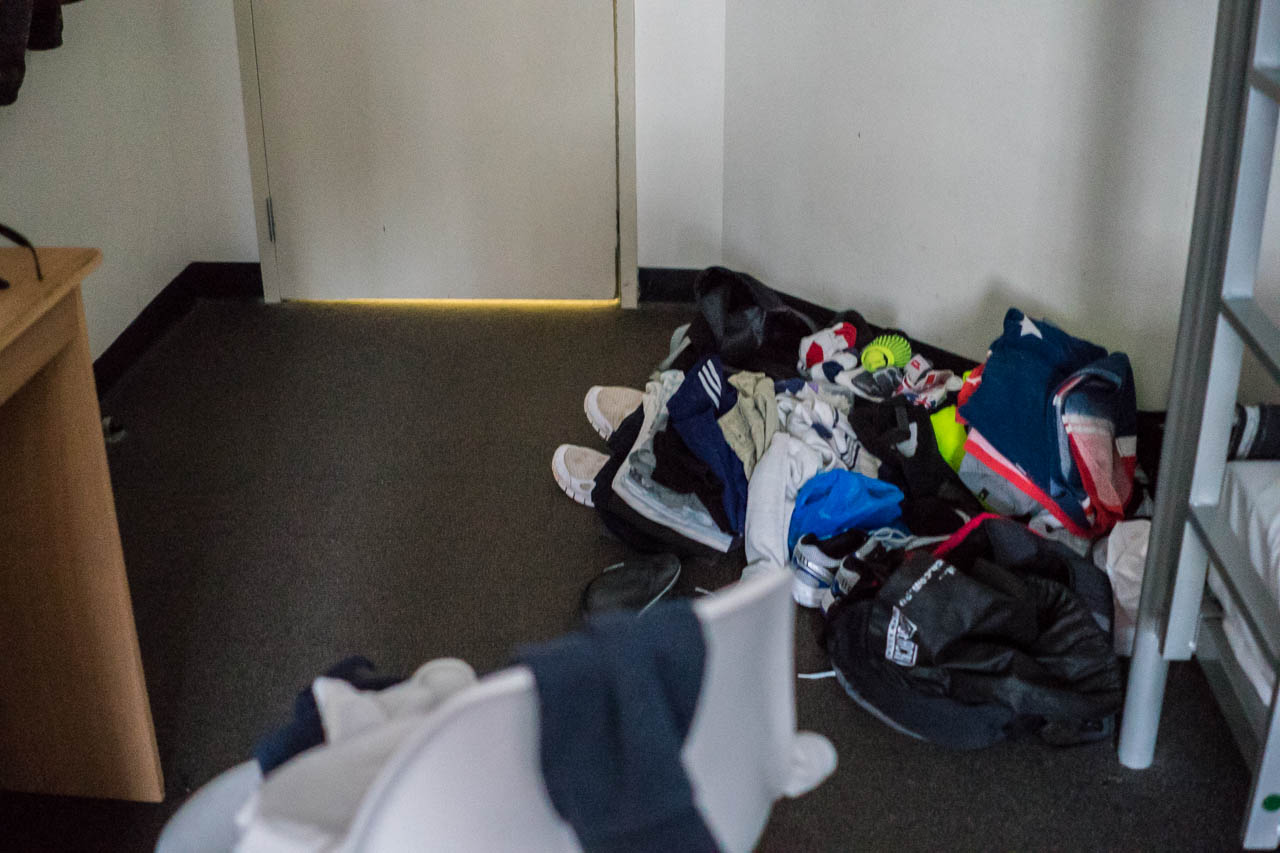
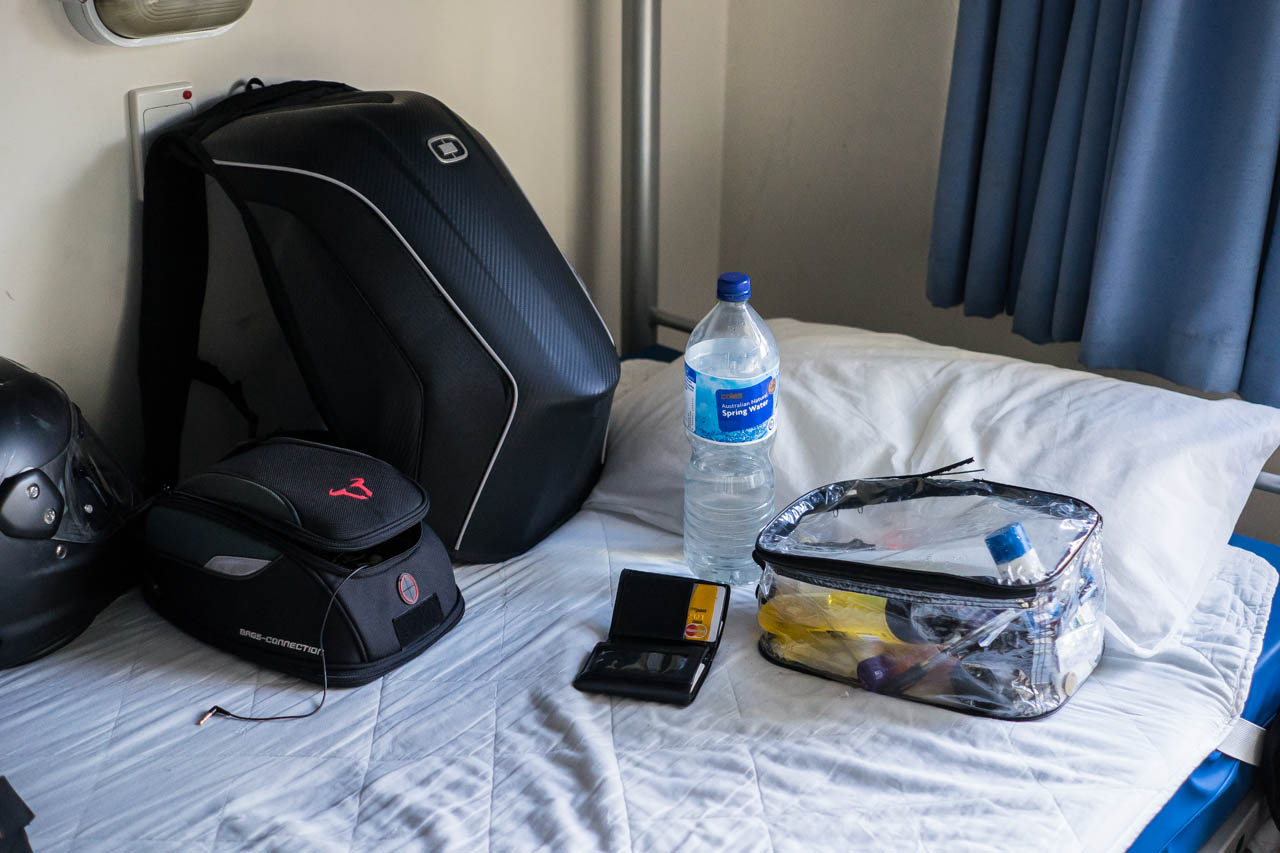
In contrast to the world heritage sites, I had another unforgettable time in my accommodation. I ended up staying at the Outback Pioneer lodge. There’s nothing that’s very characteristically ‘outback’ about it. You’d be hard pressed to check in to a worse place to stay in the outback. I mean, you’ve got all this space out in the outback, and yet I am having to squeeze into multiple bunk beds in a room that’s more suitable for only a queen-size bed. To make matters worse, the whole site plan was laid out in a way that restricted footpath access along blocks of buildings that would lead to an illogical change of direction. To access the amenities was a nightmare of zigzags. Never again.

3 NT and back to Adelaide - Full-2
An eerie, deep, low-pitched drumming beat as it walks by. Emus are quite strange creatures.. but probably thinks the same way about humans with their two free-moving arms and beak-less faces.
3 NT and back to Adelaide - Full-3
En route to Uluru-Kata Tjuta National Park, where there is an abundance of its trademark open roads surrounded by red dirt and arid shrubbery.
3 NT and back to Adelaide - Full-4
The most expensive toll fee to be paid.
3 NT and back to Adelaide - Full-5
Damn bikers. Always pushing in line to the front, always in the way.
3 NT and back to Adelaide - Full-6
$25.00 toll fee to Uluru..
3 NT and back to Adelaide - Full-7
We’ve come a long way, baby…
3 NT and back to Adelaide - Full-8
Standing at 348m from the ground up, it’s a behemoth like no other rock formation.
3 NT and back to Adelaide - Full-9
Traditional owners know it as ‘Uluru’; the British explorers called it ‘Ayers Rock’. Either names are used in various context, but I prefer its Aboriginal name.
3 NT and back to Adelaide - Full-10
Obligatory selfie shot with the rock.
3 NT and back to Adelaide - Full-11
There are many sides to Uluru from which to take the scenery, each exuding a distinguishing appearance.
3 NT and back to Adelaide - Full-12
The peak of Uluru stands at 863m above sea level, which is more than what Mt Connor stands, at 859m.
3 NT and back to Adelaide - Full-13
The red Italian, with the red rock.
3 NT and back to Adelaide - Full-14
Capturing memories; I miss this place..
3 NT and back to Adelaide - Full-15
Another side of Uluru.
3 NT and back to Adelaide - Full-16
Despite the winter season, there are still an abundance of annoying persistent flies out here.
3 NT and back to Adelaide - Full-21
Up close to Uluru. No matter how well you try to capture the rock from a camera, many people who have attempted to do so will testify of how their images would belie the incredible size of Uluru. It’s among the few things in the world that you have to see and experience in person to truly appreciate the monolith.
3 NT and back to Adelaide - Full-24
When viewed from up close, you get the impression that there are many small individual rock formations within Uluru itself, such is the size and the complexity of the rock.

3 NT and back to Adelaide - Full-173 NT and back to Adelaide - Full-18 3 NT and back to Adelaide - Full-19 3 NT and back to Adelaide - Full-20 3 NT and back to Adelaide - Full-22 3 NT and back to Adelaide - Full-23 3 NT and back to Adelaide - Full-25 3 NT and back to Adelaide - Full-26 3 NT and back to Adelaide - Full-27 3 NT and back to Adelaide - Full-28

3 NT and back to Adelaide - Full-29
Smaller canyon-like voids within Uluru. Notice the smaller upward-pointing rock upon another rock, on the middle-left of the photo.
3 NT and back to Adelaide - Full-30
Setting off, and arriving at Kata Tjuta, which is located approximately 50km west from Uluru.
3 NT and back to Adelaide - Full-31
Known as Kata Tjuta by its traditional owners; named as Mount Olga, or The Olgas, by the English explorers.
3 NT and back to Adelaide - Full-32
Again, the image here belies the one-of-a-kind atmosphere out here. A must-do for any great Aussie travel experience.
3 NT and back to Adelaide - Full-33
Black-and-white effect.
3 NT and back to Adelaide - Full-34
Grain effect.

3 NT and back to Adelaide - Full-353 NT and back to Adelaide - Full-36

3 NT and back to Adelaide - Full-37
Tyre wear check.
3 NT and back to Adelaide - Full-38
In time for sunset scenery.
3 NT and back to Adelaide - Full-39
Good night, Uluru.

Day 9 – Yulara to Marla

Ambient Temperature: -2°C to 15°C

3 NT and back to Adelaide - Full-40
A cold morning at Yulara, mercury showing a cool -2°C

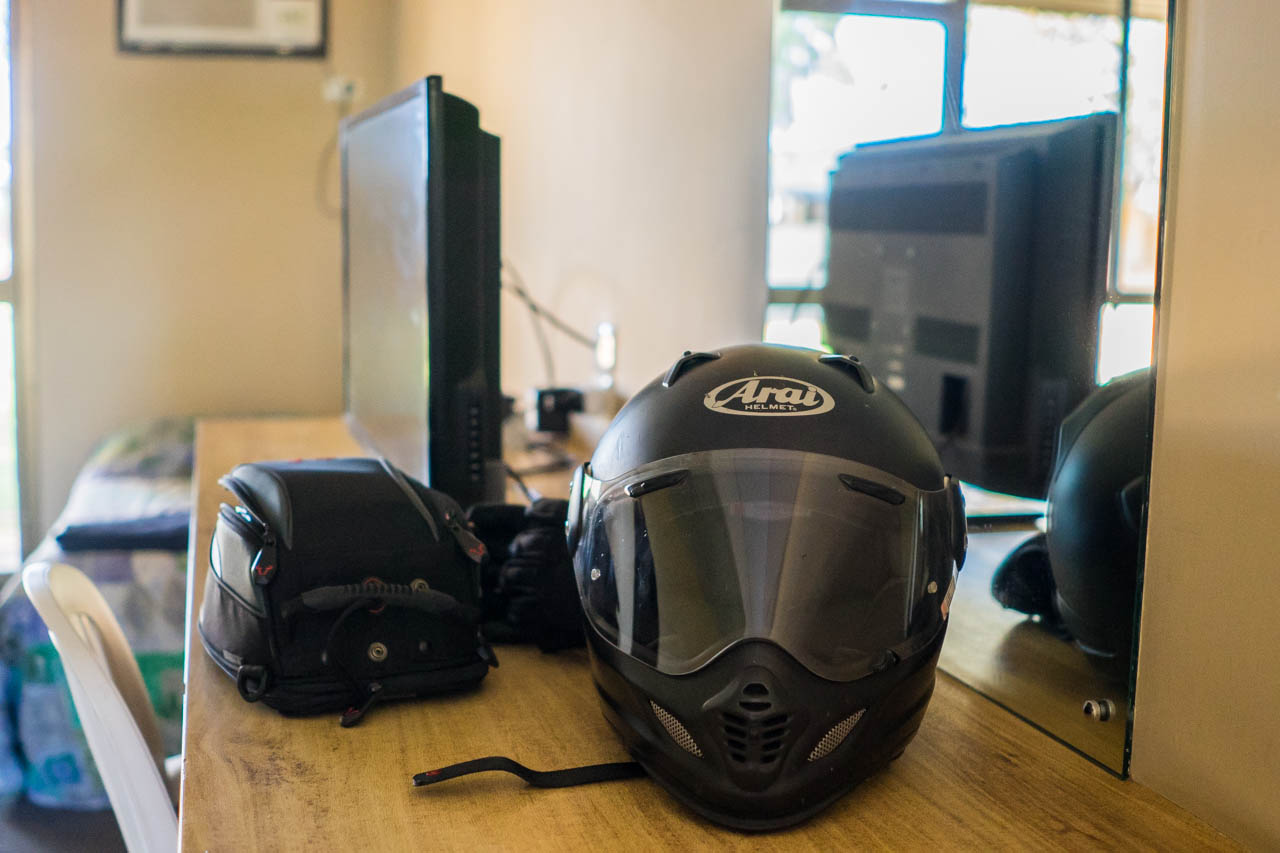
This day indicated the dreary ride back to Adelaide down the same route that I came up from. All that was in my head was to ride continuously, like a machine, and not think too much of anything that may induce boredom. This is when I really needed that helmet bluetooth kit and a variety of music that I did not organise. No other option but to suck it up, and hum my own tunes.

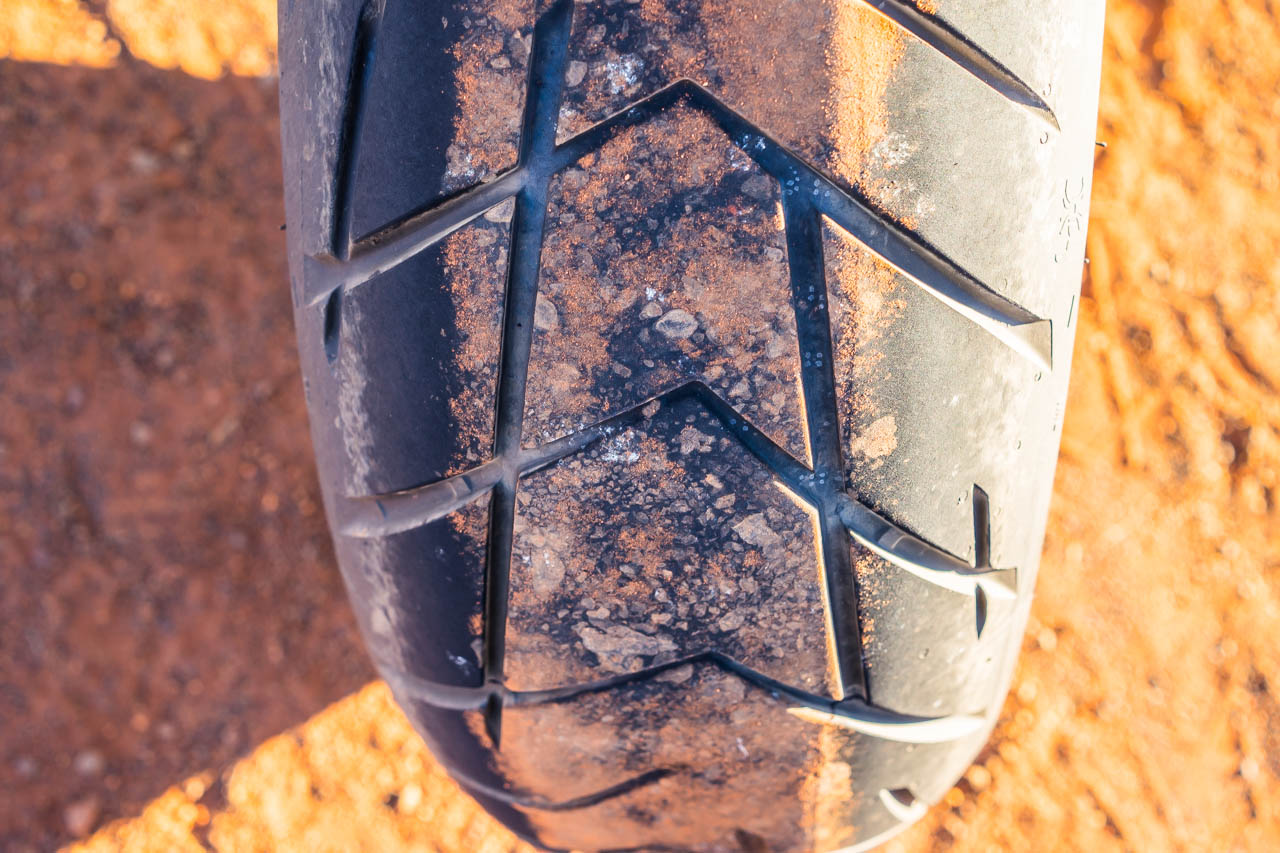
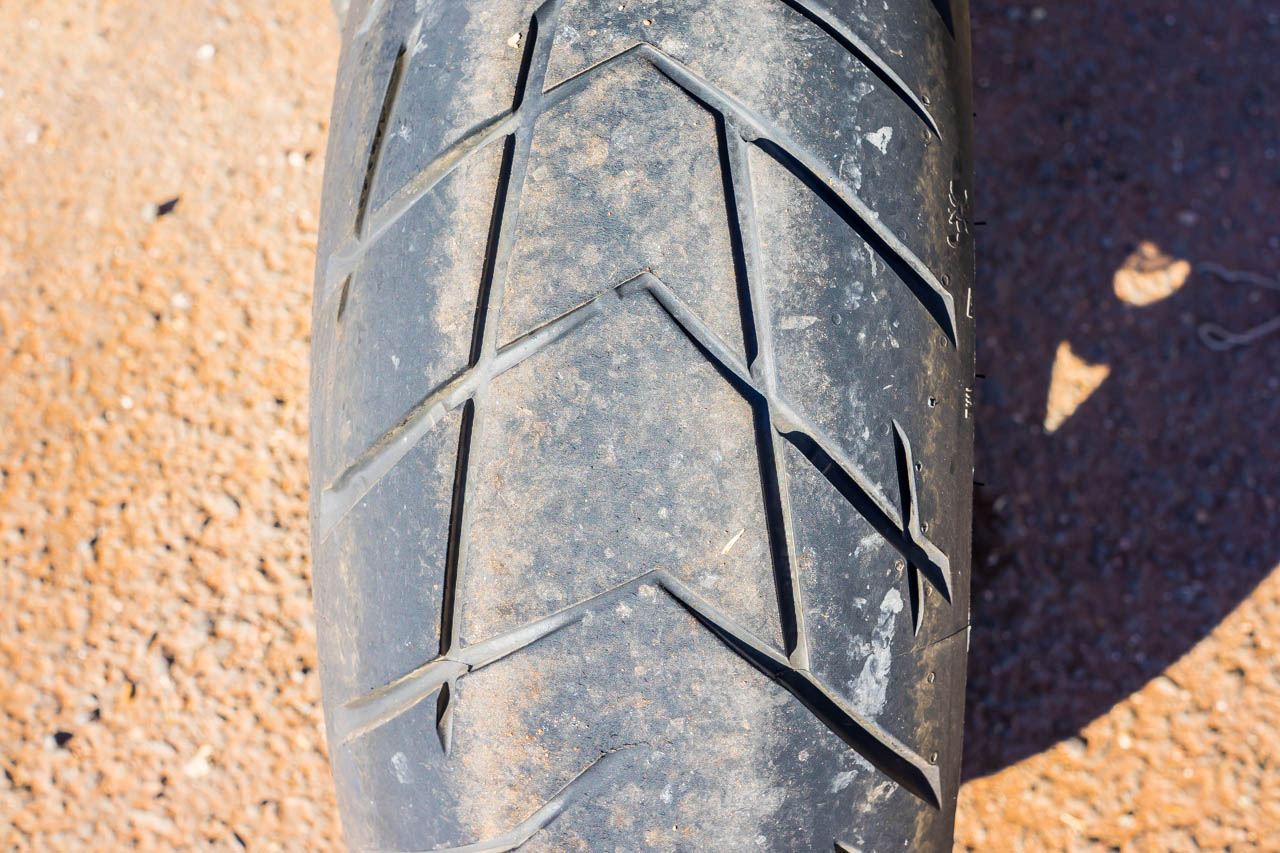
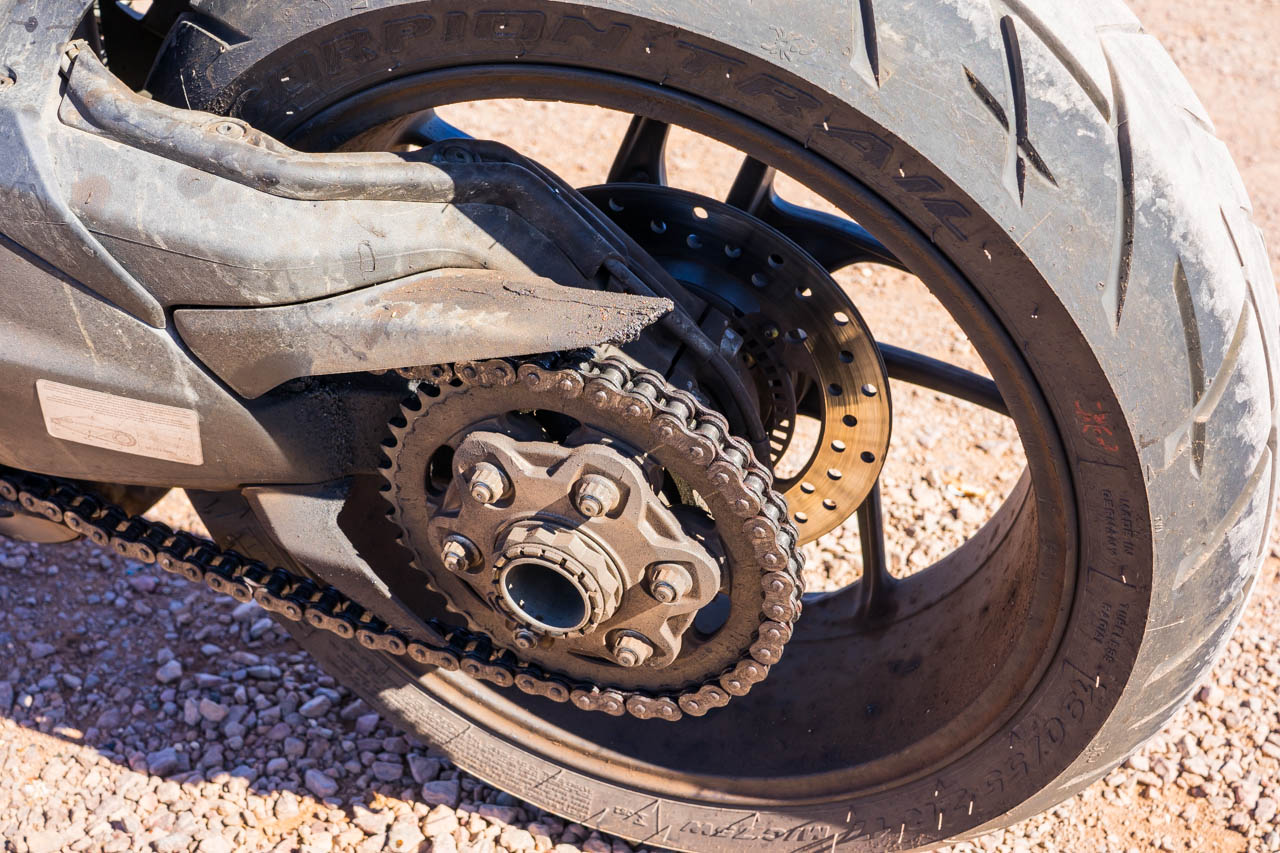
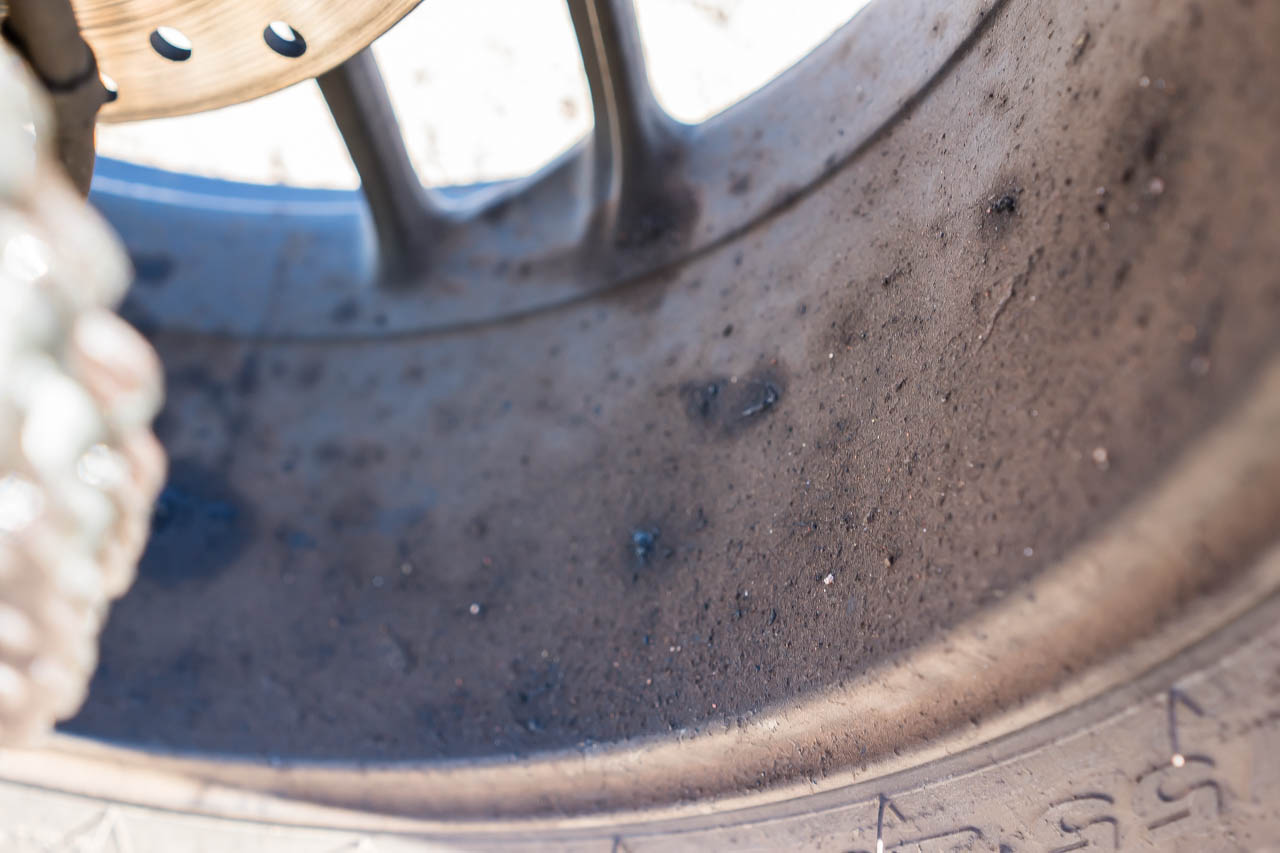
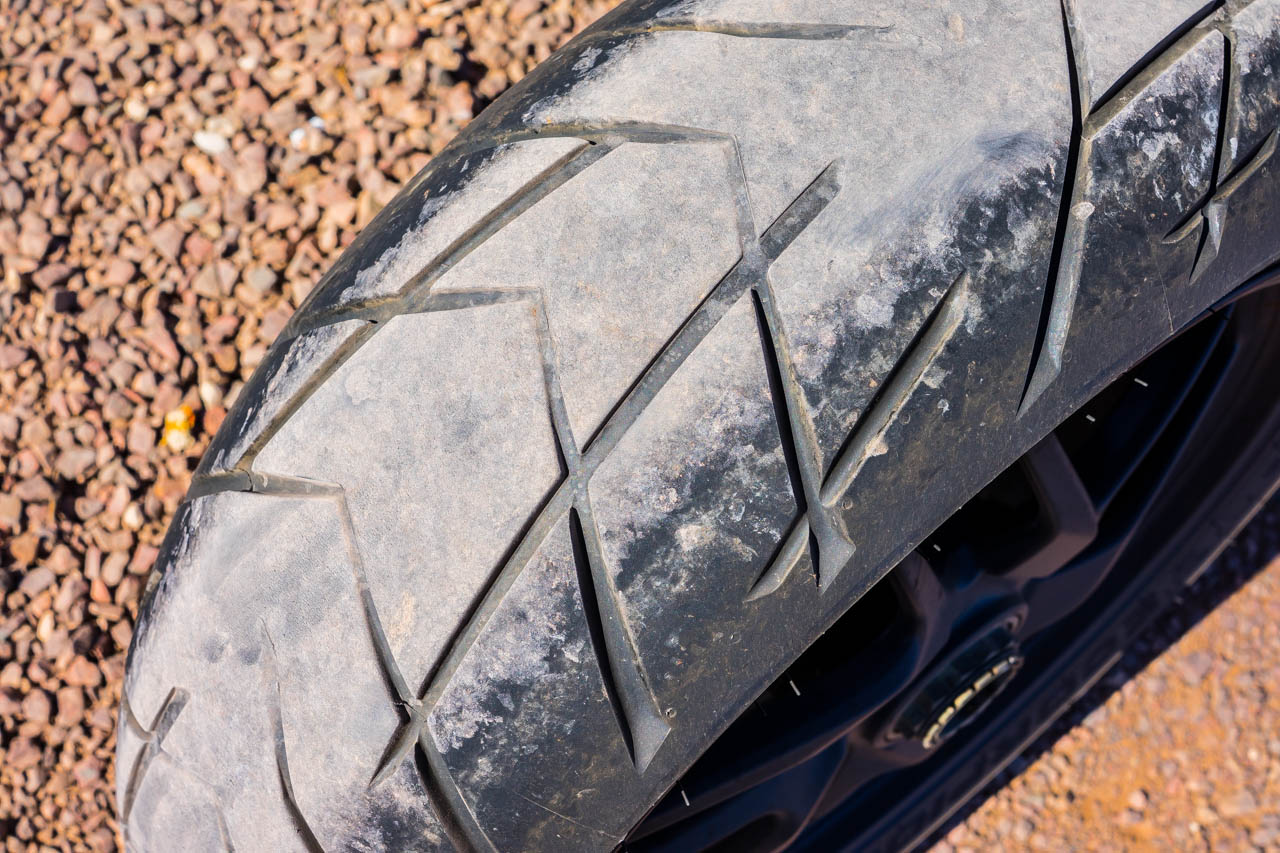
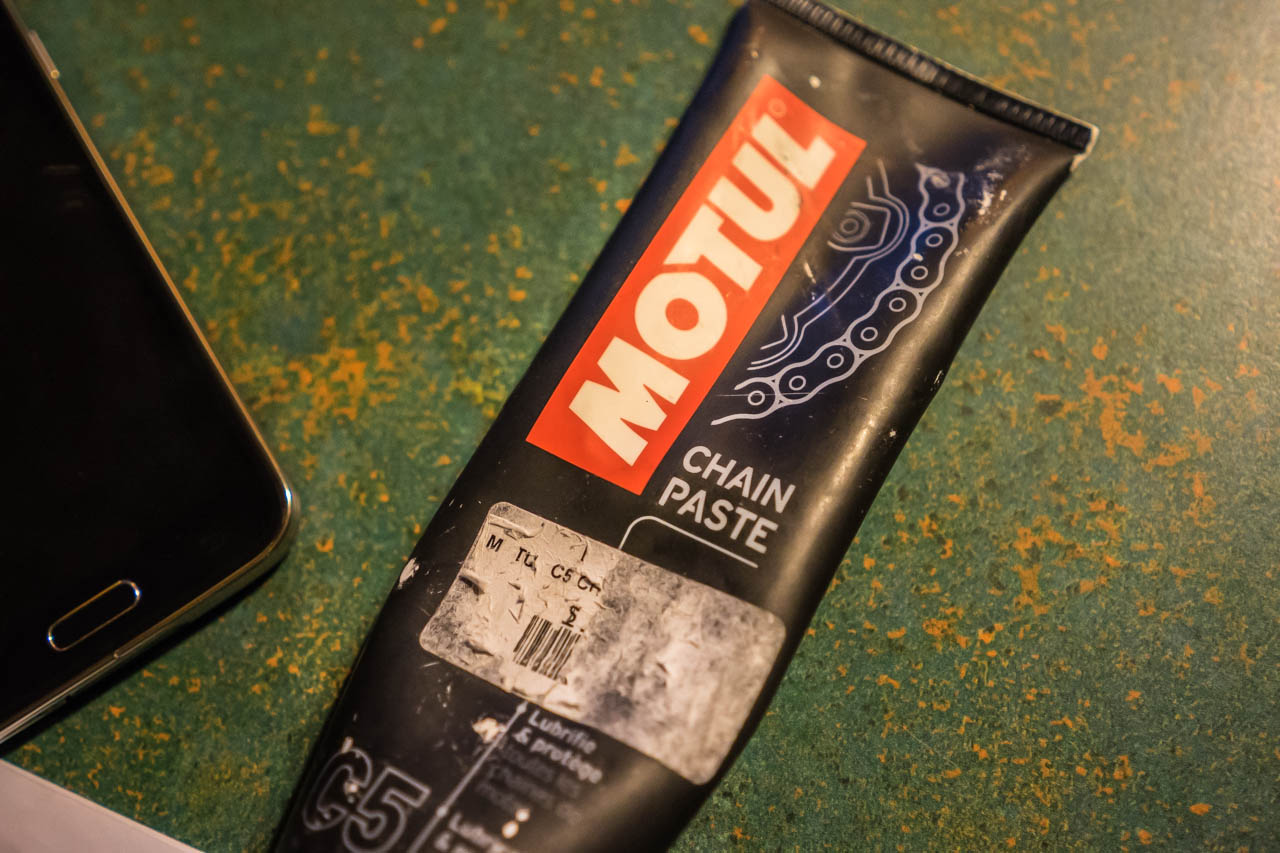
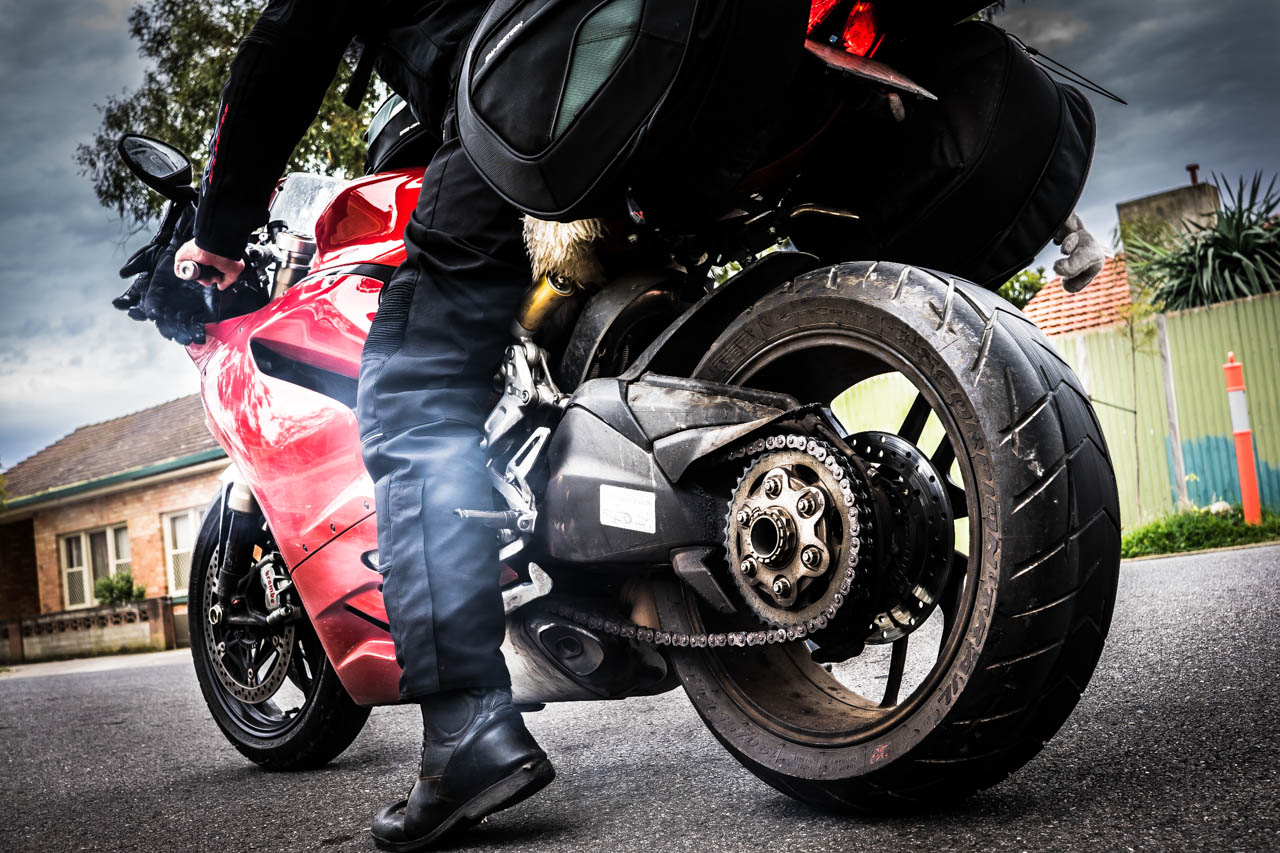
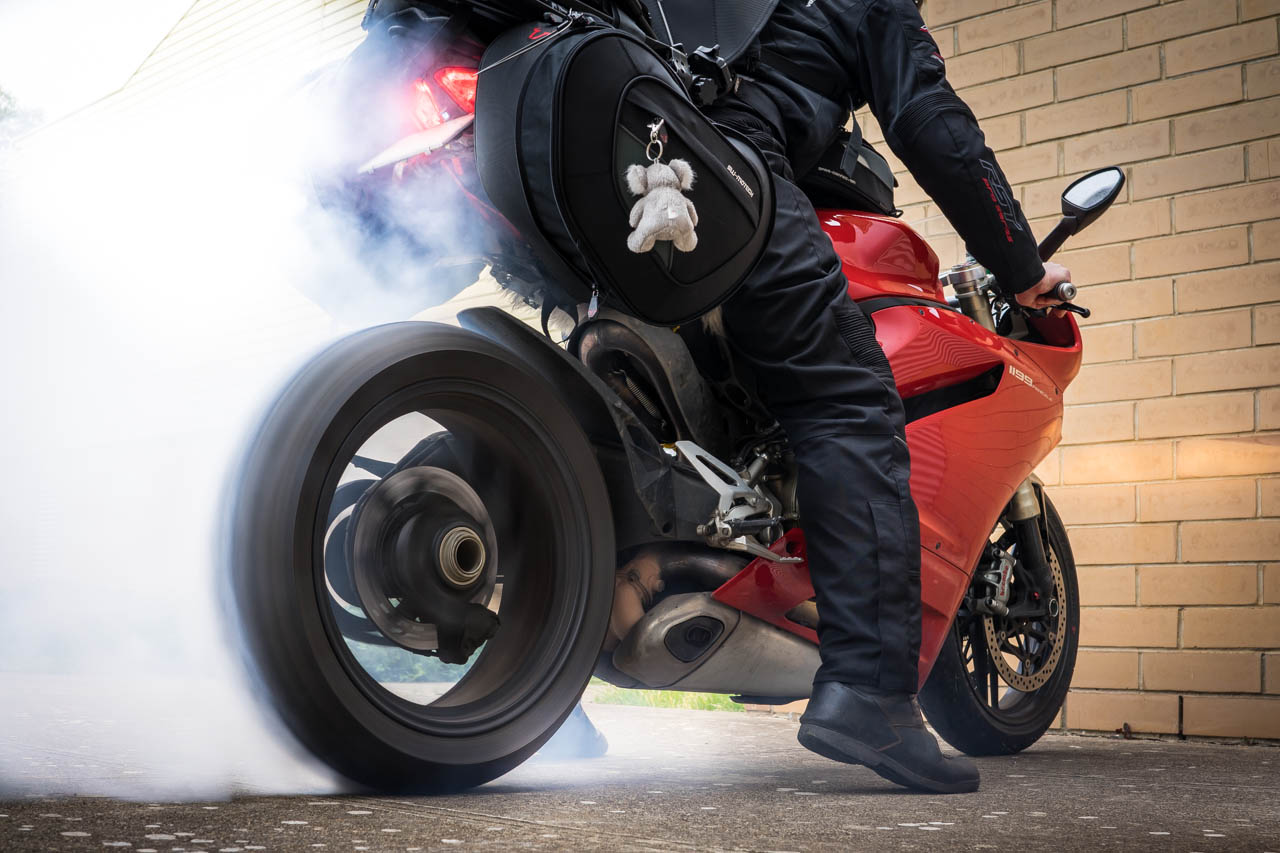
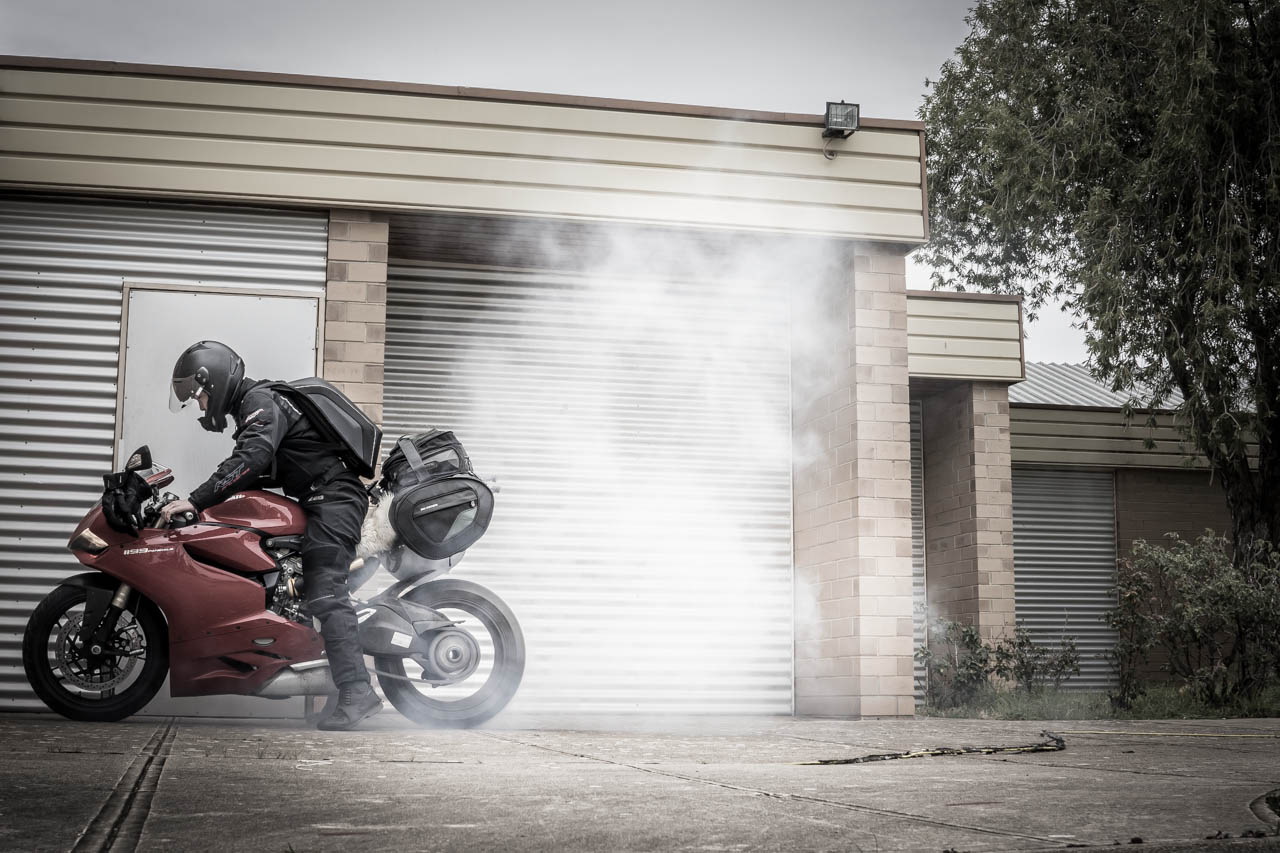
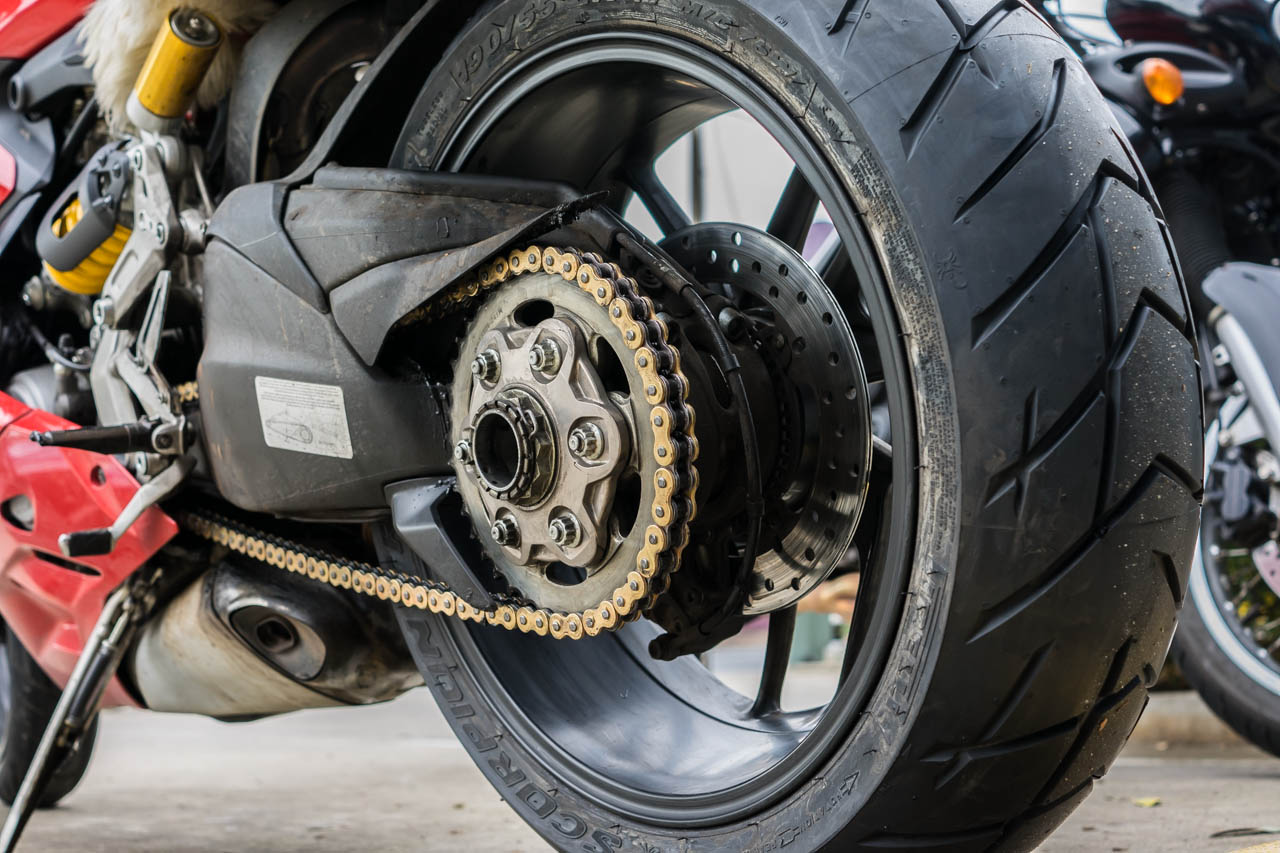
At this point of my journey, I was very concerned about the wear on my tyres, so I did my best to travel on the smoother parts of the highway, and avoiding the severe rougher sections. In the end, I probably would only extend the tyre life by a measly amount.

Stayed at Marla Travellers Rest. I’ve read some reviews indicating that the nearby Cadney Park (70kms away) is a better place to stay than the one in Marla. Don’t know about what the others were thinking, because Marla seemed to have better facilities, and a supermarket which helped with the convenience factor. Cheaper too.

3 NT and back to Adelaide - Full-41
It’s a trap. A tourist trap. Be prepared to hand over a lot of cash for a very modest sleeping arrangement.
3 NT and back to Adelaide-42
Final goodbye to the rock. I’ll see you again, whether it be the next year, or the next decade.
3 NT and back to Adelaide - Full-43
Most expensive fuel purchased: $2.14 per litre 98RON at Yulara, NT
3 NT and back to Adelaide - Full-44
Be ready to eat a lot of rubber on these coarse highways.
3 NT and back to Adelaide - Full-45
Reference for future trips: That’s how I’d travel for when I want it easy. *Points to the Kawasaki chook chaser*
3 NT and back to Adelaide - Full-46
Going back. It’s a long way back to Port Augusta.
3 NT and back to Adelaide - Full-47
The soil upon where I stood.
3 NT and back to Adelaide - Full-48
This is a creek. Apparently.
3 NT and back to Adelaide - Full-49
Tyre wear check. Getting close to the wear indicators.
3 NT and back to Adelaide - Full-50
Calling it an early day today, staying at Marla Travellers Rest.

3 NT and back to Adelaide - Full-51 3 NT and back to Adelaide - Full-52

3 NT and back to Adelaide - Full-53
So this is why they don’t want you to drink their water…

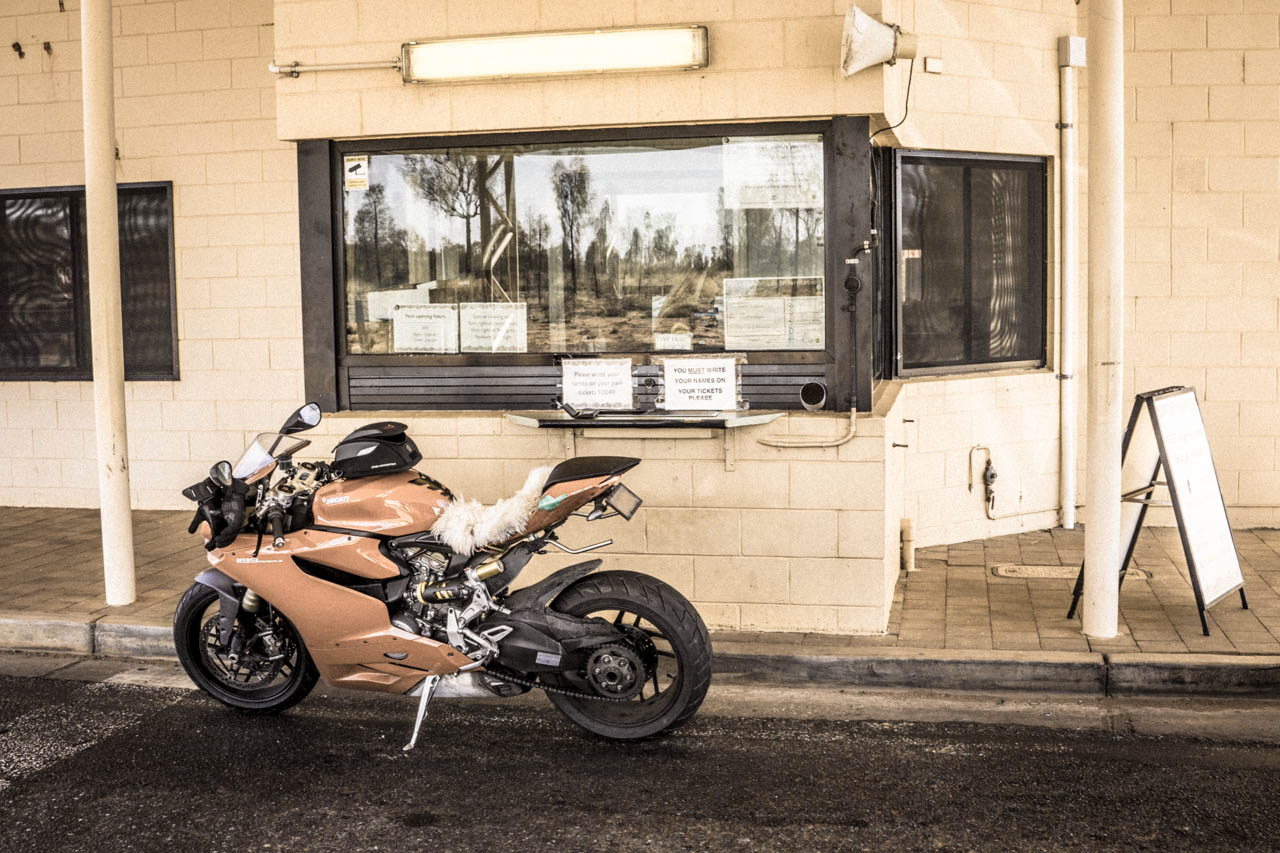
Day 10 – Marla to Port Augusta

Ambient Temperature: 0°C to 14°C

3 NT and back to Adelaide - Full-54
An early morning once again. A very cold morning.

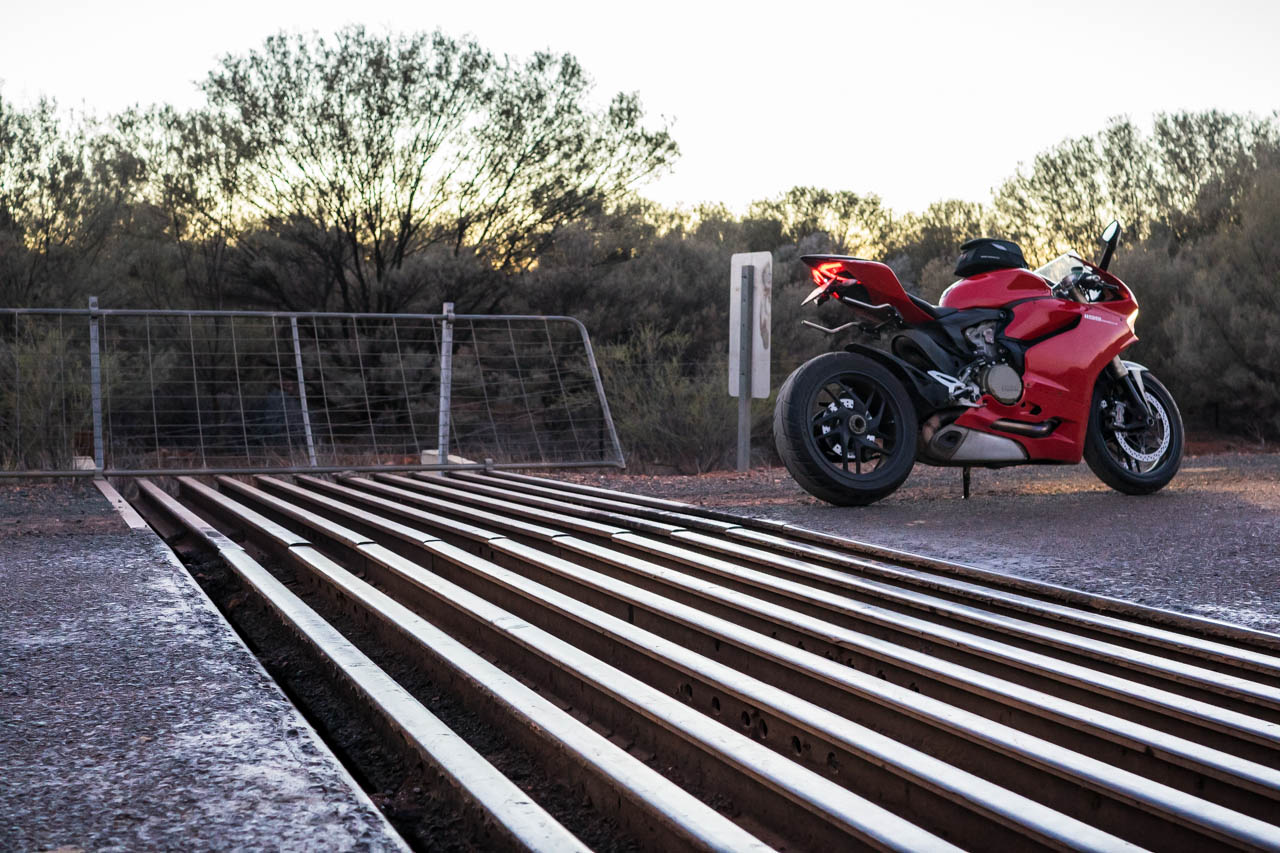
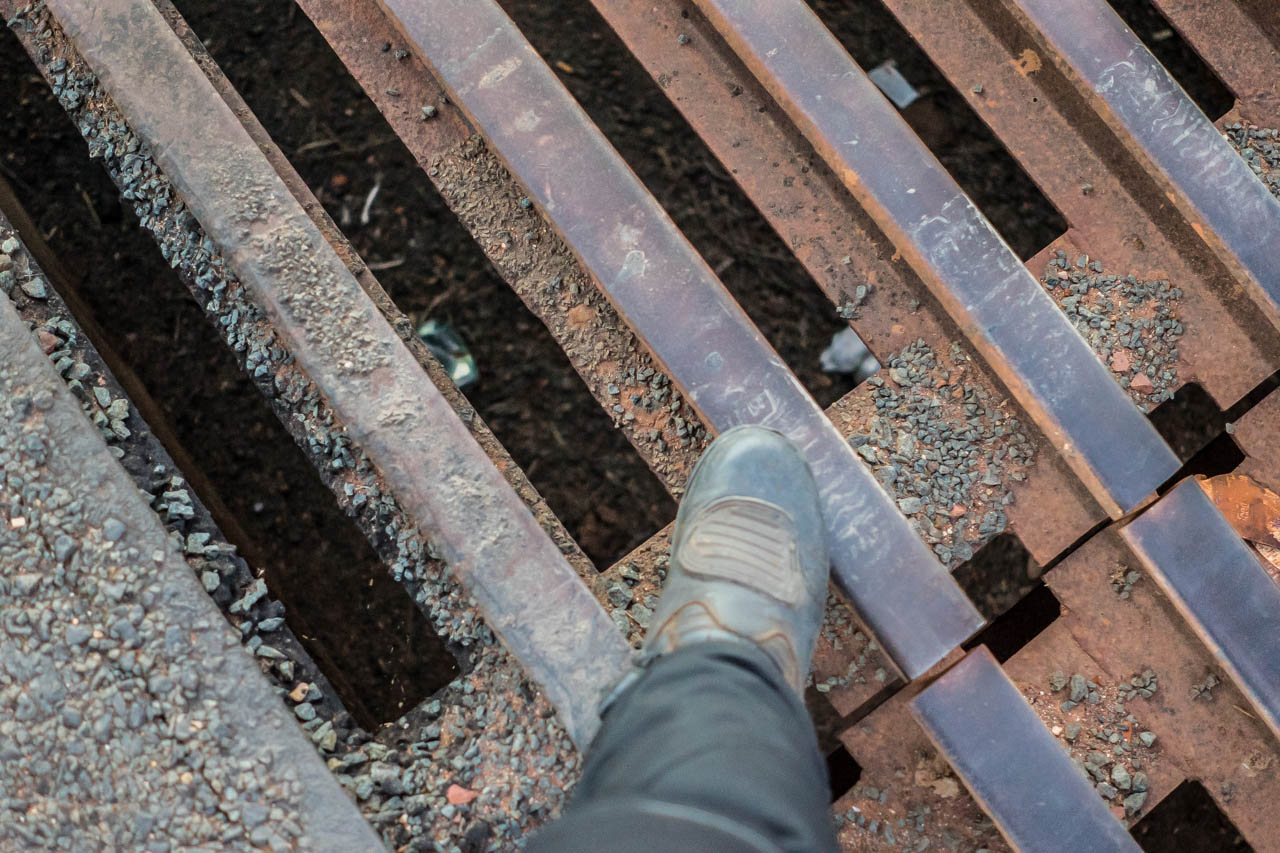
Travelling on the Stuart Highway once again, to get back to where I came from: Port Augusta. Something which I have not yet mentioned are the pervasive presence of cattle grids. Every once in a while, you’d approach a caution sign warning of a grid ahead. Some are level flush with the highway perfectly, others would require you to sit up from the seat and stand on the peg to prevent your spine from receiving an involuntary jolt of awakening.

Needless to say, it was rather uninteresting to see another stretch of road of nothingness on the way back. For anyone embarking on a Red Centre trip, I’d recommend them to travel to or from the north, entering from the Queensland border for the sake of variety and adventure. Doing the same road again for over 1000kms is just dull and tedious.

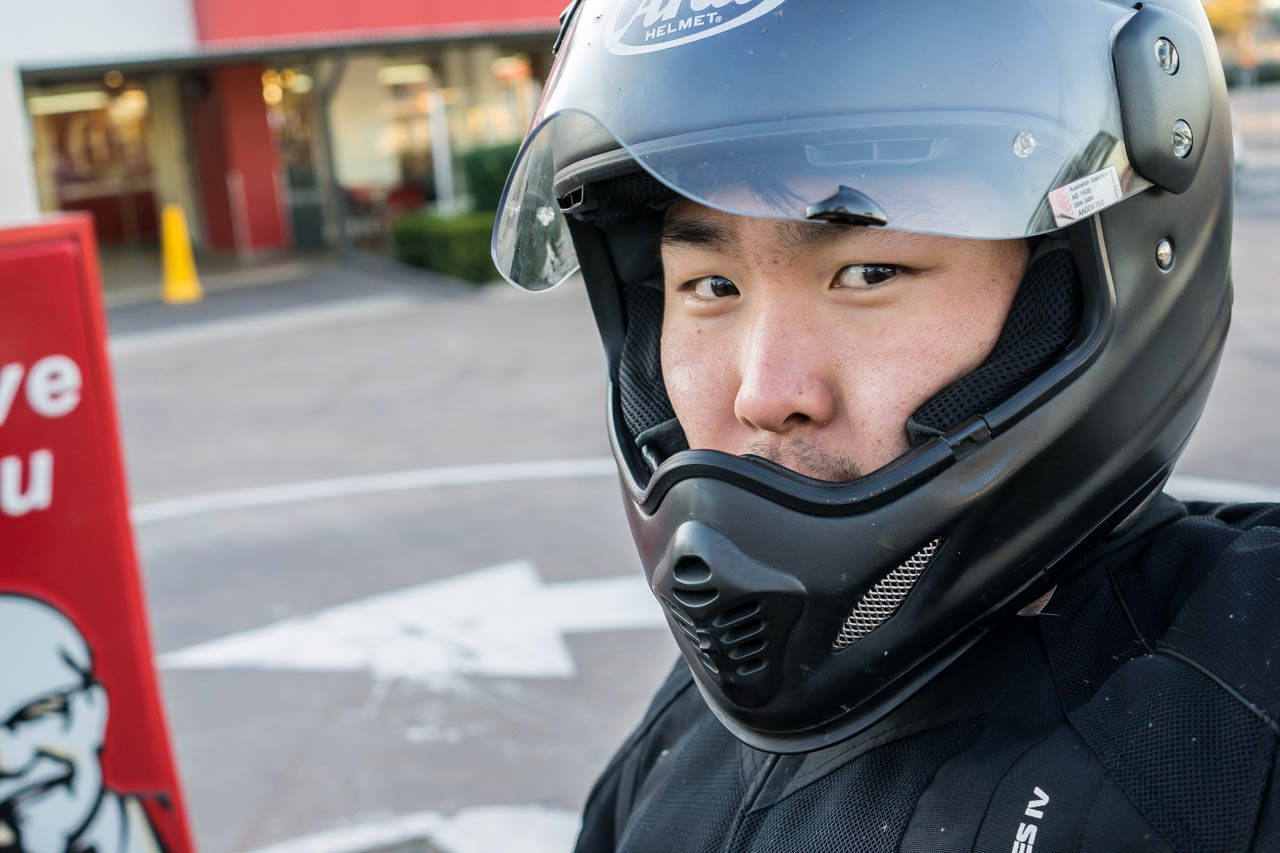
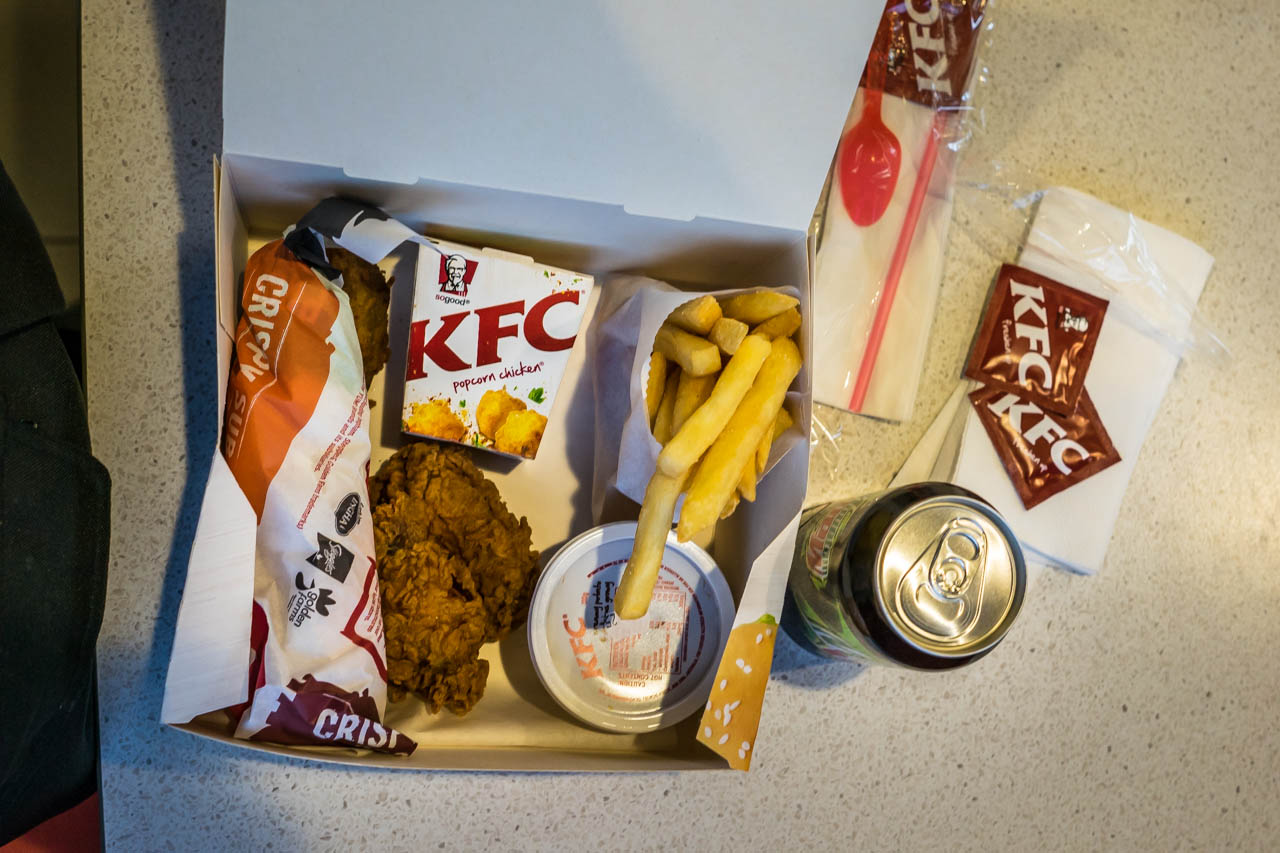
Arriving in the early evening at Port Augusta, I had a gloriously greasy meal from KFC to greet myself back into civilisation, devouring the Five Stars Box. Included were the zing of wicked wings, the assurance of a handy drumstick, snackability of pop corn chicken, the salty goodness of hot chips, all of which were washed down with the effervescent refreshment of a can of Mountain Dew.

3 NT and back to Adelaide - Full-55
You’ll see countless cattle grids like these on the Stuart Highway.
3 NT and back to Adelaide - Full-56
Very spaced out. Best not to run across it, as you WILL stack it.
3 NT and back to Adelaide - Full-57
Obligatory outback selfie shot with the Italian steed.
3 NT and back to Adelaide - Full-58
The pannier mounts on the Panigale work well as a paper roll holder. Good for those improvised measures of personal business.
3 NT and back to Adelaide - Full-59
Near Coober Pedy, where there are endless mounts of dirt resulting from mining operations.

3 NT and back to Adelaide - Full-60 3 NT and back to Adelaide - Full-61

3 NT and back to Adelaide - Full-62
All that dirt on the pretty number plate.
3 NT and back to Adelaide - Full-63
Bike hygiene update. Can’t tell if it’s mud, or a mixture of oil, grease, and the unknown.
3 NT and back to Adelaide - Full-64
Bike hygiene update. It’s a cake, baked onto the rims.
3 NT and back to Adelaide - Full-65
Bike hygiene update. The chain is now at the point where it is dragging itself on the exhaust.
3 NT and back to Adelaide - Full-66
Bike hygiene update. Don’t worry, it’s just a bit of dirt.
3 NT and back to Adelaide - Full-67
Bike hygiene update. All that chain grease.
3 NT and back to Adelaide - Full-68
Bike hygiene update. Still clean inside though.
3 NT and back to Adelaide - Full-69
Tyre wear check.

3 NT and back to Adelaide - Full-70 3 NT and back to Adelaide - Full-71

3 NT and back to Adelaide - Full-72
A road train, 3 trailers long. I’d imagine it to be a nightmare to overtake with an average car.
3 NT and back to Adelaide - Full-73
Truckers: without them, Australia stops.

3 NT and back to Adelaide - Full-74 3 NT and back to Adelaide - Full-75 3 NT and back to Adelaide - Full-76 3 NT and back to Adelaide - Full-77

Day 11 – Port Augusta to Adelaide

Ambient Temperature: 7°C to 14°C

3 NT and back to Adelaide - Full-78

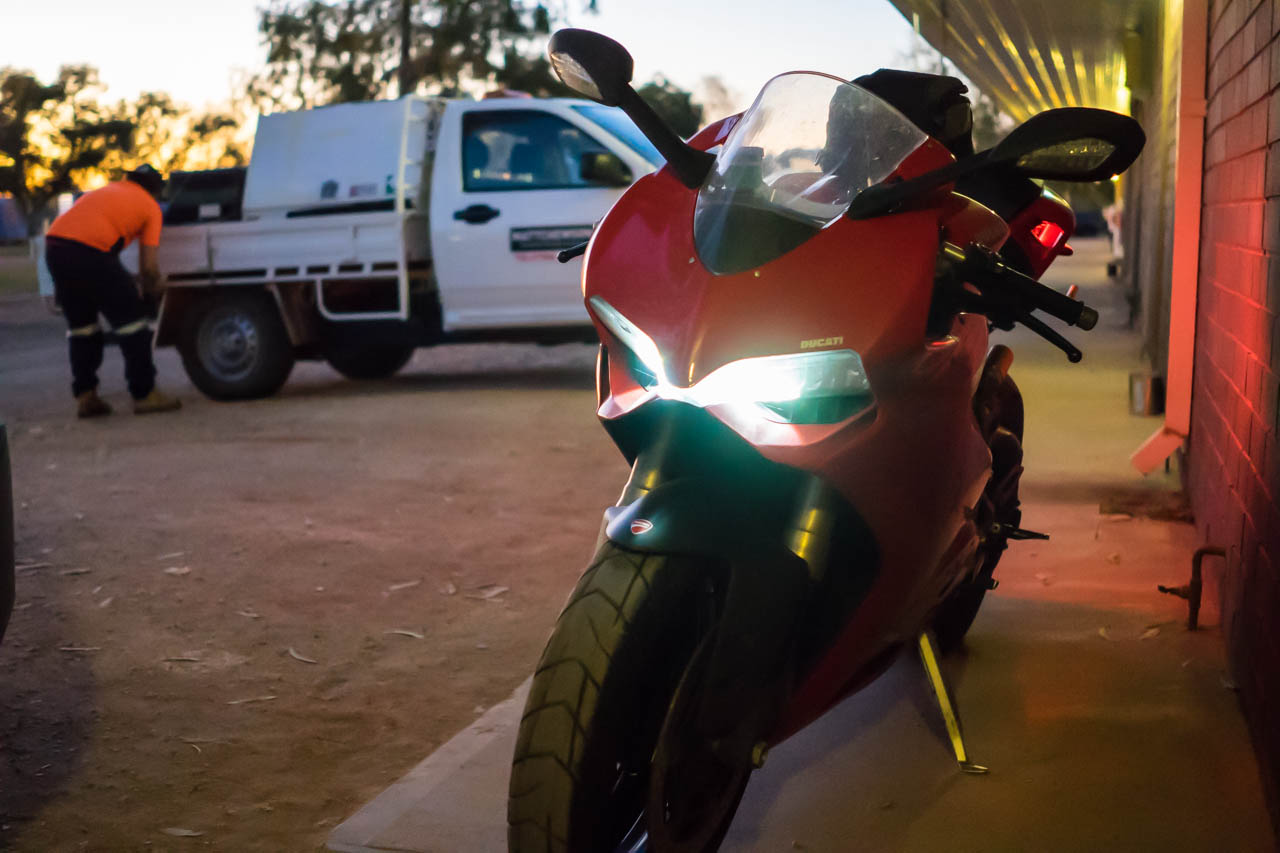
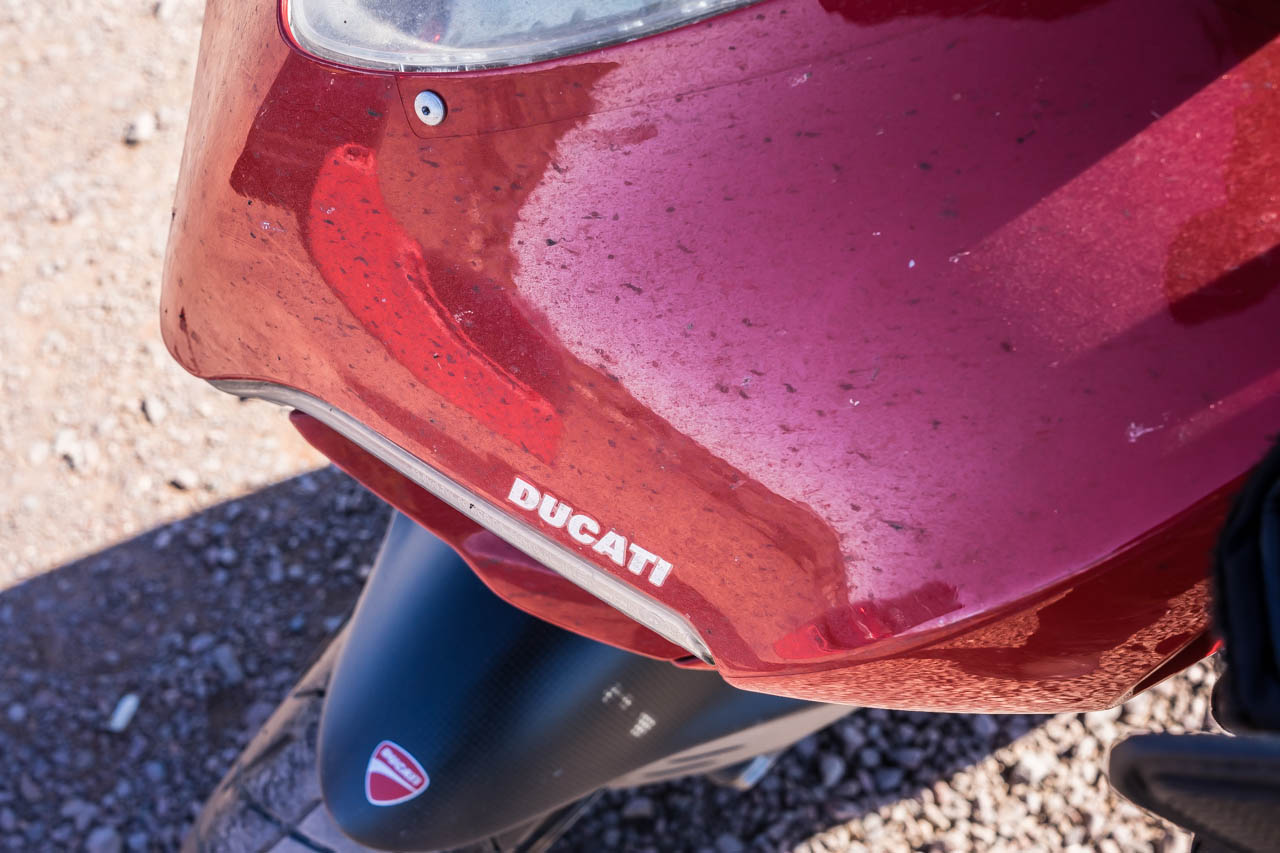
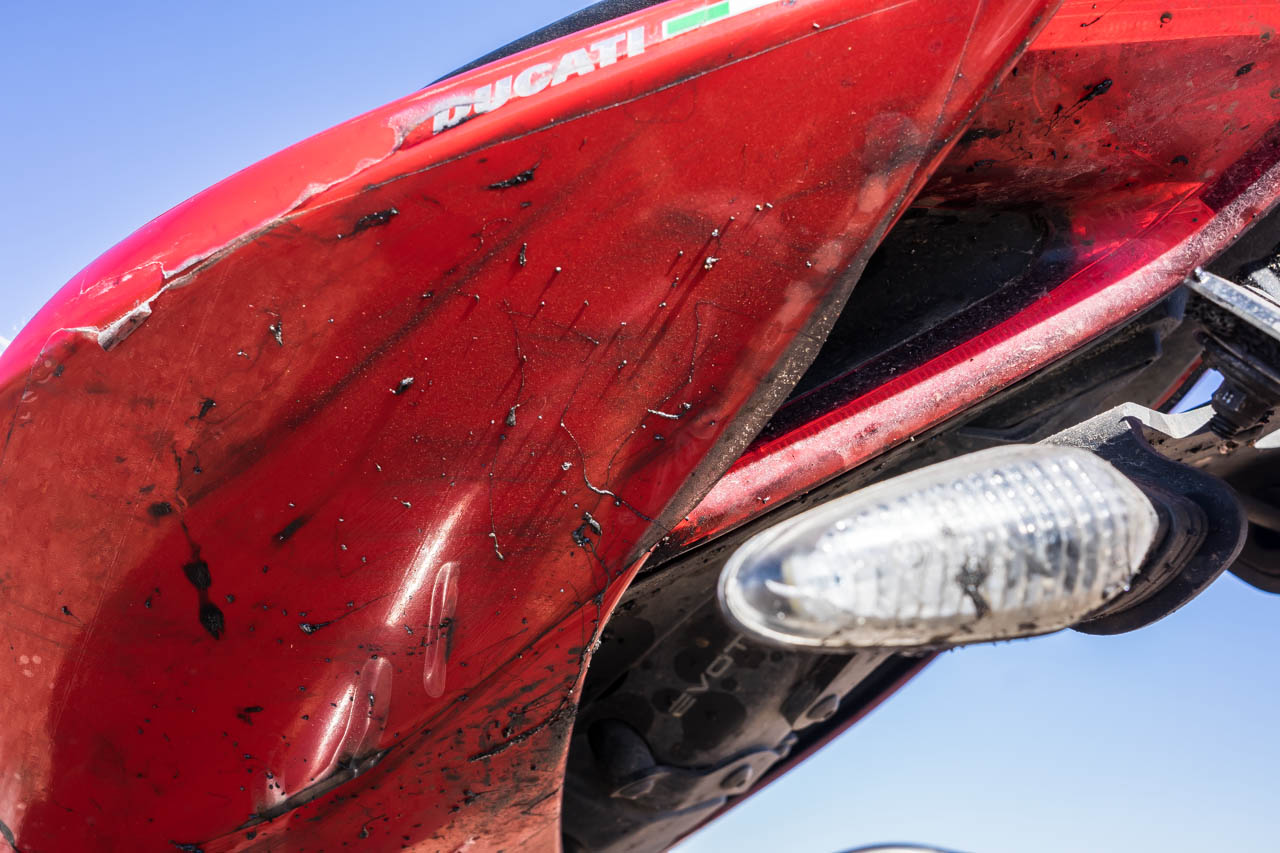
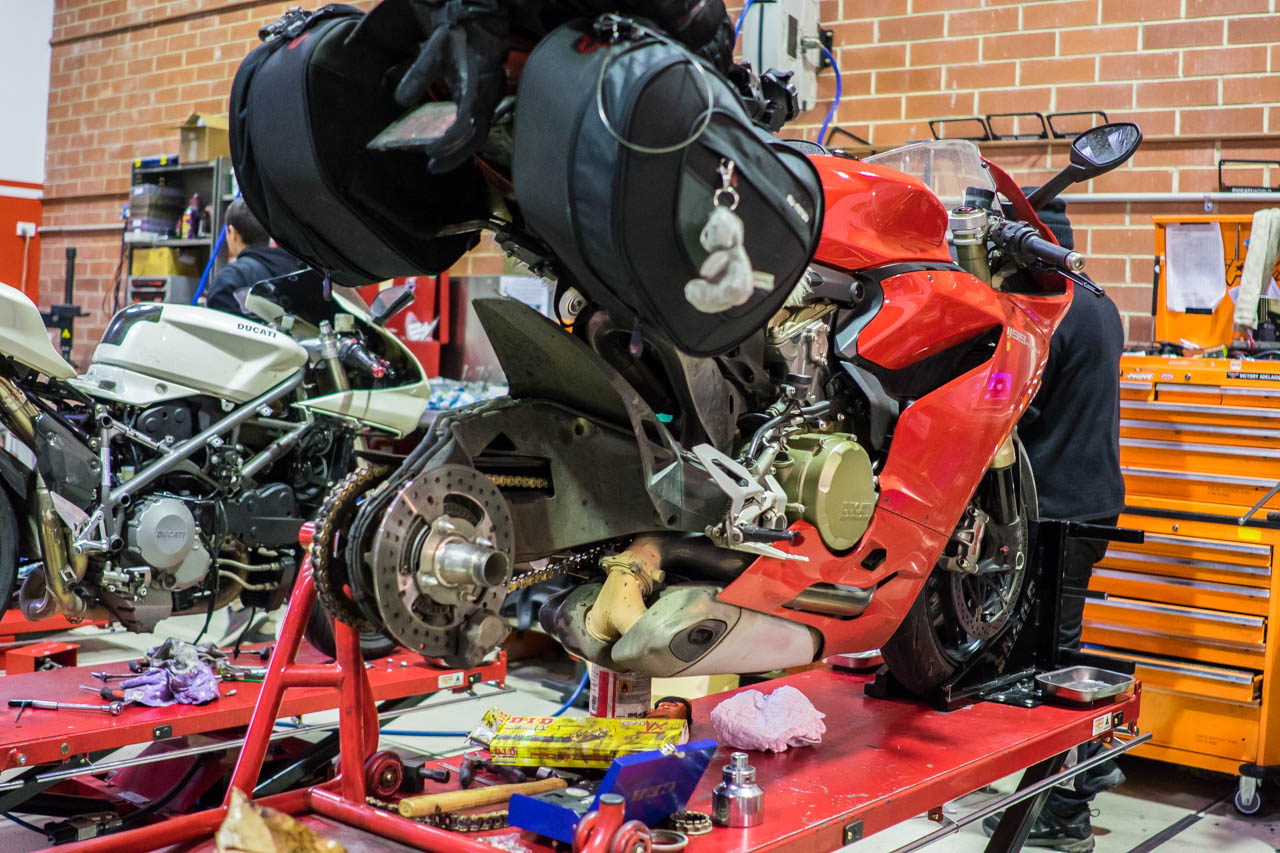
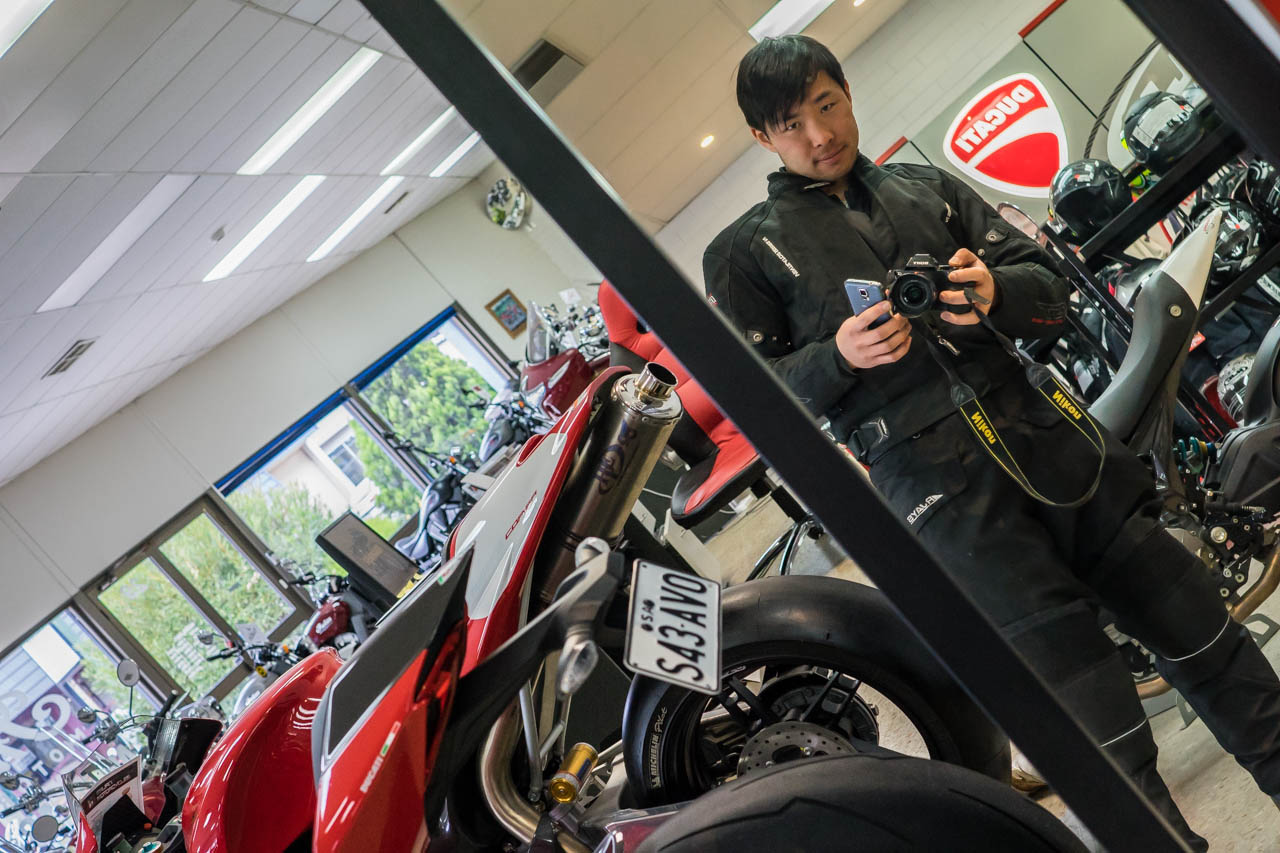
Leaving Port Augusta, it was so cold and windy on the way. In my mind was to make it to the Ducati workshop before lunch time so that I can get the bike back to top mechanical condition. Unfortunately, I made it to Adelaide a little later due to a few rest stops that I had to make to ensure that I was not overly fatigued. It’s a hard life, when you’re on the road for longer than you are in bed.

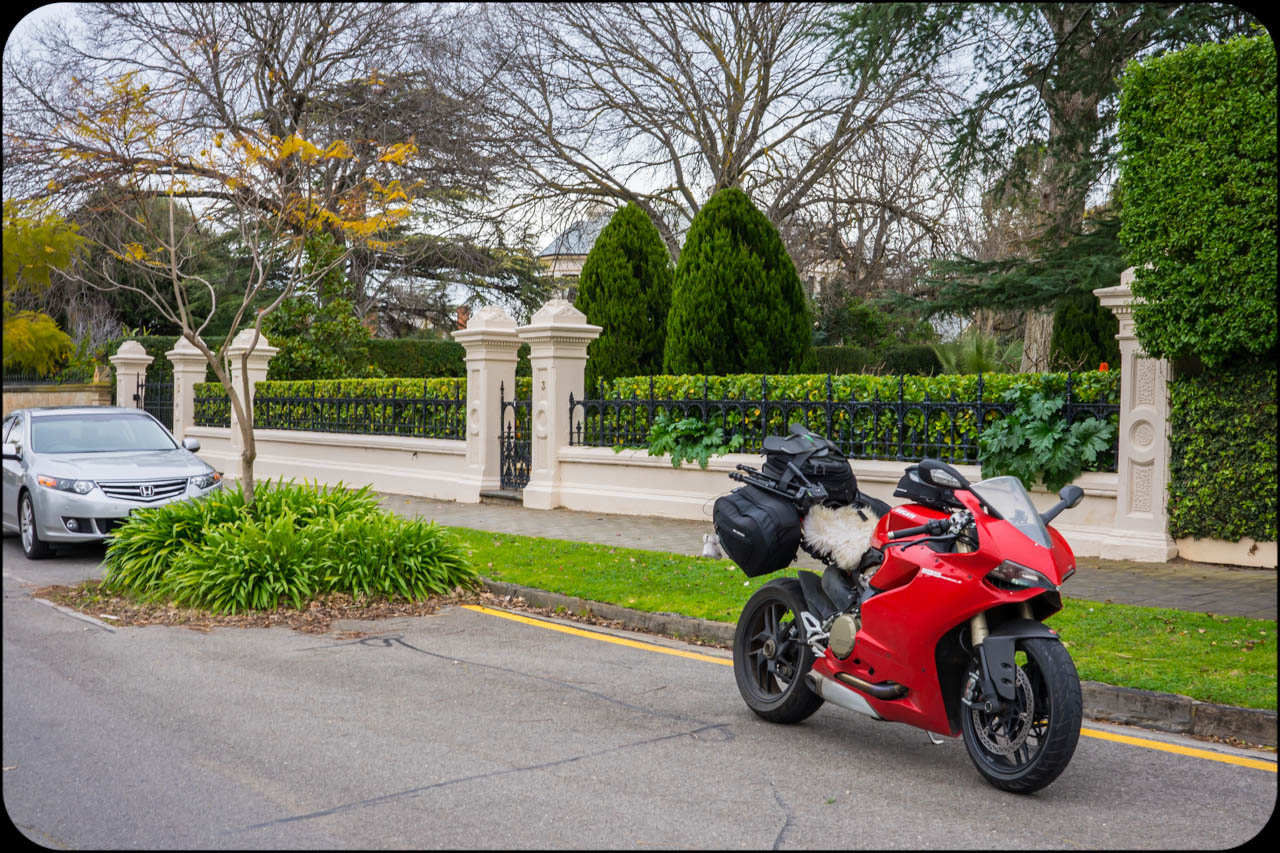
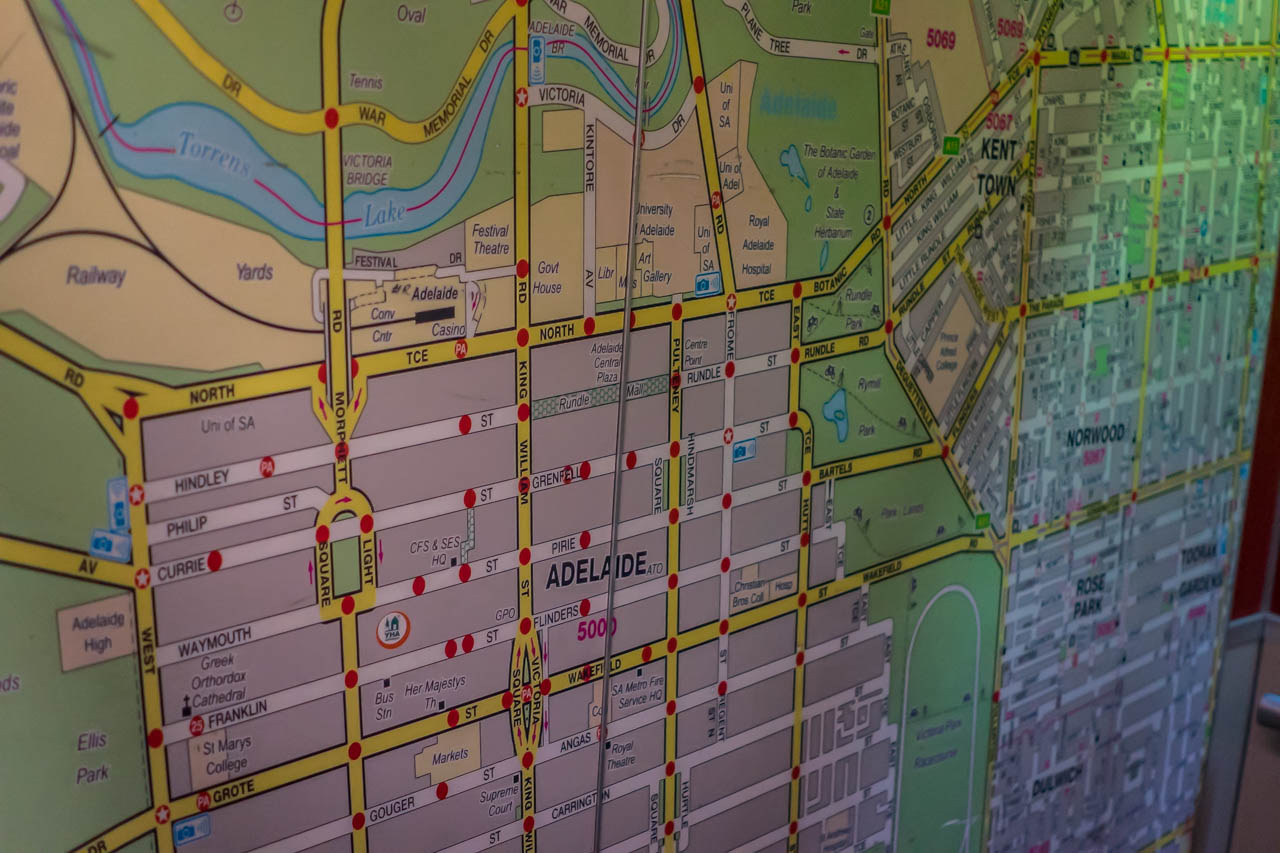
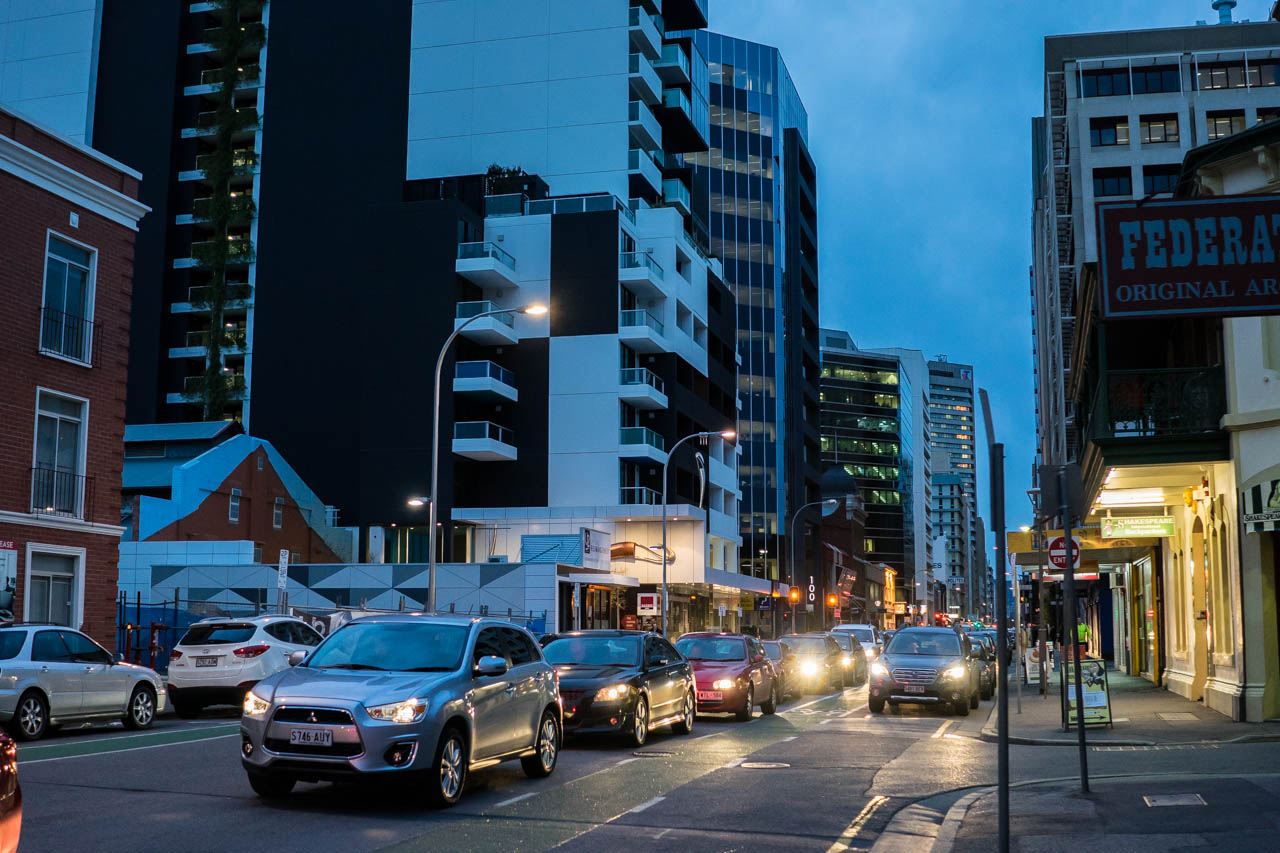
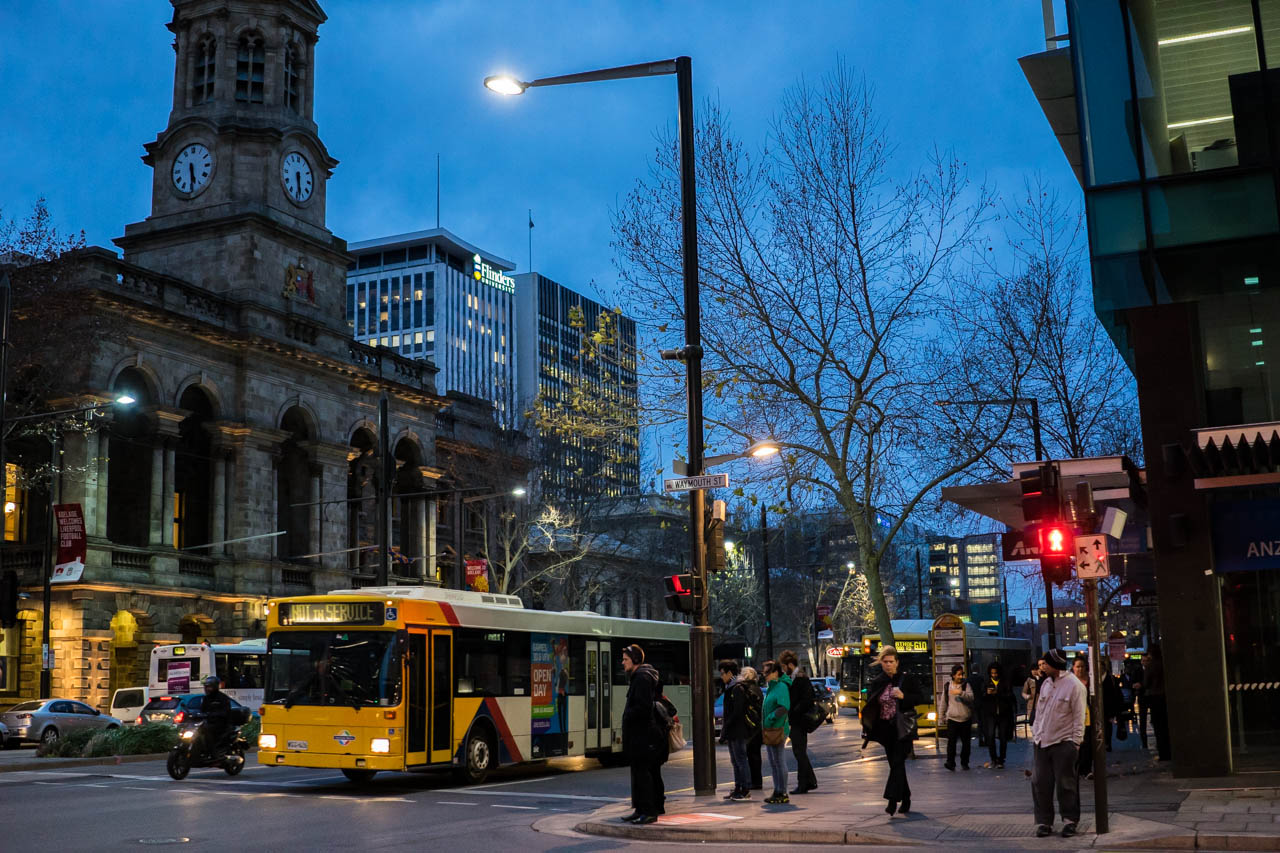
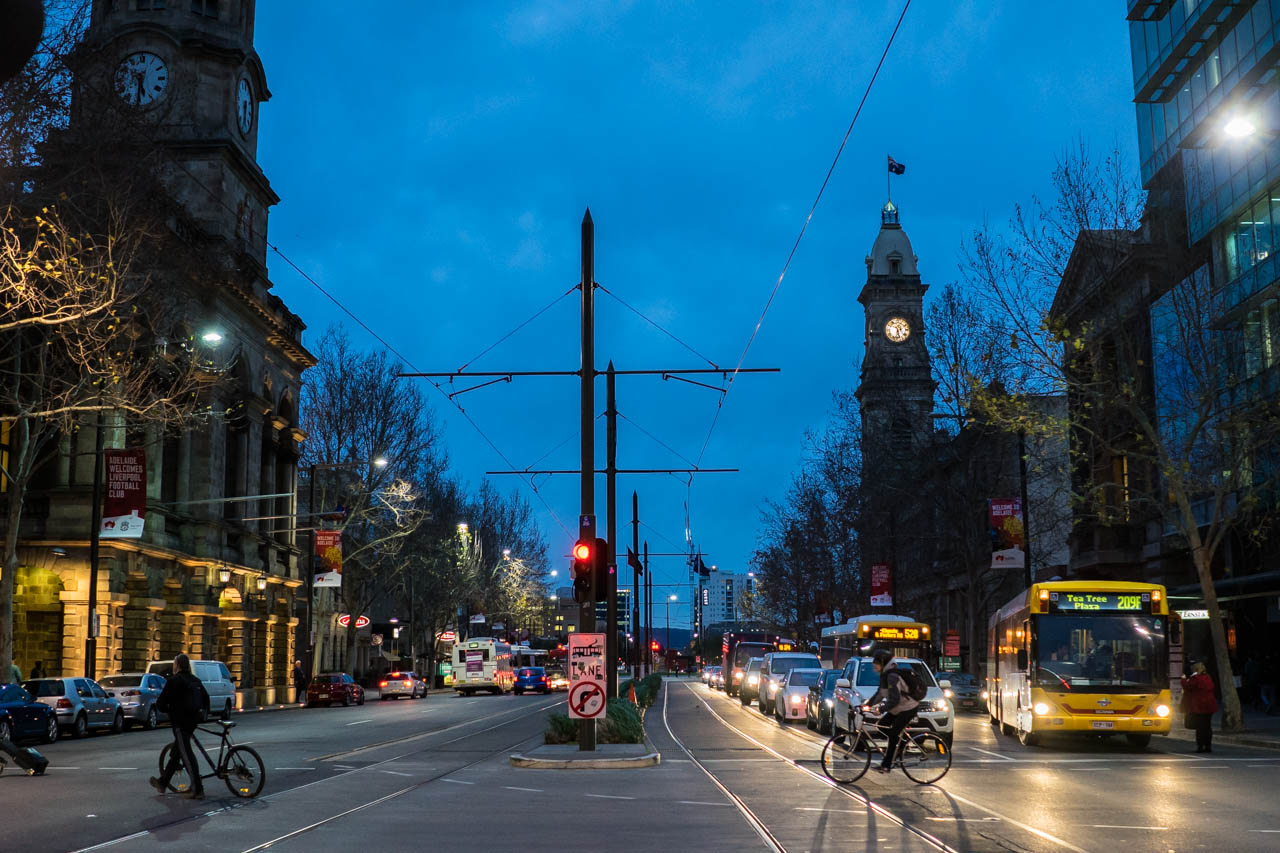
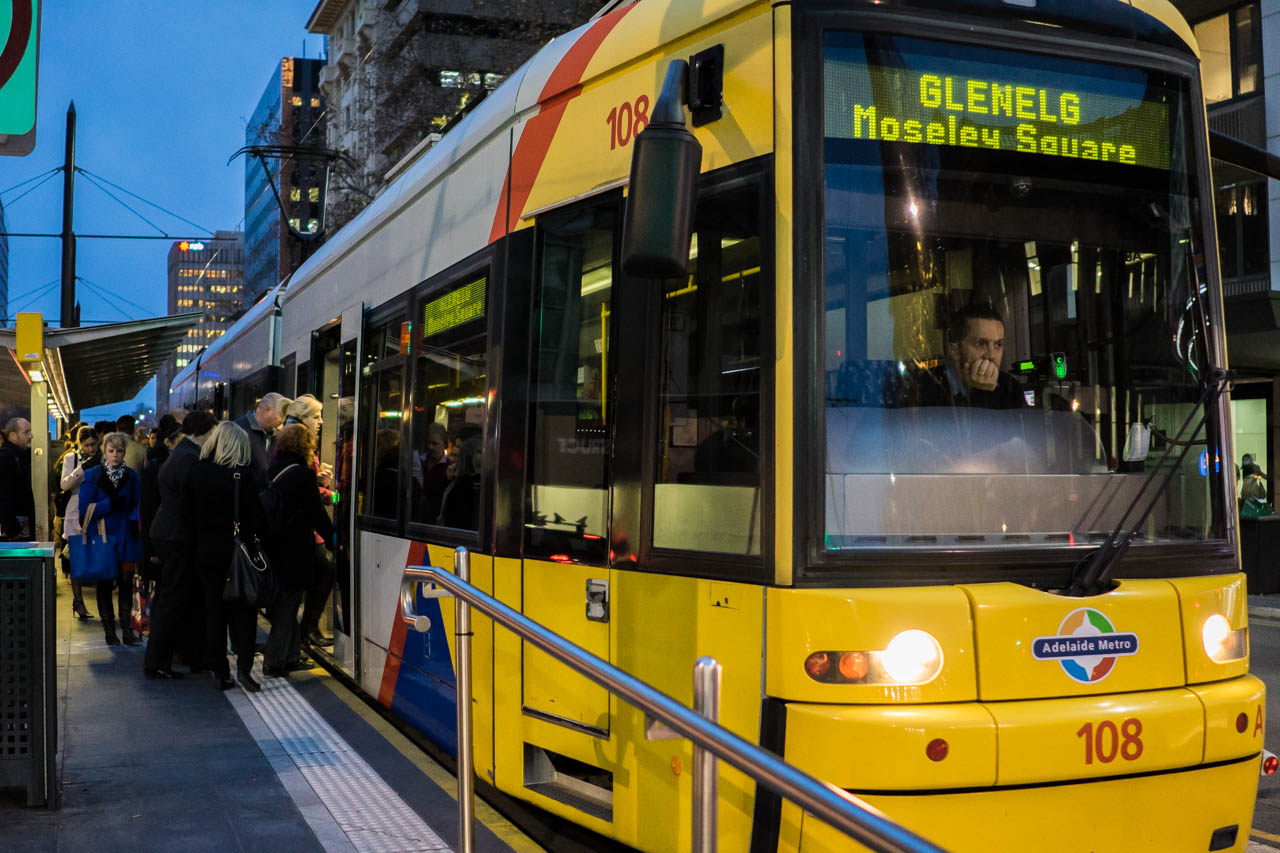
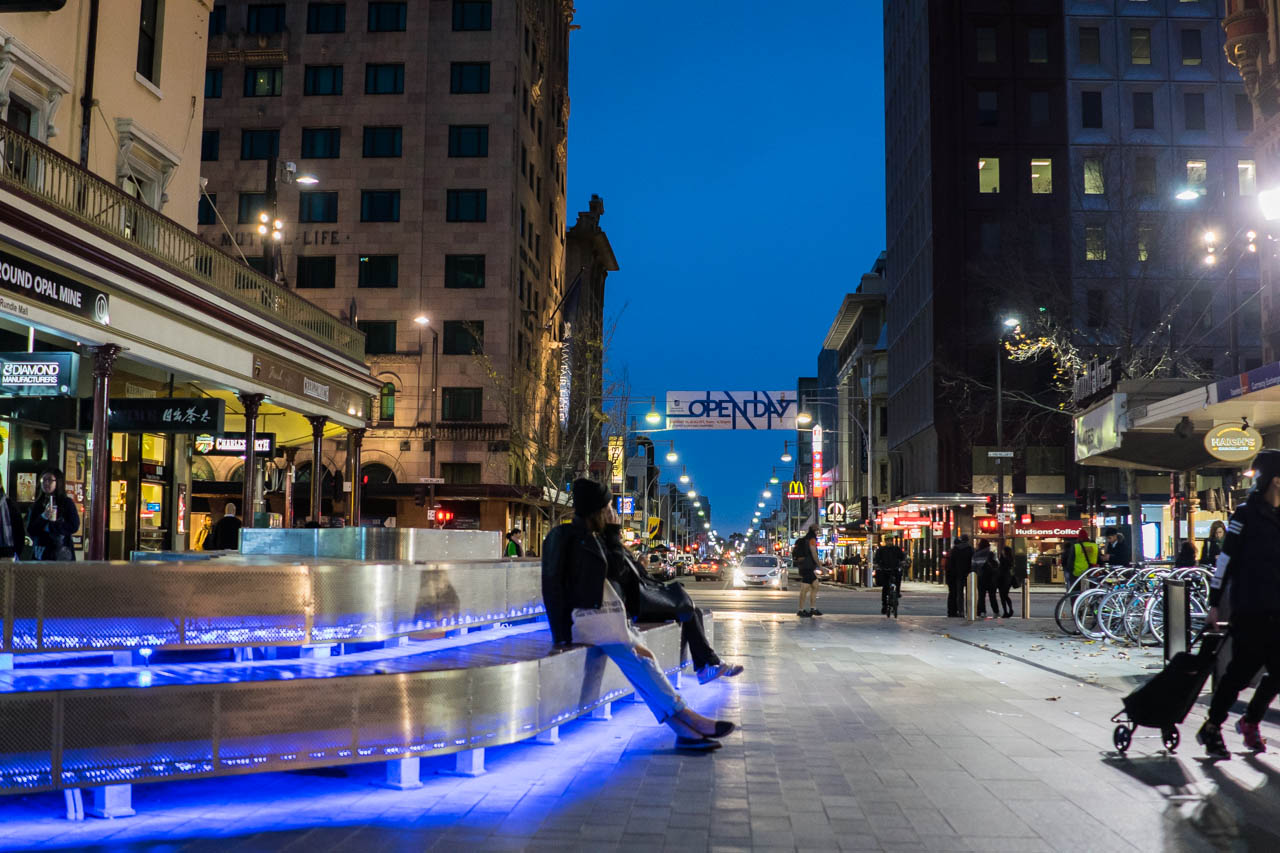
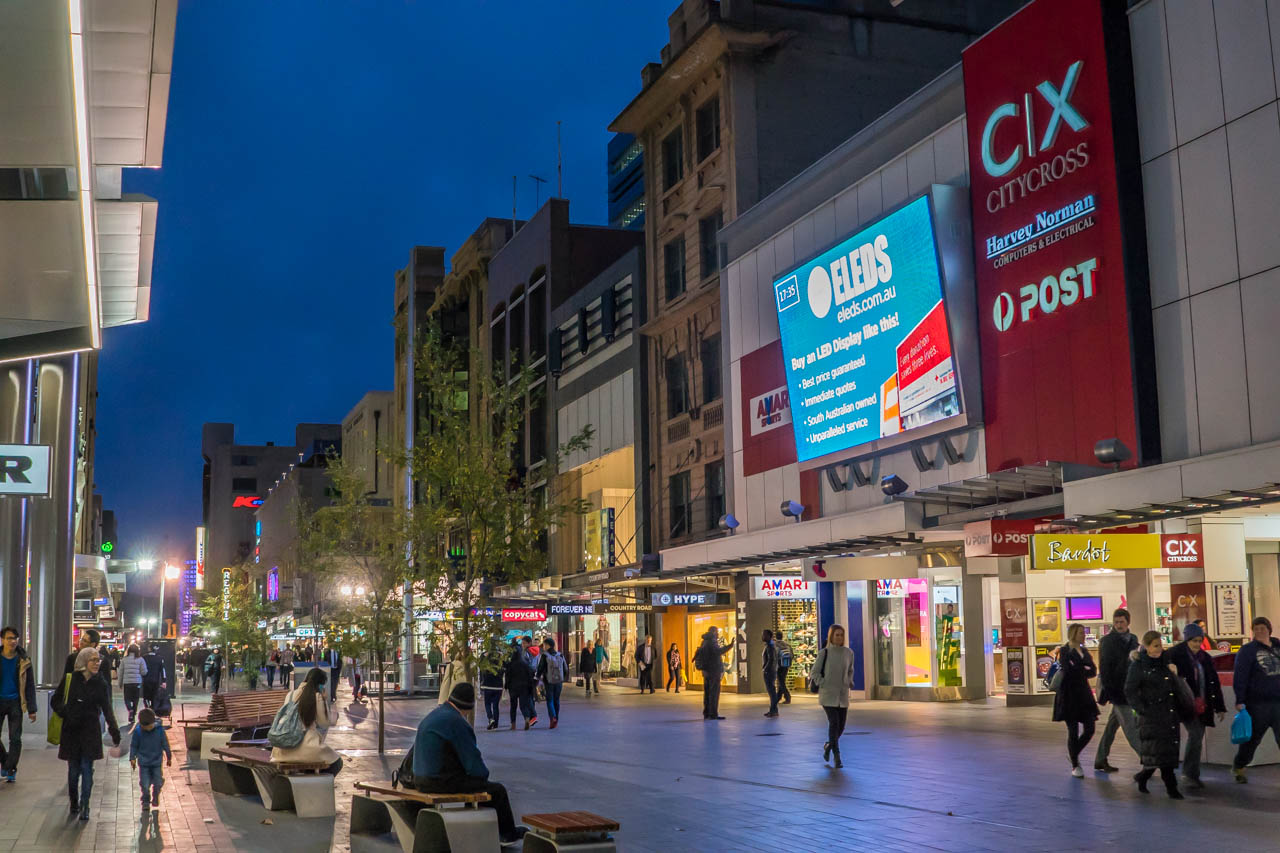
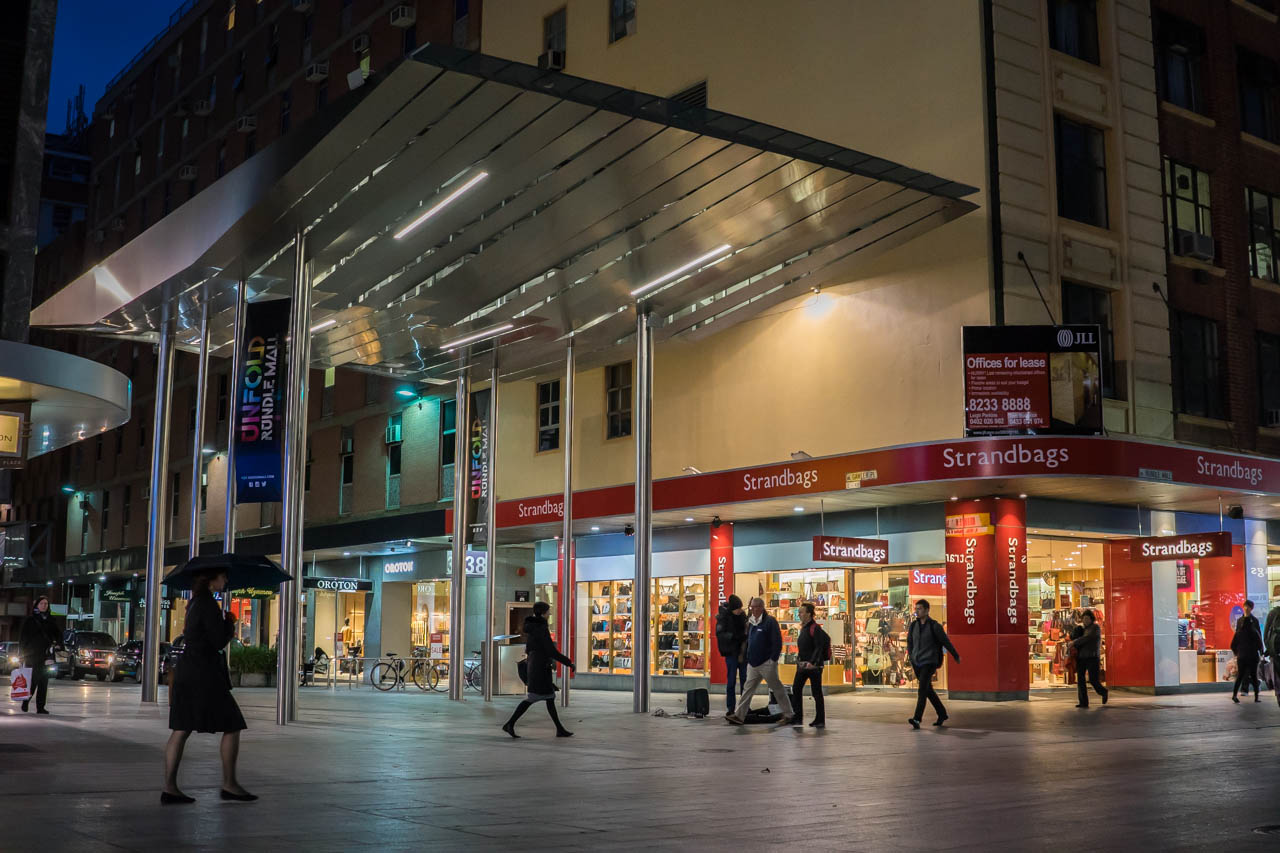
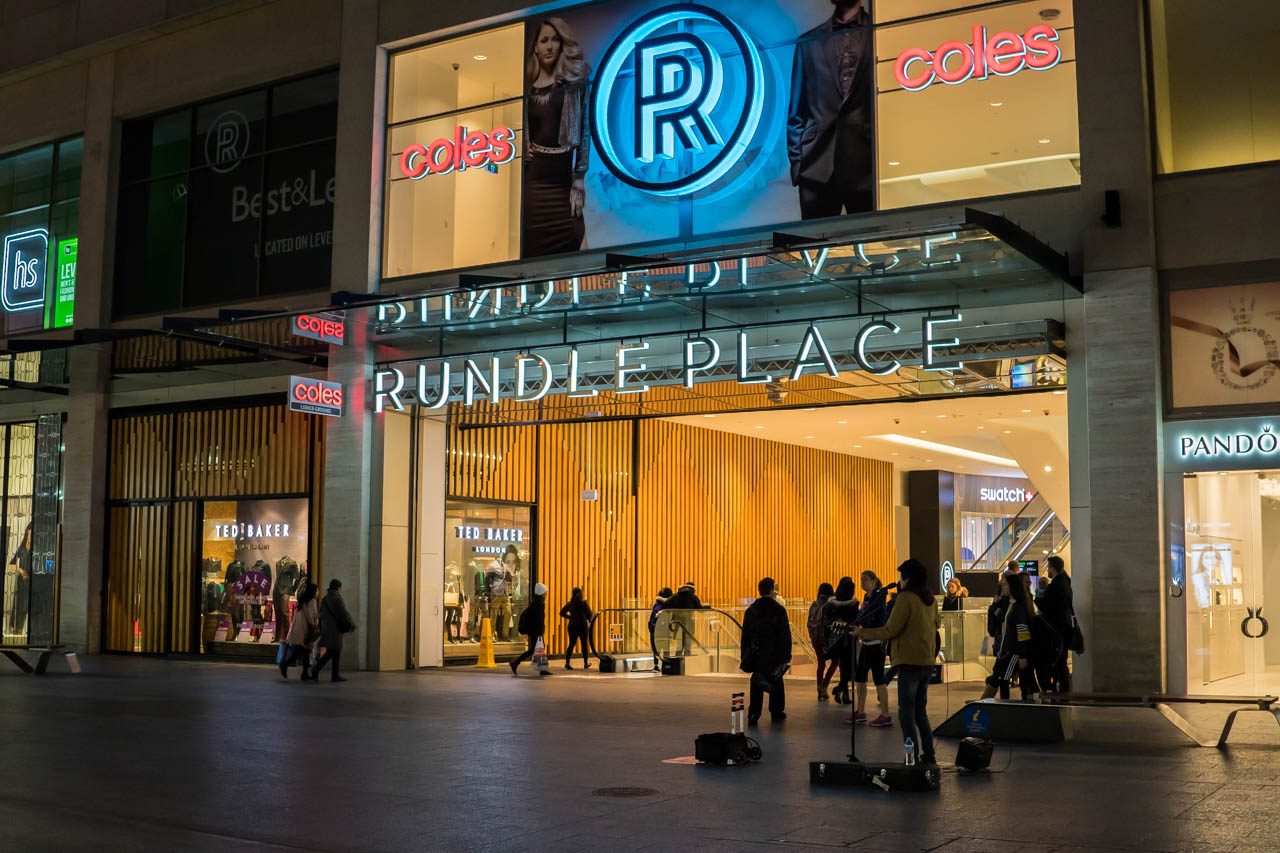
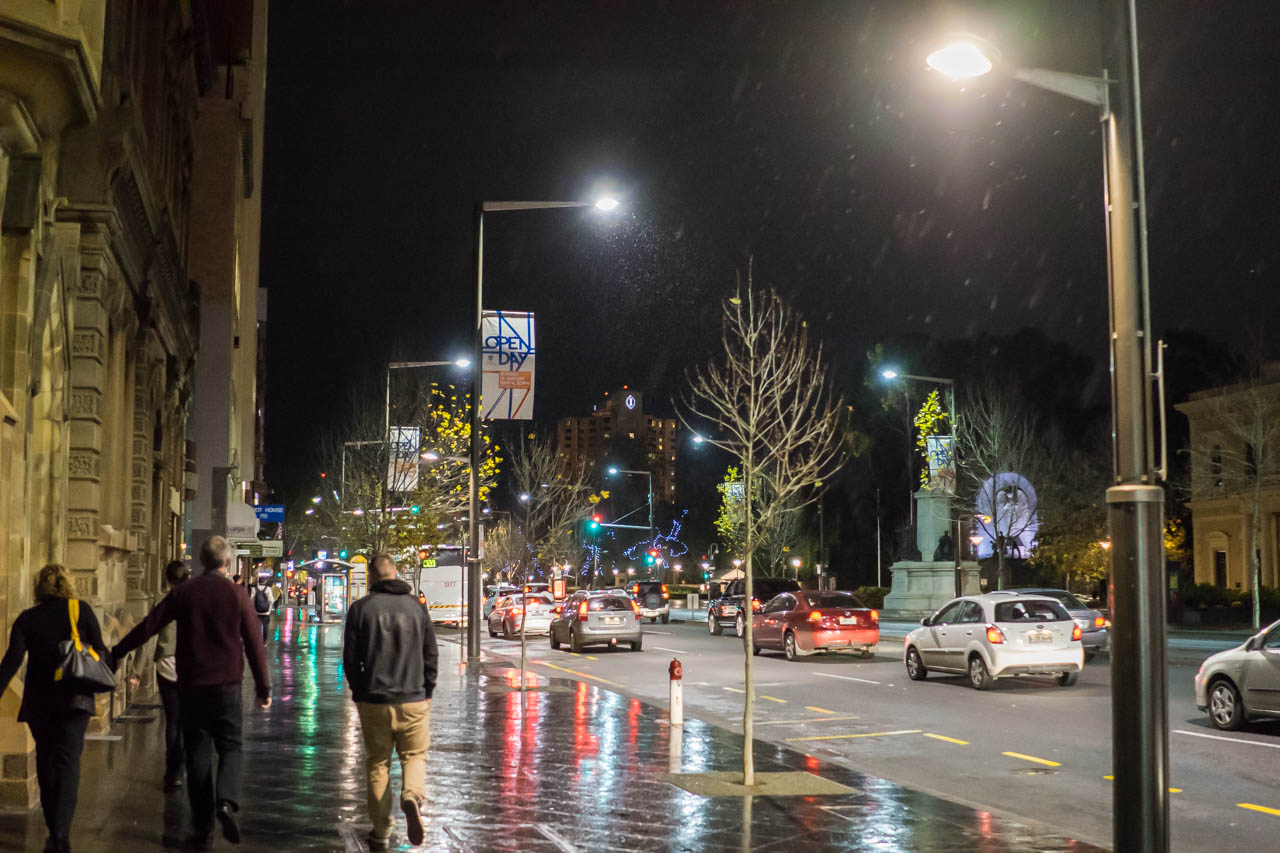
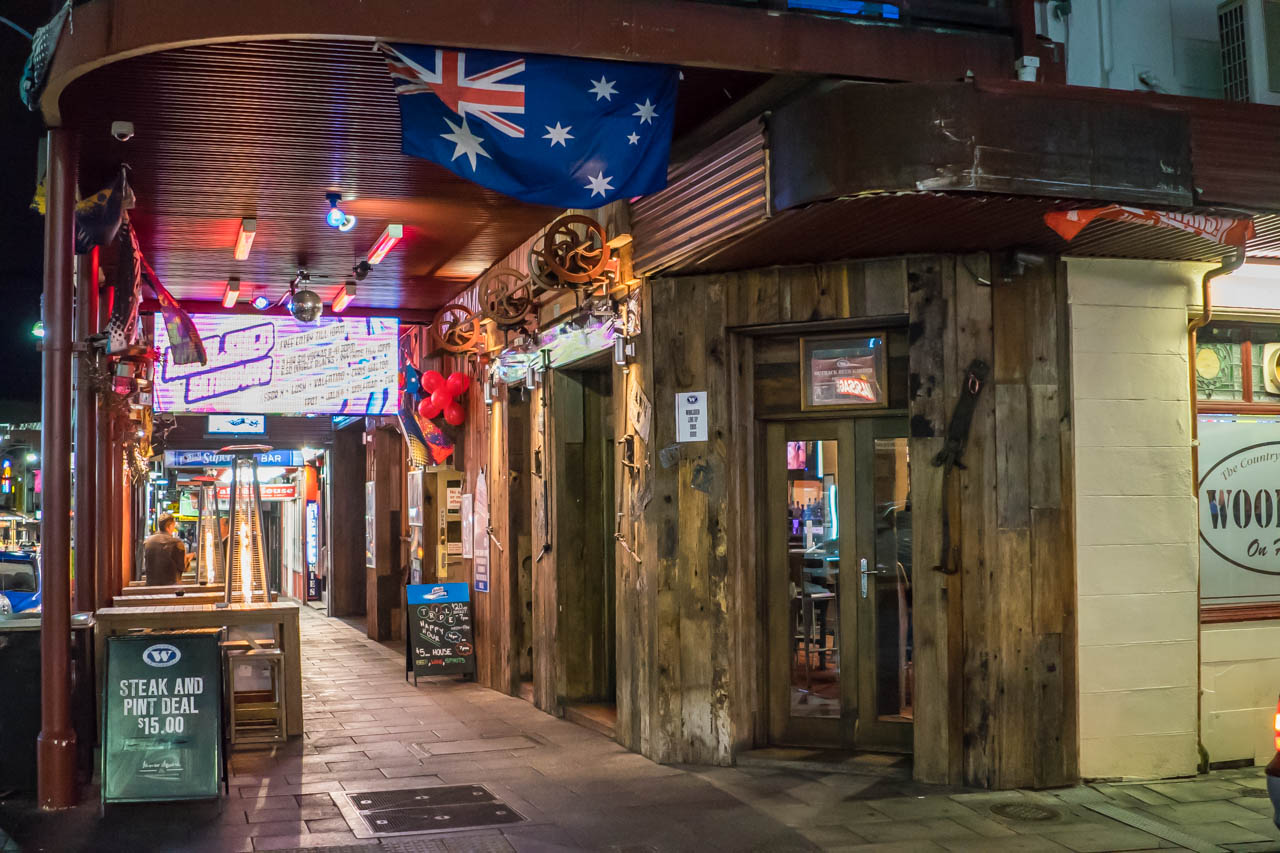
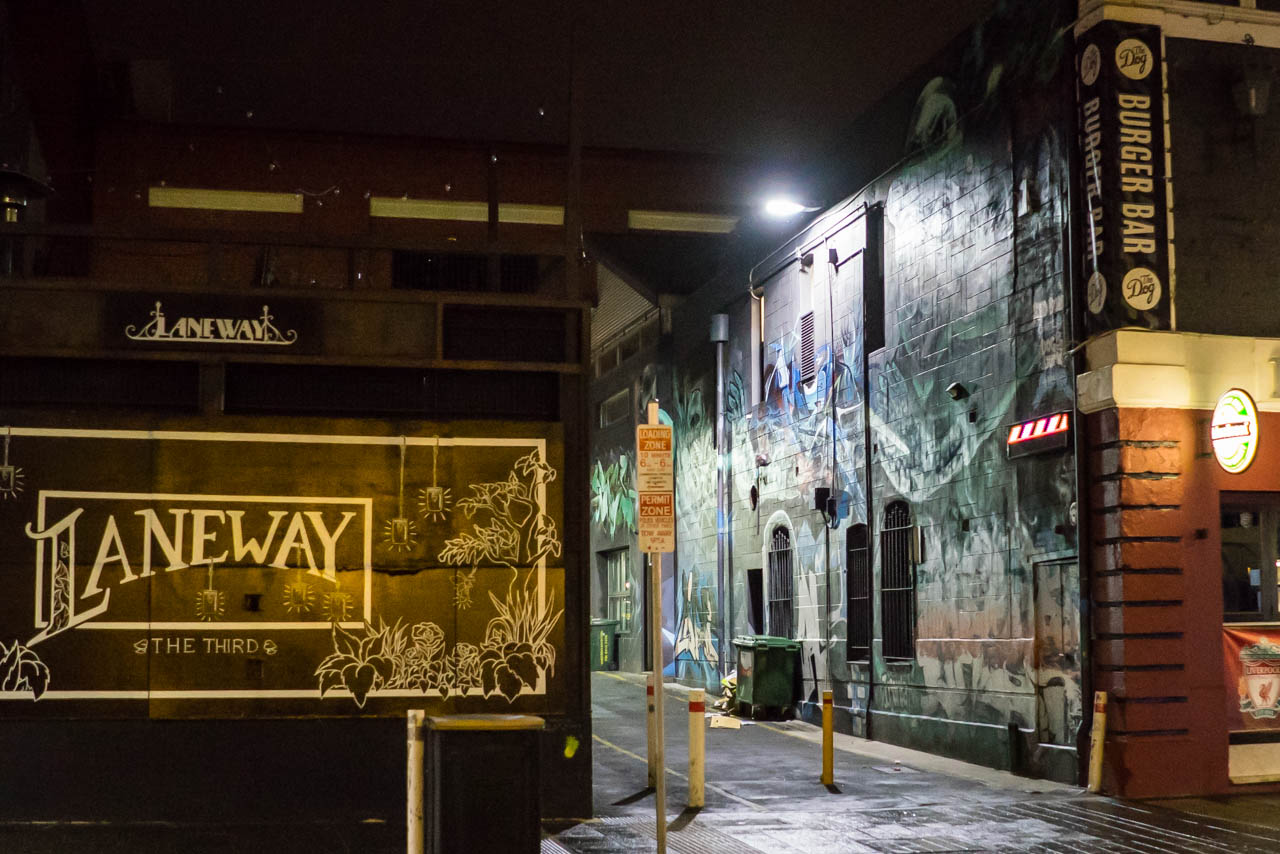
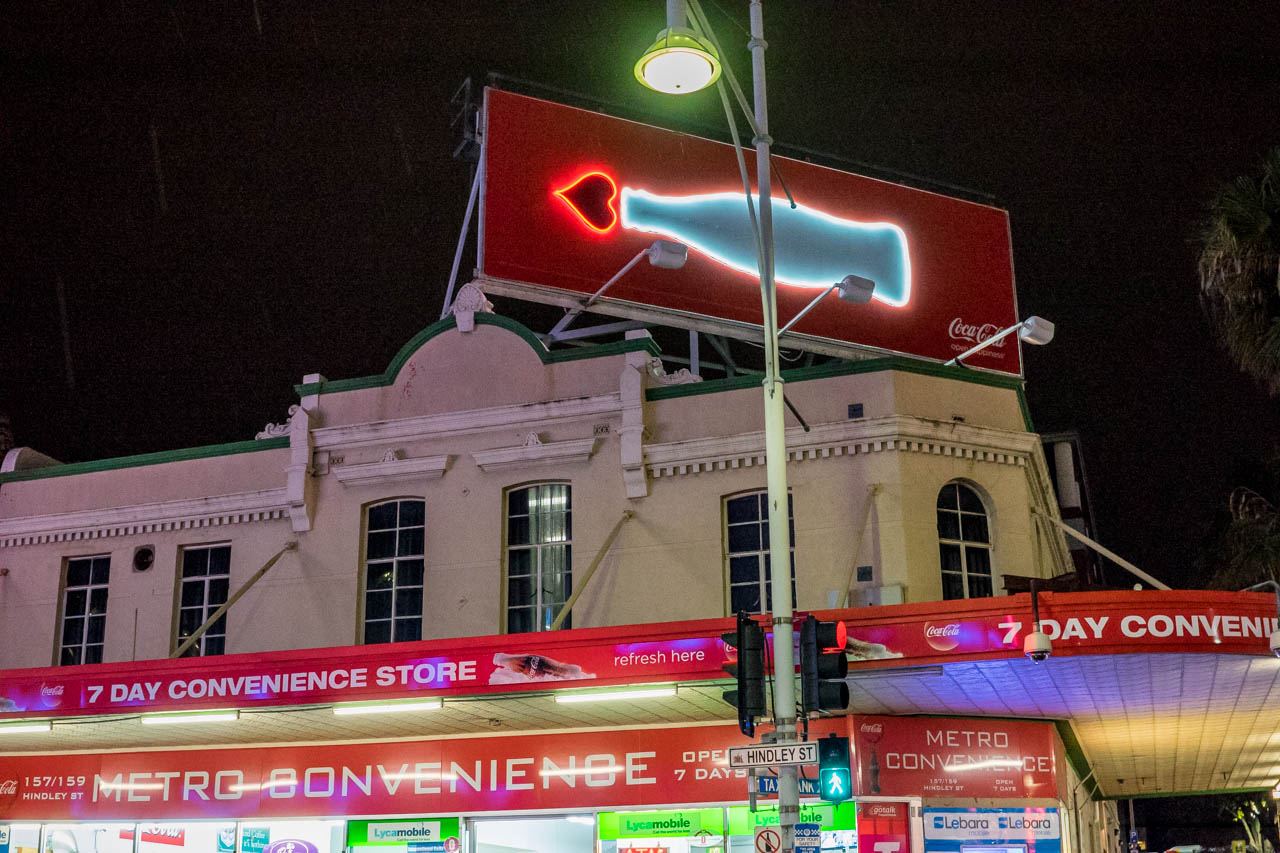
Arrived in Adelaide after 1pm, a great city that is well organised and easy to navigate. I’d describe this city as being the perfect size; very European, and appears to be quite a manageable size, population at a touch over 1 million. Adelaide has its roots on a more upmarket society that is akin to what one may see in Melbourne, but with more parklands and open spaces. Aesthetically, I’d regard the CBD area to be better than both Melbourne and Sydney, due to the fact that it is less cluttered, has an abundance of older and imposing buildings, picturesque neighbourhoods lined with perfectly maintained mansion homes and is generally very clean.

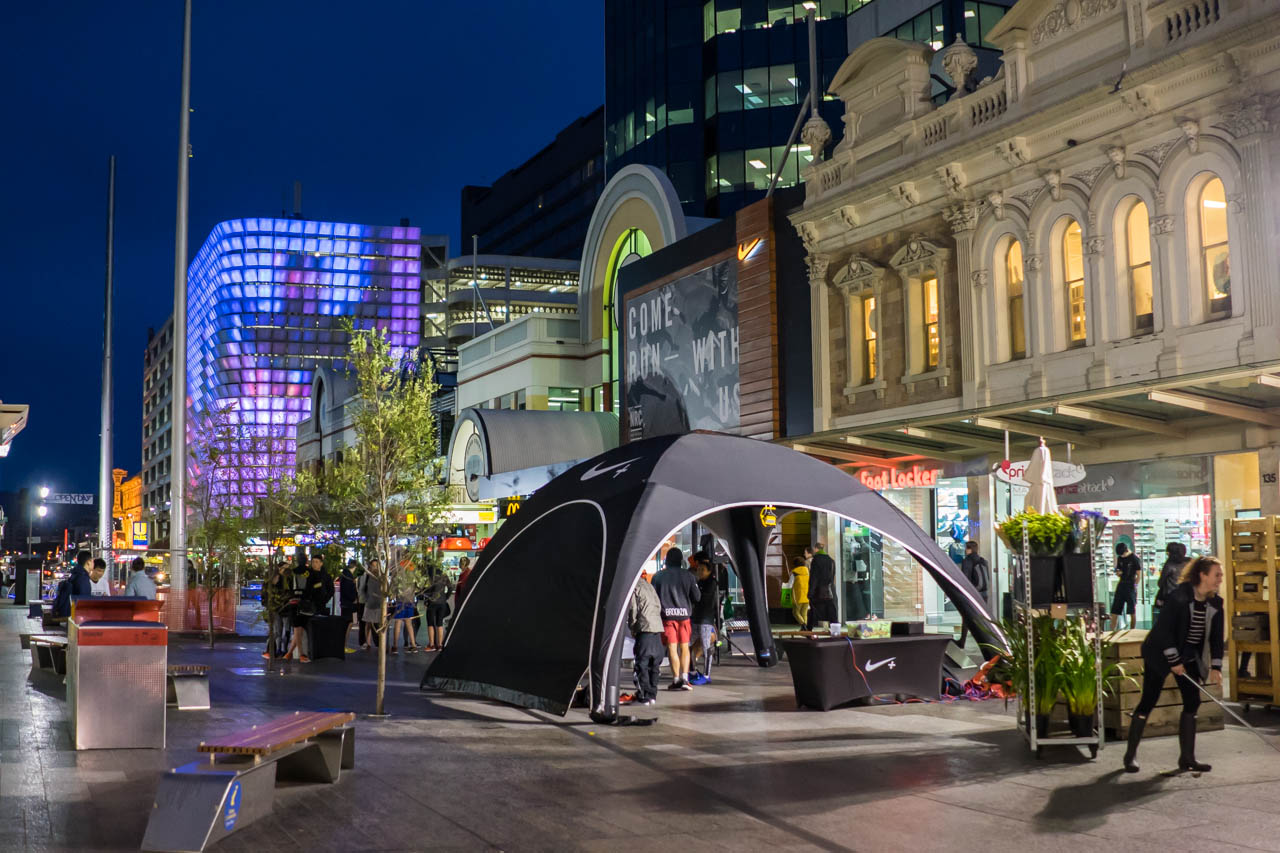
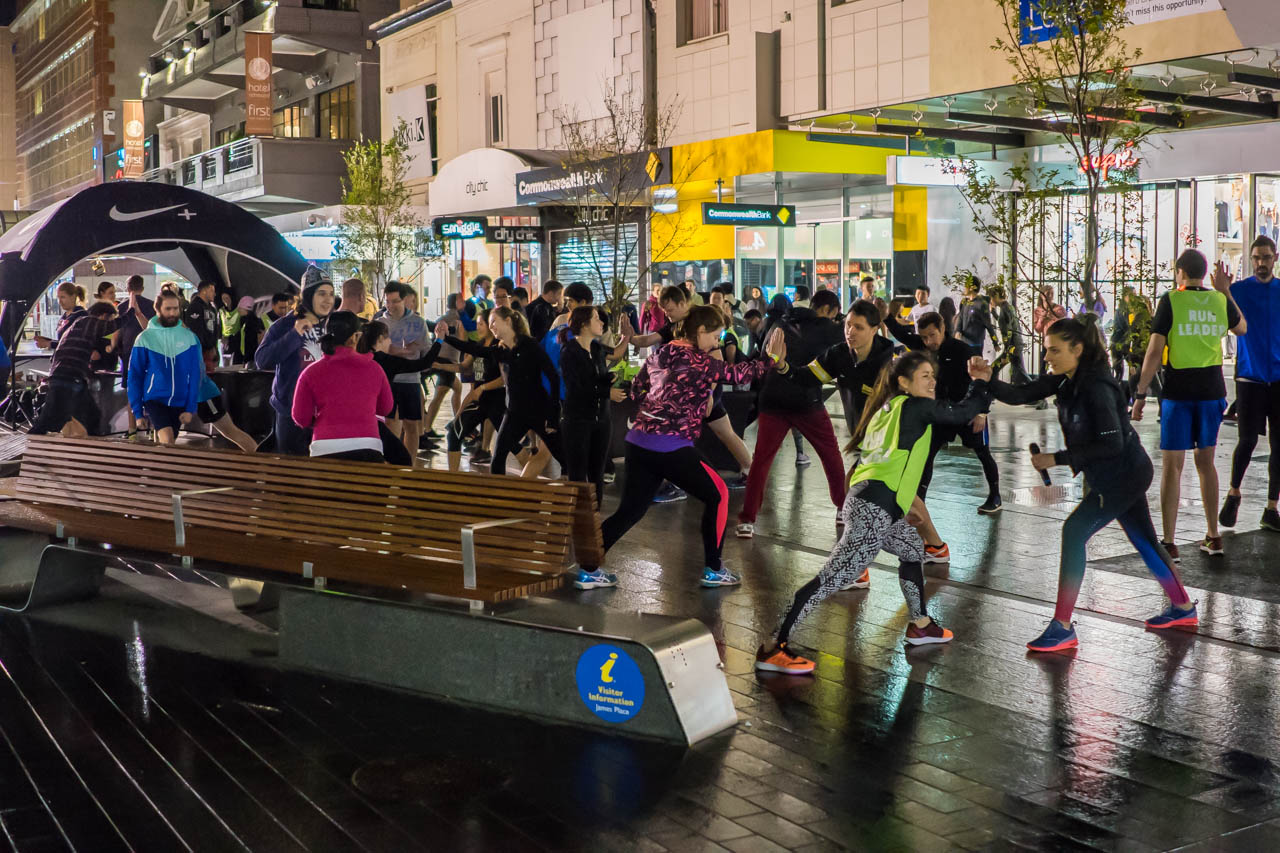
Adelaide does not seem to have much of a night scene, however the appearance of a fitness flash mob, a light drizzle of rain and an atmosphere of generally less-stressed people helped to create a good evening stroll before retreating to the hostel. Top marks to you, Adelaide. Now I see a glimpse of why you call yourself a well-kept secret. If only your unemployment rate was much lower than it is at the moment.

3 NT and back to Adelaide - Full-79
At Port Augusta.
3 NT and back to Adelaide - Full-80
En route to Adelaide.
3 NT and back to Adelaide - Full-81
This is not how a Panigale ought to be treated. Need to sort out that chain. Stat!
3 NT and back to Adelaide - Full-82
But before sending off the bike to the Ducati workshop, I must send off the rear tyre with a ceremony within the grounds of Adelaide… Performed on private property.
3 NT and back to Adelaide - Full-83
Tyre wear check. Not quite enough; I shall try once again.
3 NT and back to Adelaide - Full-84
Burn, baby, burn.
3 NT and back to Adelaide - Full-85
There are many classy neighbourhoods surrounding the CBD of Adelaide. Impressive, and very affordable, relative to Sydney prices.

3 NT and back to Adelaide - Full-86 3 NT and back to Adelaide - Full-87 3 NT and back to Adelaide - Full-88 3 NT and back to Adelaide - Full-89

3 NT and back to Adelaide - Full-90
And, it’s sorted! New tyre, new chain. Fresh as a daisy, once again.
3 NT and back to Adelaide - Full-91
… and time to settle for the day in Adelaide, and explore…

3 NT and back to Adelaide - Full-115

3 NT and back to Adelaide - Full-92 3 NT and back to Adelaide - Full-93

3 NT and back to Adelaide - Full-114
Sometimes, you get backpackers in your room who treat the dorms as their own house.

3 NT and back to Adelaide - Full-113 3 NT and back to Adelaide - Full-94 3 NT and back to Adelaide - Full-95 3 NT and back to Adelaide - Full-96 3 NT and back to Adelaide - Full-97 3 NT and back to Adelaide - Full-98 3 NT and back to Adelaide - Full-99 3 NT and back to Adelaide - Full-100 3 NT and back to Adelaide - Full-101 3 NT and back to Adelaide - Full-102 3 NT and back to Adelaide - Full-103 3 NT and back to Adelaide - Full-104 3 NT and back to Adelaide - Full-105 3 NT and back to Adelaide - Full-106 3 NT and back to Adelaide - Full-107 3 NT and back to Adelaide - Full-108 3 NT and back to Adelaide - Full-109 3 NT and back to Adelaide - Full-110 3 NT and back to Adelaide - Full-111 3 NT and back to Adelaide - Full-112

To be continued…

Map - Day 8 to 11 - NT and back to Adelaide

Leave a Reply

Fill in your details below or click an icon to log in:

WordPress.com Logo

You are commenting using your WordPress.com account. Log Out /  Change )

Facebook photo

You are commenting using your Facebook account. Log Out /  Change )

Connecting to %s